Important
Support for Microsoft InfoPath 2013 ended on July 14, 2026. We recommend migrating existing InfoPath forms and workflows to supported Microsoft 365 solutions. Learn more about InfoPath retirement.
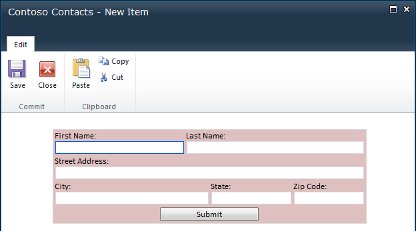
With Microsoft InfoPath 2010, you can customize the forms used for creating and editing items in a SharePoint list. By default, when creating or editing items, all of the fields in the list appear in a basic two-column layout table. While this works for some situations, there are others when you want more control over the layout. Also, you can add dynamic behavior to the form.
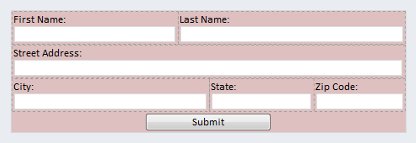
Using InfoPath to customize a SharePoint list form enables you to re-arrange the controls, such as placing the City and State fields in a user information form side-by-side on the same line. Advanced InfoPath features, such as conditional formatting, can be used to dynamically show or hide sections of a form.
The following videos demonstrate how to customize a SharePoint 2010 list form:
In this article
Open or create the list
There are two ways that you can open a SharePoint list for customization.
Open an existing SharePoint list from within SharePoint
- Navigate to the list.
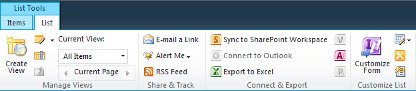
- Select the list, and then on the List tab, in the Customize List group, click Customize Form to launch InfoPath and automatically load the list for customization.
Create a new list or open an existing list from within InfoPath
- Click File.
- Click New, and then select SharePoint List.
- Enter the Web address of the SharePoint site in the Data Connection Wizard.
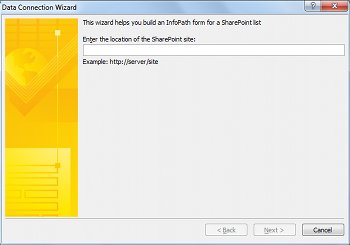
Click Next.
Do one of the following:
- Customize the form for an existing list
Select Customize an existing SharePoint list, and then select the list that you want to customize.
Click Next.
- Create a new list and customized form
Select Create a new SharePoint list, and then enter a name for the new list.
Click OK.
Click Finish.
Customize the list in InfoPath
After the new or existing list opens, the form appears as the default SharePoint form with a two-column layout table.
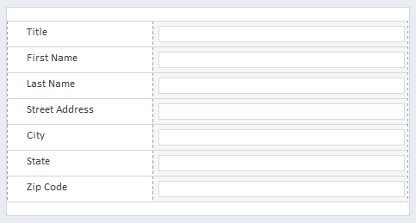
You can now design the form by modifying the layout, rules, and validation. New columns in SharePoint are created by adding new fields to the InfoPath form.
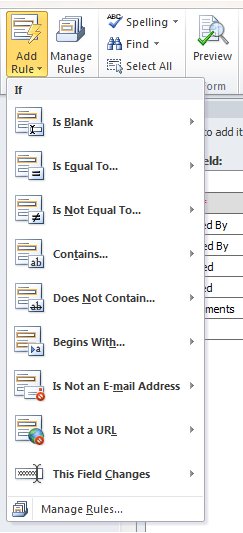
Dynamic behavior is added with control rules.
- To add a rule to a control, on the Home tab, in the Rules group, click Add Rule.
Rules help to verify that a date is in the future or that text entered in an email address field is in the correct format.
Publish the list back to SharePoint
When finished customizing the list, it must be published to SharePoint.
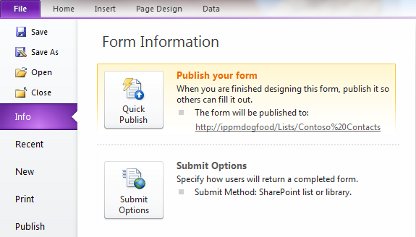
- Click the File tab, and then click Quick Publish to publish the form. Click OK when prompted.
- Return to the list, and then add an item to view the completed form.