Automate your workflows in Updates
Applies To
Important:
-
All new Office 365 Connector creation will be blocked starting August 15, 2024.
-
All existing Office 365 Connectors in all clouds will no longer be available as of October 1, 2024.
-
To learn more about the timing and how the Workflows app provides a more flexible and secure experience, see Retirement of Office 365 connectors within Microsoft Teams.
You can connect the Updates app with other apps and services to optimize your daily workflows. This is where the Updates connector in Power Automate comes in! With Power Automate, you can create flows that automatically perform one or more actions when you receive a new update or when you receive a new update tied to a specific request. In this article, we explore some of the most common scenarios for connecting Updates with your favorite apps and services to help you work more efficiently and get the most out of this powerful tool.
Scenarios
Get email notifications when you receive update submissions
Automatically sync update submissions to an Excel file
Create a task when a team member submits a new update
Get approval for an update submission
Post to a chat or channel when you receive update submissions
Get email notifications when you receive update submissions
Here's how to create a flow to automatically send email when you receive a new update.
-
Go to Power Automate, select Create > Automated cloud flow.
-
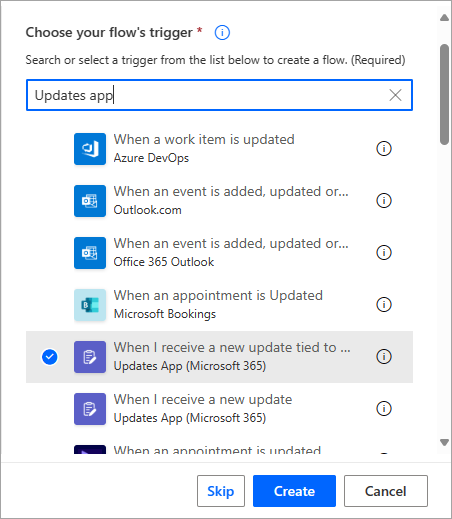
Under Choose your flow's trigger, search for "Updates app", and then select one of the two Updates app triggers.
-
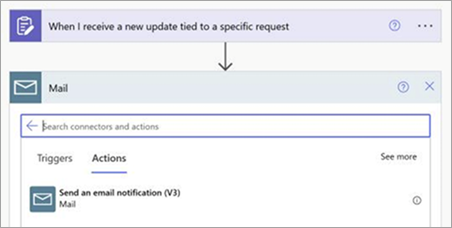
Add a new step and select Send an email notification as an action.
-
Specify the email details. You can manually enter information or add dynamic content.
Note: If you add Viewers' Emails to the To field, all viewers of the request will receive email.
-
Save the flow.
Automatically sync update submissions to an Excel file
This example describes how to create a flow to automatically sync update submissions from a specific request to an Excel workbook.
-
Create an Excel workbook in which to sync the update submission data. Add a table and name the columns according to the questions on the update request form.
-
Go to Power Automate, select Create > Automated cloud flow, and then:
-
Under Choose your flow's trigger, search for "Updates app", select When I receive a new update tied to a specific request, and then choose the update request that you want.
-
Add a new step and select Add a row into a table as an action. Fill out the details for the Excel file.
-
Save the flow.
-
Your received submission data will be automatically synced to the Excel file.
Create a task when a team member submits a new update
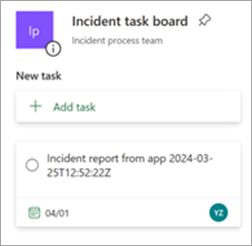
You can set up a flow to automatically create a task in Planner when a new update is submitted. This example shows how to use Power Automate to create a corresponding task when an update is submitted for an incident report request.
-
In Planner, create an incident ticket handling board for the team. Set up buckets based on how tasks are managed.
-
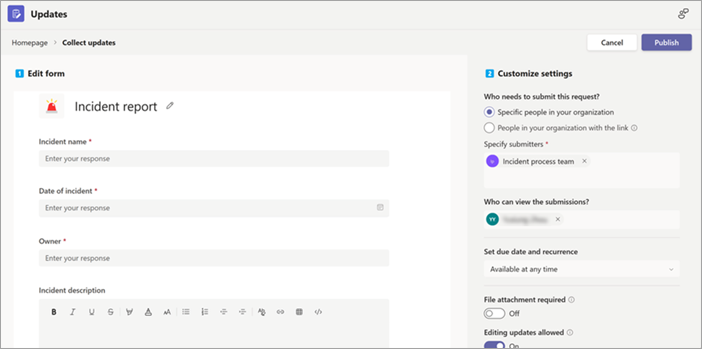
In Updates, create an update request for incident reports. Specify the information required for the update and assign submitters and viewers.
-
Go to Power Automate, select Create > Automated cloud flow, and then:
-
Under Choose your flow's trigger, search for "Updates app", select When I receive a new update tied to a specific request, and then choose the incident report update request.
-
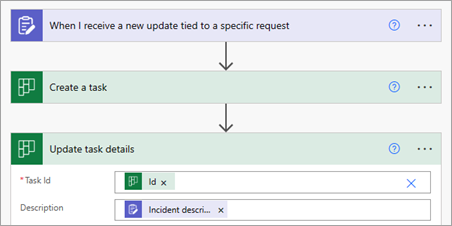
Add a new step and select Create a task as an action. Fill out the information for the task. You can define a due date and other information.
-
Save the flow.
-
When a team member submits an update for the incident report request, a new task is automatically created in Planner.
Get approval for an update submission
Here's how to use a flow to create an approval request in the Approvals app when an update is submitted.
-
Go to Power Automate, select Create > Automated cloud flow.
-
Under Choose your flow's trigger, search for "Updates app", select When I receive a new update tied to a specific request, and then choose the update request that you want.
-
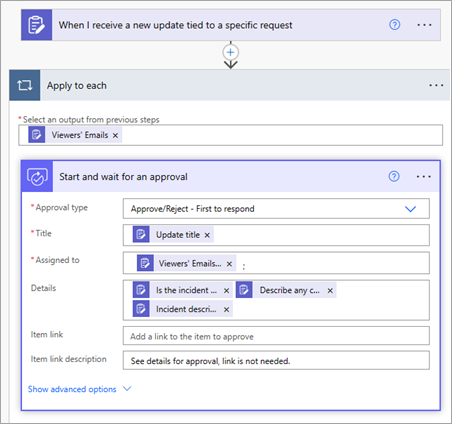
Add a new step and select Start and wait for an approval as an action. Fill out the information for the approval, including mapping the approval content and approver to the update submission content.
-
Save the flow.
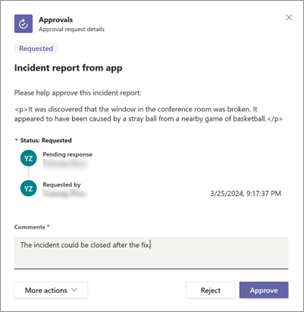
The specified approver can view and approve (or reject) the approval request in the Approvals app.
Post to a chat or channel when you receive update submissions
You can set up a flow to post a message to a chat or channel in Teams when an update is submitted.
-
Go to Power Automate, select Create > Automated cloud flow.
-
Under Choose your flow's trigger, search for "Updates app", and then select one of the two Updates app options.
-
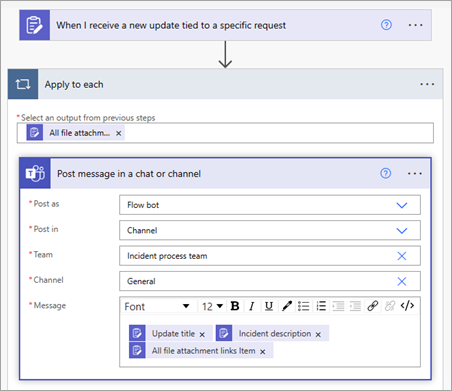
Add a new step and select Post message in a chat or channel as an action. Choose the chat or channel you want to post the message to and specify the message details. You can manually enter information or add dynamic content.
-
Save the flow.

