
Insert pictures

-
Do one of the following:
-
Select Insert > Pictures > This Device for a picture on your PC.
-
Select Insert > Pictures > Stock Images for high quality images or backgrounds.
-
Select Insert > Pictures > Online Pictures for a picture on the web.
-
-
Select the picture you want, and then select Insert.
Resize or move pictures
-
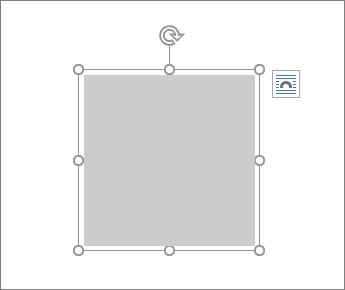
To resize a picture, select the picture and drag a corner handle.
-
To wrap text around a picture, select the picture, and then select a wrapping option.
Tip: Pick something other than In Line with Text, and you can move the picture around the page: select the picture and drag it.
What about EPS?
EPS files can no longer be inserted into Office documents. For details, see Support for EPS images has been turned off in Microsoft 365.
What do you want to do?
-
Click the location in your document where you want to insert a picture.
-
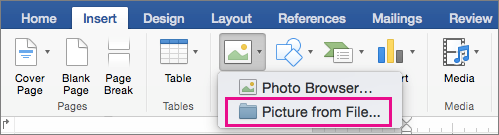
On the Insert tab, click Pictures.
-
Select the option you want to use for inserting pictures.
The Photo Browser option helps you browse through existing photo sets on your computer, such as photos in iPhoto or Photo Booth. Picture from File lets you browse through your computer's file structure to look for photos.
-
When you find the picture you want, drag it from the Photo Browser into your document, or click Insert in the file browser.
Tip: The picture is embedded in your document. If your picture has a large file size and makes your document too large, you can reduce the size of your document by linking to the picture instead of embedding it. In the Choose a Picture dialog box, select the Link to File box.
You can insert a picture or photo into the body of an email message, instead of attaching the file. Inserting a picture requires that your message uses HTML formatting. To set HTML formatting, select Options > HTML.
-
In the body of your message, click where you want to add a picture.
-
On the Message tab, click Pictures.
-
Select the option you want to use for inserting pictures.
The Photo Browser option helps you browse through existing photo sets on your computer, such as photos in iPhoto or Photo Booth. Picture from File lets you browse through your computer's file structure to look for photos.
-
When you find the picture you want, drag it from the Photo Browser into your document, or click Open in the file browser.
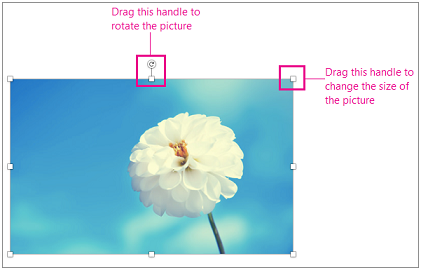
Resize the picture, if necessary, by clicking one of the handles that surround the picture and dragging it. Click the handle at the top of the picture to rotate it.
-
Hold down CONTROL and click the picture, and then click Change Picture.
-
Locate a new picture on your computer, and then click Insert.
See also
Move, rotate, or group a picture, text box, or other object in Office for Mac
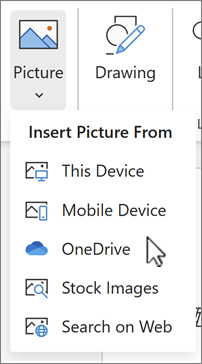
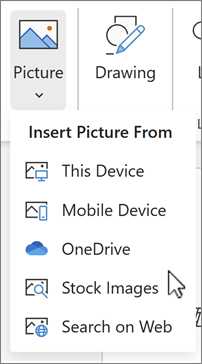
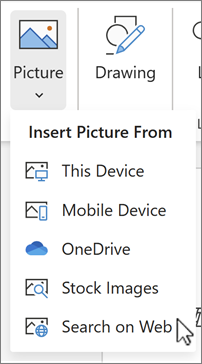
Pictures make documents more engaging and easier to understand. There are five different ways to insert a picture on Word Web.
-
This device (Your Computer)
-
Mobile Device
-
OneDrive
-
Stock Images
-
Search on Web
Here is a detailed description of each of them.
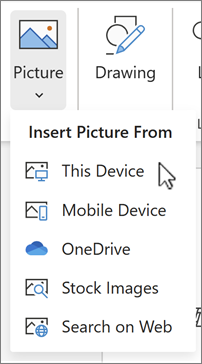
Insert a picture from your computer
-
Place the cursor where you want to insert a picture.
-
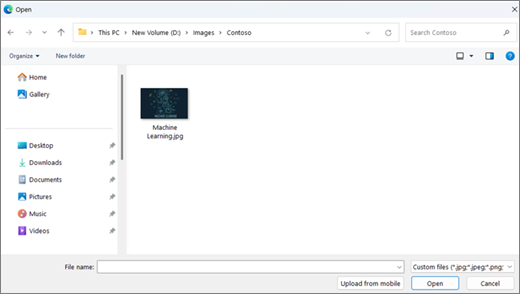
In the Insert tab, select Picture > This device.
-
Go to the desired location on your computer > select a picture> click Open.
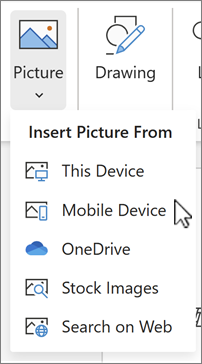
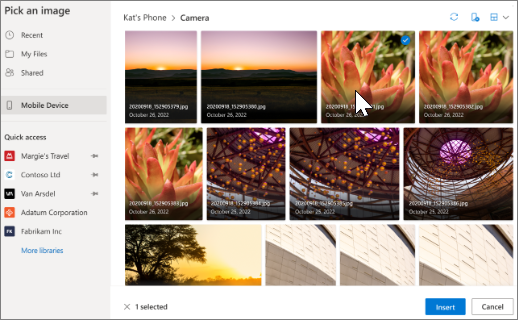
Insert a picture from Mobile device
-
Place the cursor where you want to insert a picture.
-
In the Insert tab, select Pictures > MobileDevice.
-
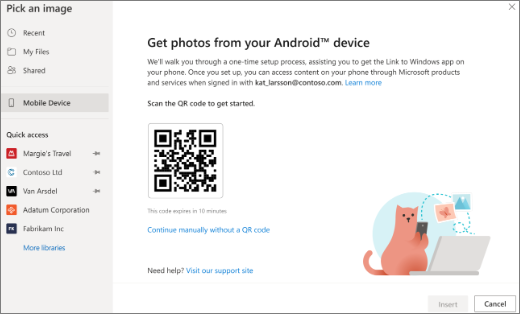
On the next screen, a QR code will appear which will take you to the Link to Windows app. Scan the code with your Android device using the camera or another QR code scanner.
Note: If you do not have the Link to Windows app on your mobile device, you may be routed to the Google Play Store to download it.
-
To pair your Android device with your work or school account, follow the onscreen instructions.
-
After you’ve successfully paired your device to your account, you will see the pictures from your Android phone that are available to be inserted in Word for the web documents.
Requirements:
Make sure you meet the following requirements in order to insert images from your android device.
-
Have an active Microsoft 365 subscription associated with your work or school account.
-
Use an Android phone.
-
If using Firefox, ensure that you are using Version104.0 or later.
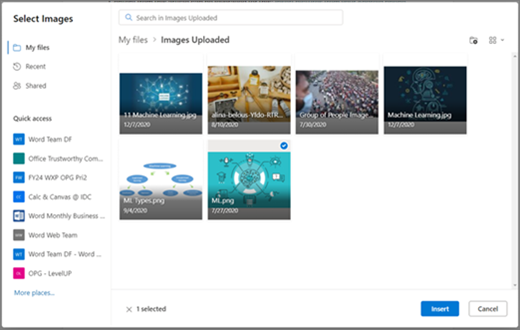
Insert a picture from OneDrive
-
Place the cursor where you want to insert a picture.
-
In the Insert tab, select Picture > OneDrive.
-
Go to the desired location on your OneDrive > select a picture> click Insert.
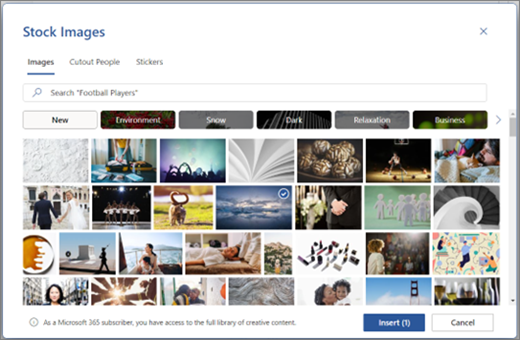
Insert from Stock Images
-
Place the cursor where you want to insert a picture.
-
In the Insert tab, select Picture > Stock Images.
-
Select an image from the collection of images shown in the dialog. You can also type what you are looking for in the Search box to find the desired image.
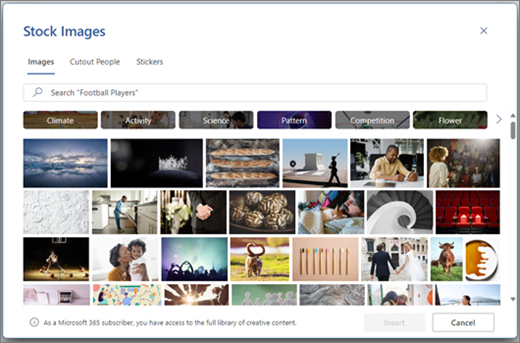
-
After selecting the desired picture, click Insert.
Insert a Picture from Web
-
Place the cursor where you want to insert a picture.
-
In the Insert tab, select Picture > Search on Web.
-
Select a category or search for a picture by typing in the Search box.
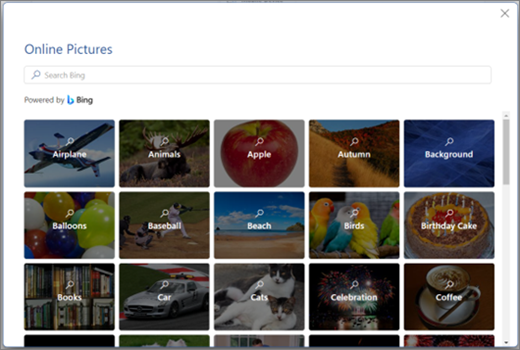
-
After the search results are shown, you may optionally select the Filter button to narrow your search results with the Size, Type, Color, Layout, and licensing filters.
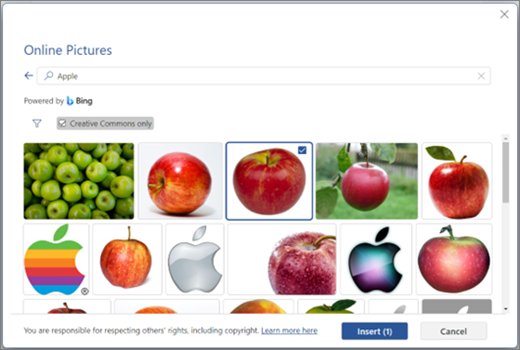
-
After selecting the desired picture, click Insert.
In addition, you can paste a picture by copying it from the source or you can drag and drop the image on Word Web.


Need more help?
Want more options?
Explore subscription benefits, browse training courses, learn how to secure your device, and more.


Communities help you ask and answer questions, give feedback, and hear from experts with rich knowledge.


