Use this guide to connect a Microsoft account to your SwiftKey profile.
- Before you start
- Step by Step Guide to Switch
- More info
Before you start
- Update to the latest version of the Microsoft SwiftKey app.
- Have access to the Microsoft account you want to use (email/phone and password).
Step by Step Guide to Switch on Android
You can scan this QR code. It'll launch directly to the right screen in the app if the app is installed and up to date:

If the QR code doesn’t work, then you can follow these manual steps:
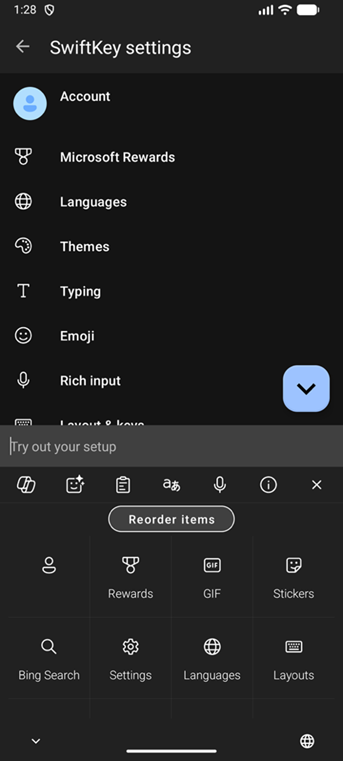
- Open the keyboard, tap … in the toolbar and then the Settings / cog icon, and then tap Rich Input on the settings screen that appears
- Tap Clipboard
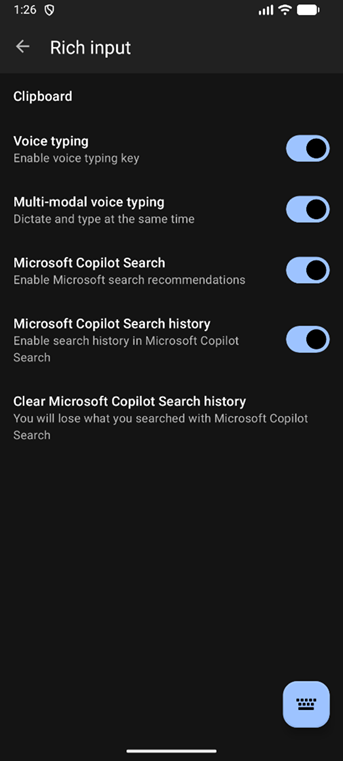
- Then tap Sync clipboard history, it may appear disabled but tapping will still take you to a sign-in page that offers Microsoft sign-in
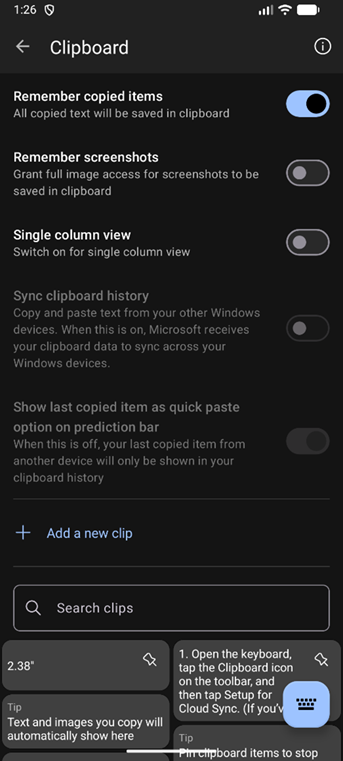
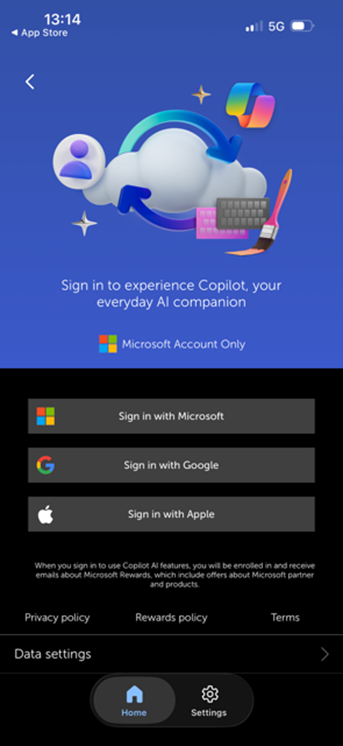
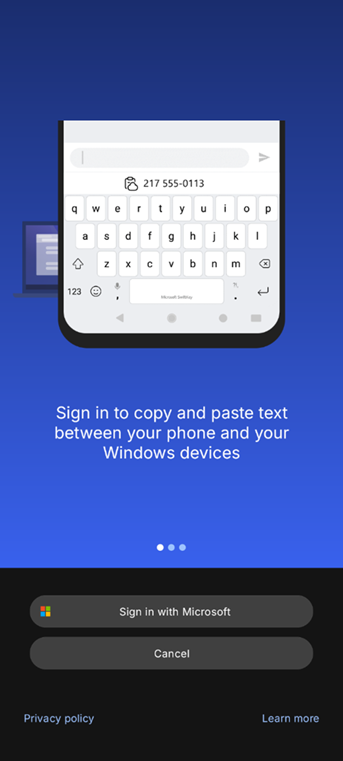
- Select Sign in with Microsoft to continue
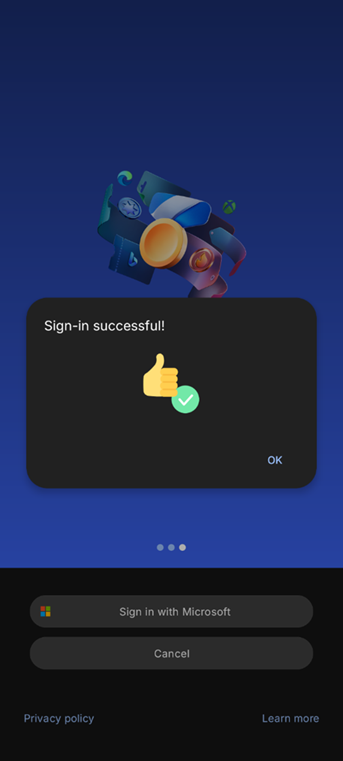
- Confirm you see the success screen
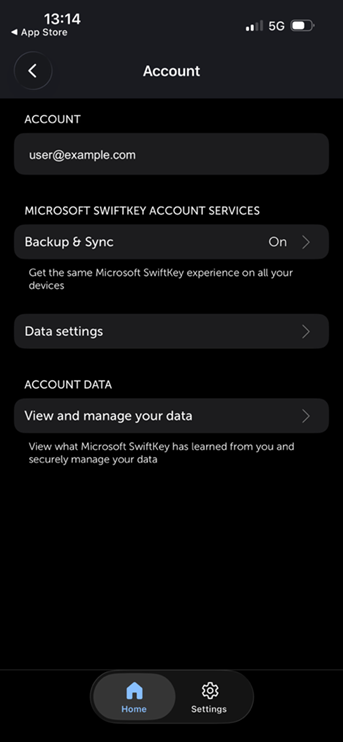
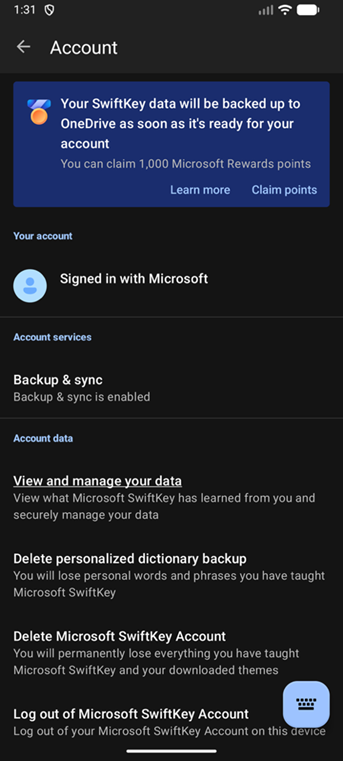
- Return to Account and confirm the account info has switched to your Microsoft Account
More info
- For general Microsoft account help, see: Microsoft SwiftKey Support - Account