
Note: The screenshots in this article are from Clipchamp for personal accounts. The same principles apply to Clipchamp for work.
Clipchamp supports adding image files to videos. You can add pictures, GIFs, and photos from your computer, for example to create slideshows or add photos between video clips.
Easily add images to your video by using the following options:
-
Drag and dropping audio files from your device
-
Import audio using the import media button
-
Use stock images, GIFs, and stickers in the content library tab
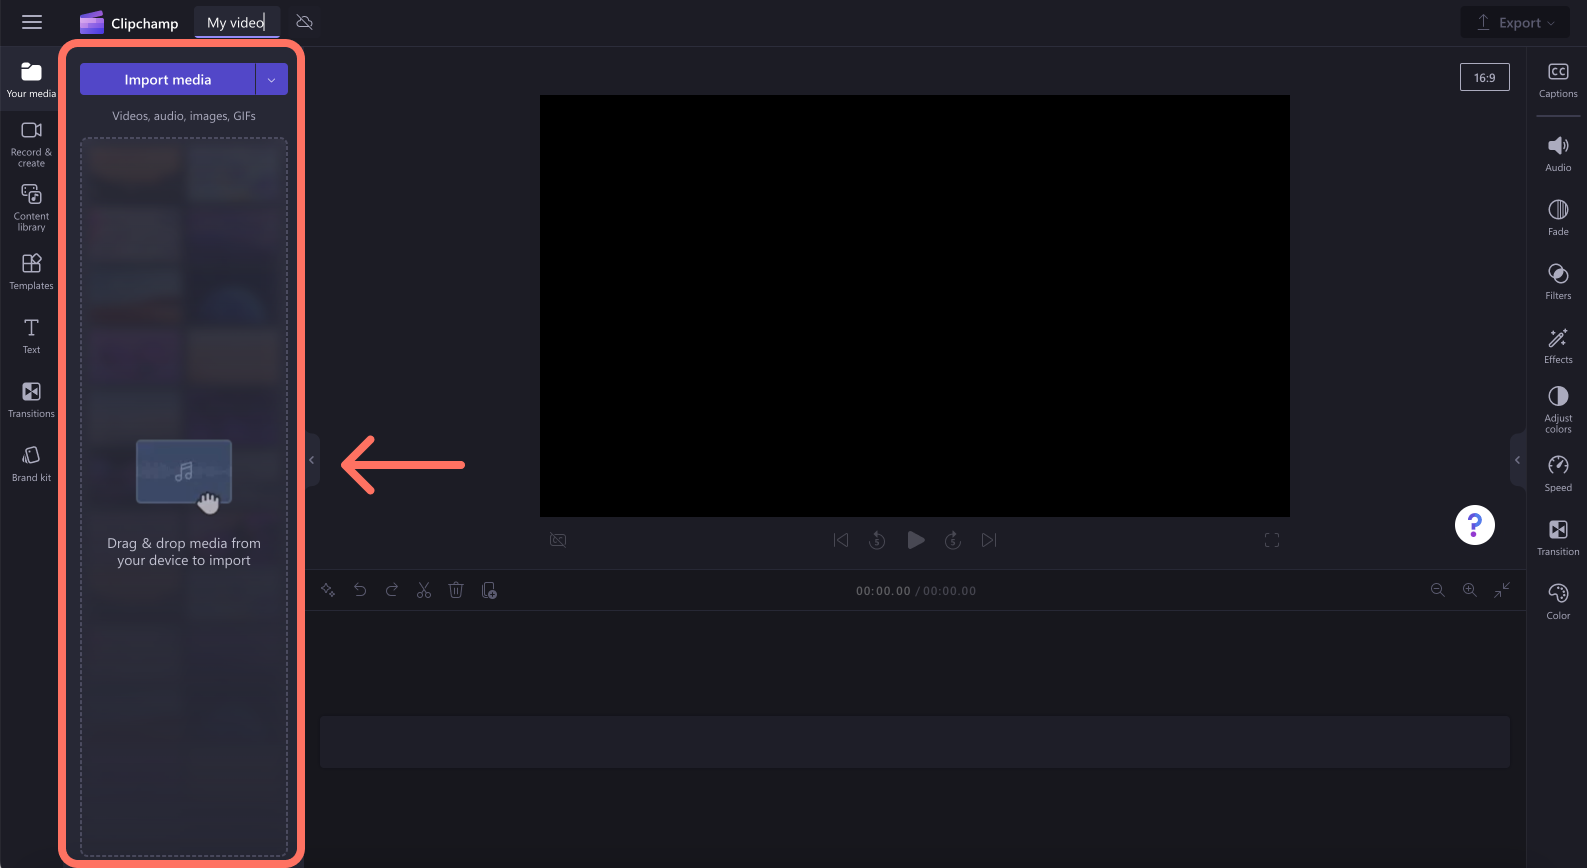
Adding images from your computer
Option 1. Drag and drop audio files into the your media tab
Drag and drop your audio files from your device into the importing tab. This works on Windows, Mac, and Linux.
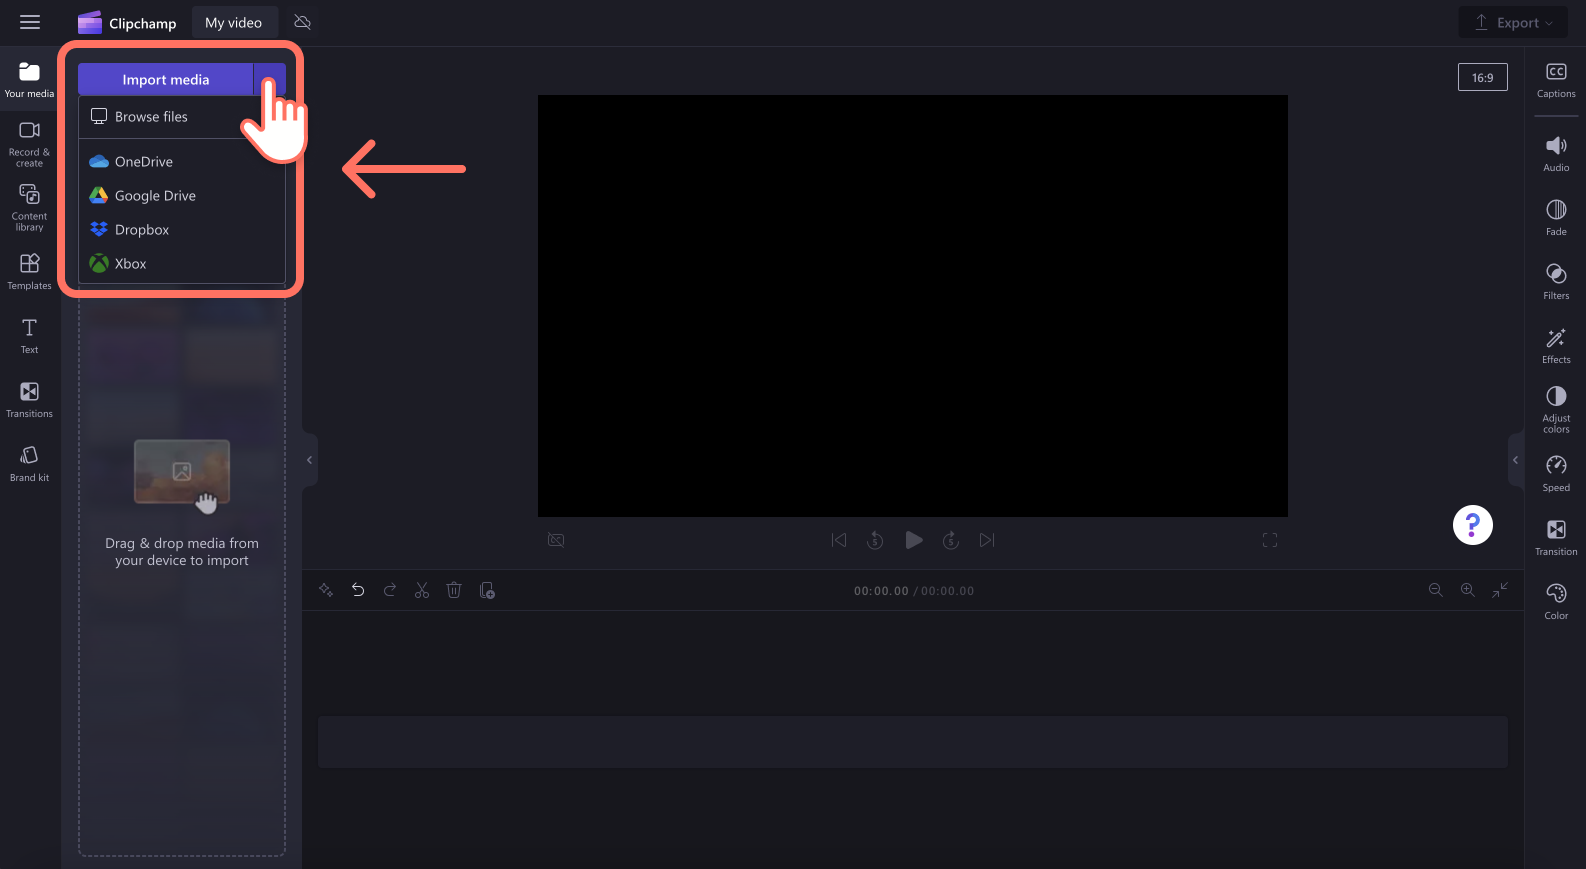
Option 2. Use the import media button
Click on the your media button to import audio directly from your computer, or click on the drop down arrow to import media from your files, OneDrive, Google Drive, Dropbox, or Xbox.
-
In Clipchamp for work, you can add media files from OneDrive and your computer.
-
In Clipchamp for personal accounts, you can add media from your computer files, OneDrive, Google Drive, Dropbox, and Xbox.
We recommend not adding too many photos at once, otherwise it can take some time for them to get processed before they become available and before they can get added to the editing timeline.
Add stock images from the content library
To add copyright free images to your video, click on the content library tab on the toolbar, then click on the visuals drop down arrow, then images. Explore our image collections. Drag and drop and image from the content library onto the timeline.
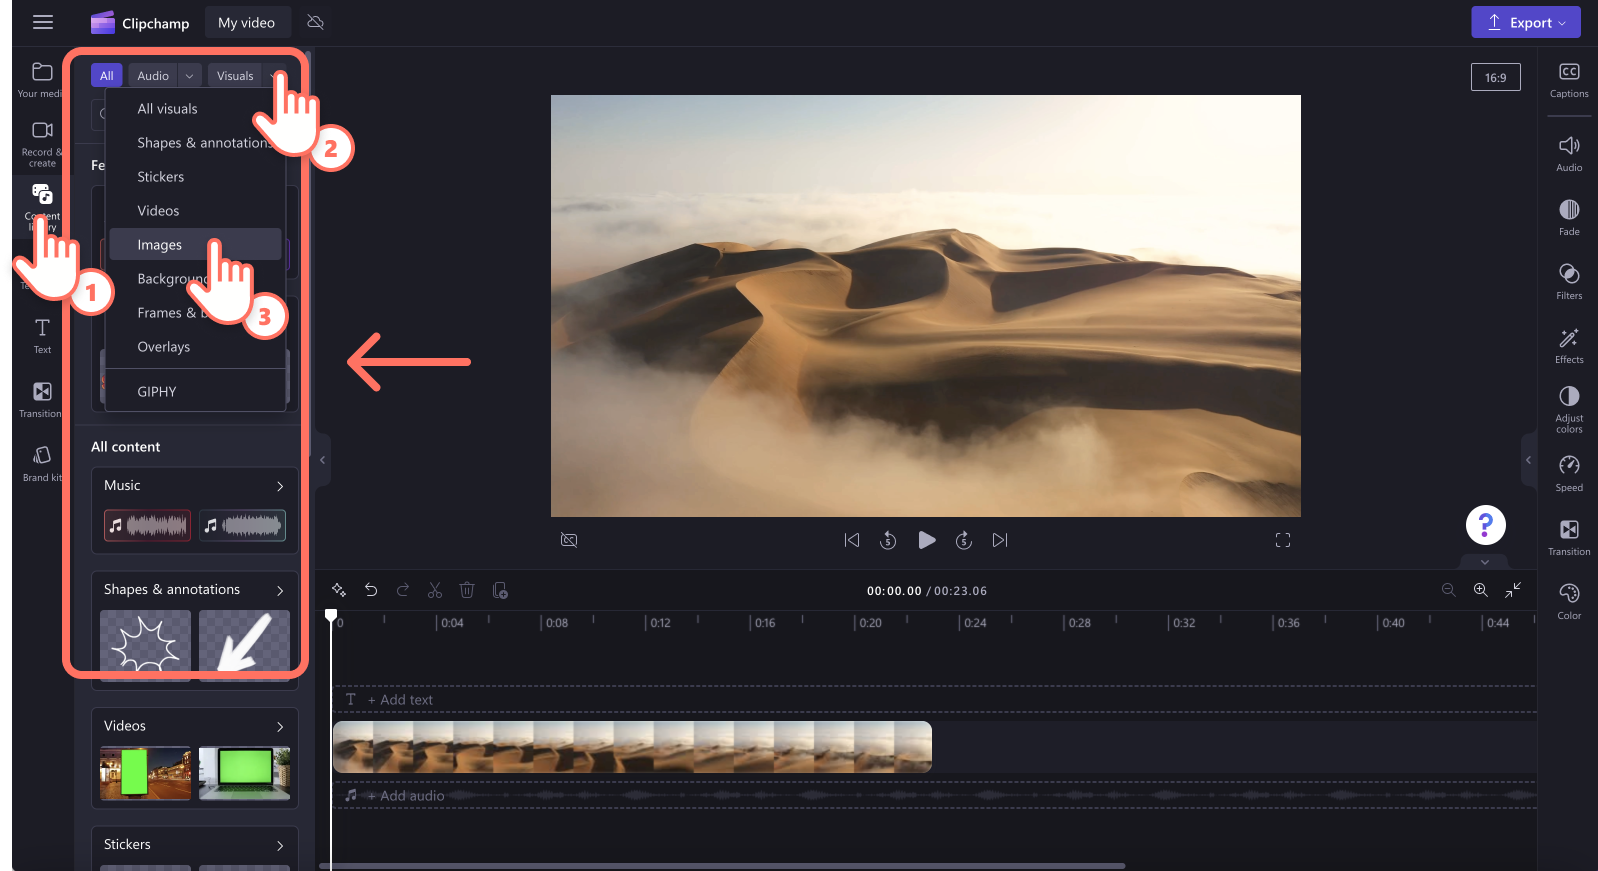
Inside the visuals tab, you can also find GIPHY GIFs, stickers, shapes, frames, and more.
What to do if an image doesn't import?
If an image doesn't appear when you try to add it or it doesn't load properly:
-
Make sure your file is one of the image formats we currently support.
-
If your photo is a supported file type, see What to do if your assets aren't loading.


