

Note
This content applies to the desktop versions of Word. Some table features may not be available in Word for the web or mobile apps.
Change the page orientation for a document
Click or tap in the document.
Go to Layout > Orientation, and then select Landscape.
Go to File > Print.
Note
You do not need to print the document for orientation changes to take effect.
Under Settings, make sure the orientation box says Landscape Orientation.
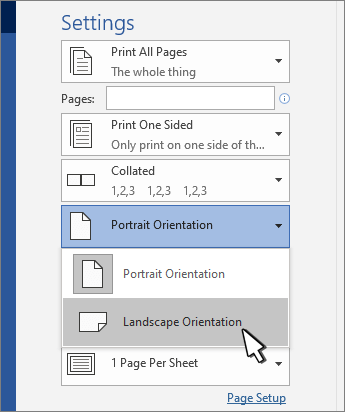
Select Print.
Change the orientation for specific pages
- Select all the text on the pages you want to change.
- Go to Layout, and select Page Setup dialog launcher
 .
. - Under Orientation, select Portrait or Landscape.
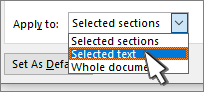
- Next to Apply to, choose Selected text, and then select OK.
- On the File menu, select Print.
Change orientation from cursor forward
- Click or tap where you want to start the new page orientation.
- Go to Layout, and select Page Setup dialog launcher
.
- Under Orientation, select Portrait or Landscape.
- Next to Apply to, select This point forward.
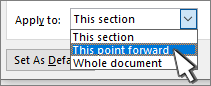
- Select OK.
Change the orientation for a specific section
To change the orientation for a specific section, your document must be divided by section breaks. Learn how to add section breaks.
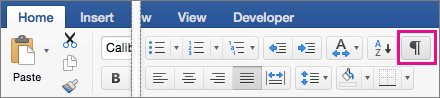
- Go to Home and select Show/Hide
 . to display nonprinting characters.
 - Double-click the section break that follows the section you want to change.

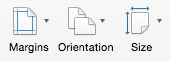
- Select Margins.
- Under Orientation, choose Portrait or Landscape.
- Next to Apply to, choose This section, and then select OK.
- On the File menu, select Print.
Important
If you need printer troubleshooting or driver information, see your printer's manual or the printer manufacturer's website.