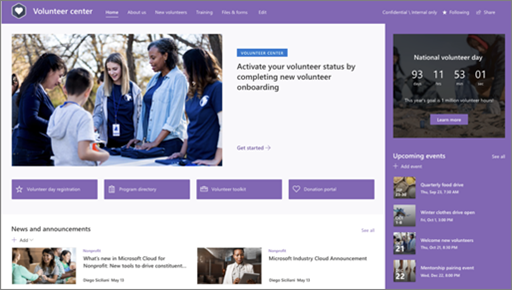
The Volunteer center site template is a communication site that’s designed to be a central hub where volunteers in your nonprofit organization can access key information. Share information and resources to enable your volunteers to engage with your organization and prepare them to support your mission.
Welcome and onboard new volunteers, post announcements, showcase upcoming events, highlight your organization’s mission and programs, and introduce your staff. Provide quick and easy access to volunteer training and onboarding materials, and other sites.
This article gives you an overview of how to use elements of the SharePoint Volunteer center site template and how to customize the site to fit the needs of your organization.
Site features
-
Customizable site that comes with pre-populated images, web parts, and content to inspire site editors when making customizations to fit the needs of your organization.
-
Pre-populated pages that make it easy for volunteers to get all the information they need to engage and learn about your organization, access training and onboarding resources, and stay informed with the latest news and events to support your mission.
Notes:
-
Some functionality is introduced gradually to organizations that have opted into the Targeted release program. This means that you may not yet see this feature, or it may look different than what is described in the help articles.
-
When you apply a template to an existing site, your content will not automatically merge with the new template. Instead, existing content is stored as a duplicate page in Site contents.
To get started, follow the steps to add the template to a new or existing site.
Note: You must have site owner permissions to add this template to your site.
Explore the pre-populated site content, web parts, and pages. Decide what site customizations you need to align with your organization's brand, voice, and mission.
-
Pre-populated pages:
-
Home page: Provides a landing place for volunteers to engage in the latest news and announcements, events, access key information, and learn more about your organization and staff.
-
About us: Highlight your mission, impact, programs, and introduce your team to help volunteers better understand who you are and what you do. Customize this page by editing the Image, Text, and Quick Links web parts.
-
New volunteers: Welcome new volunteers and guide them through the onboarding process by providing the information, contact, and resources they need to get started. Customize this page by editing the Image, Text, People, Quick Links, and Events web parts.
-
Training: Empower your volunteers with easy access to learning resources. Volunteers can discover and find training materials to prepare for their role in your organization. Customize this page by editing the Image, Text, and Quick Links web parts.
-
-
Files & forms: Share,store, and organize documents such as volunteer forms, training content, program materials, and other resources in this document library.
After you add the Volunteer center site template, it's time to customize it and make it your own. Customize your site's look, site navigation, web parts, and content to fit the needs of your organization and volunteers.
Note: To edit a SharePoint site you must be a site owner or site member.
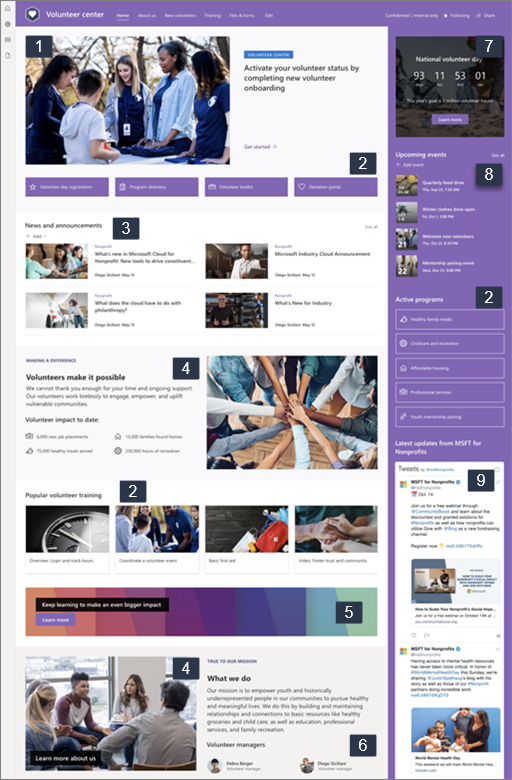
Here’s an overview of ways you can customize the Home page.
|
|
To get started, select Edit in the upper-right corner of the page to enable edit mode. As you work, select Save as a draft or select Republish to make your changes visible to viewers.
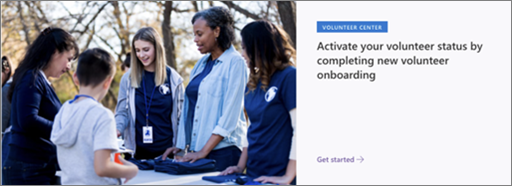
1. Use the Hero web part to showcase important information for your volunteers.
-
Select the Hero web part, and then choose Edit
-
Choose the layout options that best fits your organization’s needs.
-
Select a tile or layer, and then choose Edit
-
For each tile or layer, specify a link, enter a title and description as needed, and choose a background image.
-
You can also set other options, such as a topic heading and call to action.
Learn more about using the Hero web part.
2. Use the Quick Links web part to provide volunteers with quick and easy access to resources.
-
Select the Quick Links web part, and then choose Edit
-
Choose the layout options that best fits your organization’s needs.
-
Select a link, and then choose Edit
-
For each link, edit the link, title, thumbnail, and description, as needed.
-
To add a link, select + Add links.
Learn more about using the Quick Links web part.
3. Use the News web part to keep volunteers in the loop with the latest news and announcements.
-
Select the News web part, and then choose Edit
-
Specify the news source.
-
Choose the layout and filter options that you want.
-
Under Organize, determine the order in which news is displayed.
Learn more about using the News web part.
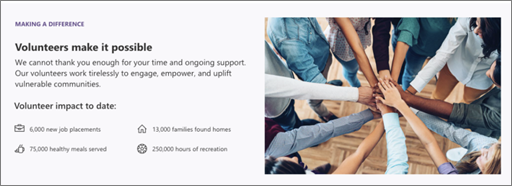
4. Use the Text and Image web parts to highlight your mission and showcase how volunteers make a difference.
-
Click inside the text box and enter your text.
-
Use the options on the formatting toolbar to format your text. To see more formatting options, click the ellipses (…) on the right side of the toolbar to open the Text and table formatting pane.
Learn more about using the Text web part.
To use the Image web part
-
Select the Image web part, and then choose Edit
-
Choose or upload an image.
-
You can add a link to the image to direct volunteers to another page. You can also add text over the image and alternate text.
Learn more about using the Image web part.
5. Use the Call to action web part to engage and encourage volunteers to take action.
-
Select the Call to action web part, and then choose Edit
-
Choose a background image.
-
Enter the text you want for the button label, enter a web address for the button link, and set the button alignment.
Learn more about the Call to action web part.
6. Use the People web part to introduce your volunteer staff and key contacts to volunteers.
-
Select the People web part, and then choose Edit
-
Select the layout you want.
-
Add names or email addresses of the people you want to display on the page.
Learn more about the People web part.
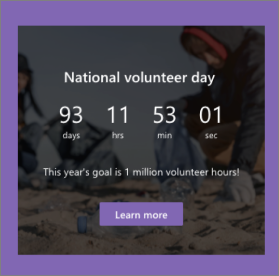
7. Use the Countdown web part to build anticipation about an upcoming event or campaign.
-
Select the Countdown web part, and then choose Edit
-
Choose the date and time, specify a call to action as needed, and choose a background image.
Learn more about using the Countdown web part.
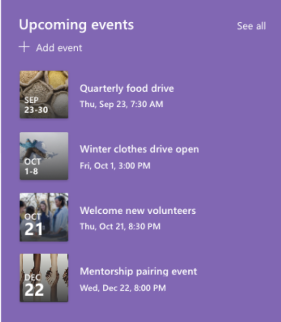
8. Use the Events web part to display and promote upcoming events and campaigns.
-
Select the Events web part, and then choose Edit
-
Specify the source, layout, and other options.
-
To add or edit events, select + Add event.
Learn more about using the Events web part.
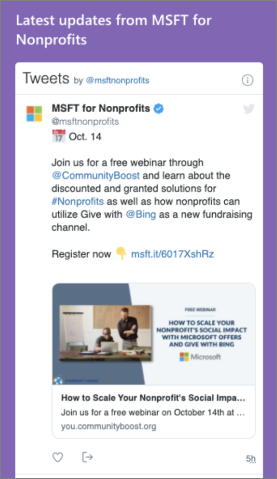
9. Use the Twitter web part to display live updates from selected accounts.
-
Select the Twitter web part, and then choose Edit
-
Select a Twitter username (starting with @) or add a link (starting with https://) to a user account, tweet, or collection.
-
Choose the maximum number of tweets to display. You can also set other options such as theme color.
Learn more about the Twitter web part.
Customize the other pages of the site
-
About us: Customize this page by editing the Image, Text, and Quick Links web parts.
-
New volunteers: Customize this page by editing the Image, Text, People, Quick Links, and Events web parts.
-
Training: Customize this page by editing the Image, Text, and Quick Links web parts.
Customize the look and site navigation
Before you share your site with others, put the finishing touches on your site by ensuring users can find the site, navigate through links and pages easily, and quickly access content on the site.
-
Edit document libraries by updating the folder names and uploading resources.
-
Edit and customize site navigation.
-
Change the look of your site by customizing the theme, logo, header layouts, and the look of your site.
-
Add or remove pages on this site or the customize the navigation on your SharePoint site to accommodate existing content.
-
Choose to associate this site with a hub site within your organization, or add this site to an existing hub site navigation if needed.
After you customize your site, review it, and publish the final draft, share your site with others.
-
In the upper-right corner of the page, select Share.
-
Get help managing your site by adding site owners and members who will have permission to edit site content.
-
In the Share site pane, enter the names of people you want to share the site with. You can choose Everyone except external users if you want everyone in your organization to have access to the site. The default permission level is Read only.
-
To send an email notification to people you share the site with, make sure the Send email check box is selected, and then if you want to include a message, enter your message. If you don’t want to send an email, clear the Send email check box.
-
Select Share.
After you create and launch your site, the next important phase is maintaining site content. Ensure you have a plan to keep content and web parts up to date.
Here are site maintenance best practices.
-
Plan for site maintenance - Establish a schedule to review the site content as often as needed to ensure content is still accurate and relevant.
-
Regularly post news - Share the latest announcements and information to keep volunteers in the know and engaged. Add or remove a news post and show others who will be posting announcements how they can use SharePoint news.
-
Check links and web parts - Keep links and web parts updated to ensure you are leveraging the full value of your site.
-
Use analytics to improve engagement - View site usage by using the built-in usage data report to get information on popular content, site visits, and more.
-
Periodically review your site settings - Review and update settings, site information, and permissions, as needed.
More customization resources
Learn more about how to plan, build, and maintain SharePoint sites.
See more SharePoint site templates and volunteering templates.

