
Once you've created a site in SharePoint in Microsoft 365 or SharePoint Server, you can make changes to the site's settings, such as the name, logo, description, privacy level, and site classification, as well as service limits and permissions for the site.
The descriptions in this topic are based on Microsoft SharePoint sites built using standard user-interface components. If your admin or site designer has radically changed the look of your site, you might not see the same thing presented here. For more information, contact your SharePoint admin.
Important
To make changes to the logo, title, description, and other settings you must have owner or designer permissions on the SharePoint site. For more information, see Managing site permissions.
You can change the logo, title, and other settings for SharePoint in Microsoft 365 team or SharePoint 2019 communication sites.
Note
- When you create a new team or private channel in Microsoft Teams, a team site in SharePoint gets automatically created. To edit the site description or classification for this team site, go to the corresponding channel's settings in Microsoft Teams.
- To learn more about the basic parts of Teams and SharePoint and how they relate to each other, see Teams and SharePoint integration.
Change the title, description, and other site information for your SharePoint in Microsoft 365 team or communication site
Note
In the following example, we're showing how to make changes to a team site using admin permissions. If you don't see Site information, you might not have permissions to customize the SharePoint site name and description. Contact the site owner either to get permissions to make the changes yourself or to have the changes made for you. For more information, see Managing site permissions.
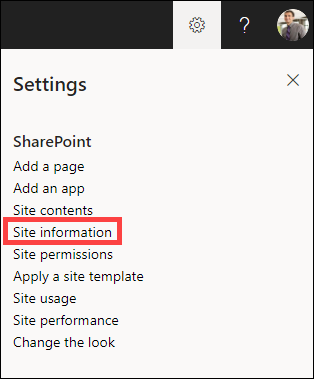
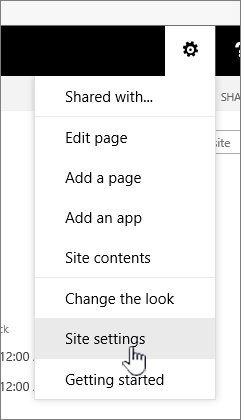
Select Settings, and then select Site information.
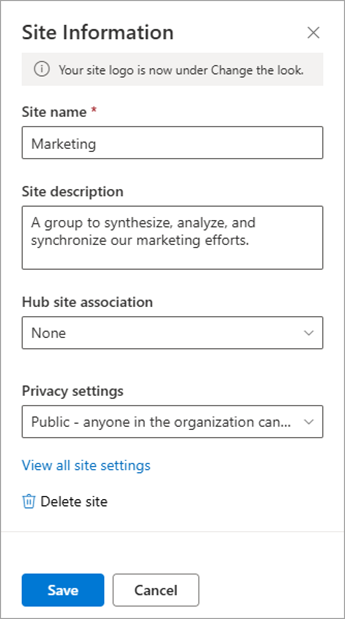
Make changes to the following fields, as necessary:
- Site name (required)
- Site description
- Hub site association
Select a SharePoint hub site to associate with your existing site. - Privacy settings (team sites only):
select Public to allow anyone in your organization to access your site; select Private if you only want members to access your site.
Note
If the Hub site association option is greyed out or no sites are listed there, you might not have permission to associate sites with a hub site or your organization might not be using hub sites. Partner with your SharePoint admin to set up your SharePoint hub site.
When finished making your edits, select Save.
Change the logo for your SharePoint in Microsoft 365 team or communication site
Select Settings, and then select Change the look.
Note
In the following example, we're showing how to make changes to a team site using admin permissions. If you don't see Change the look, you might not have permissions to customize the SharePoint site name and description. Contact the site owner either to get permissions to make the changes yourself or to have the changes made for you. For more information, see Managing site permissions.

Select Header.

In the Display section under Site logo, select Change.

Note
To ensure that your icon renders properly, pick one that fits within the range of 64 x 64 pixels to 192 x 64 pixels (width x height). The Site logo will appear in the site header. The Site logo thumbnail image will appear in searches, on the site card, and anywhere else a square logo is needed.
Locate the image being used for your logo from your computer. For a list of recommended image sizes and accepted formats, see Customize your SharePoint site.
After changing the logo, select Save.
Important
- SharePoint in Microsoft 365 team sites that are connected to a Microsoft 365 group use the same logo as the Microsoft 365 group.
- When you change the logo for your SharePoint group-connected team site, the logo for the corresponding Microsoft 365 group will also change.
- The process for changing the logo for a SharePoint in Microsoft 365 communication site and a SharePoint team site that's not connected to a Microsoft 365 group is the same. In this case, only the site logo changes.
Apply a SharePoint site template
SharePoint offers several site templates that contain pre-populated pages, page templates, news post templates, and web parts that can be customized to fit the needs of your organization.
Select Settings, and then select Apply a site template.

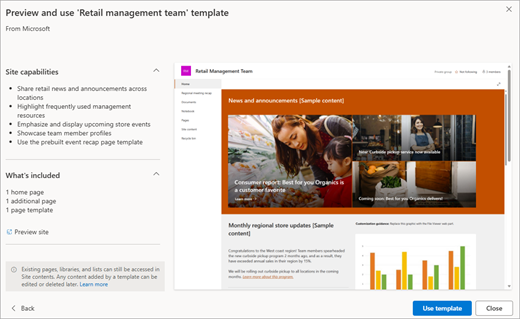
In the Select a template window, select the template you want.

A preview of the template with additional information will appear. Select Use template to apply the template to your site.
For more information about SharePoint templates, see Apply and customize SharePoint site templates.
Manage site permissions
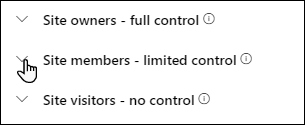
Site permission levels are based on SharePoint permission groups. Members of a SharePoint permission group can either visit the site without editing it (Site visitors), edit the site (Site members), or have full control of the site (Site owners).
Select Settings, and then select Site permissions.
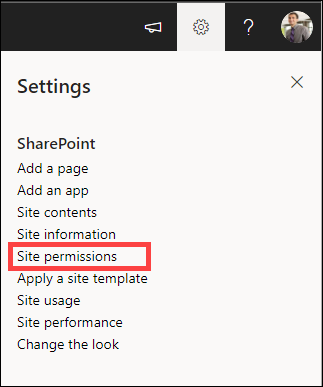
Here you can add members and manage permission levels, sharing permissions, and guest expiration.
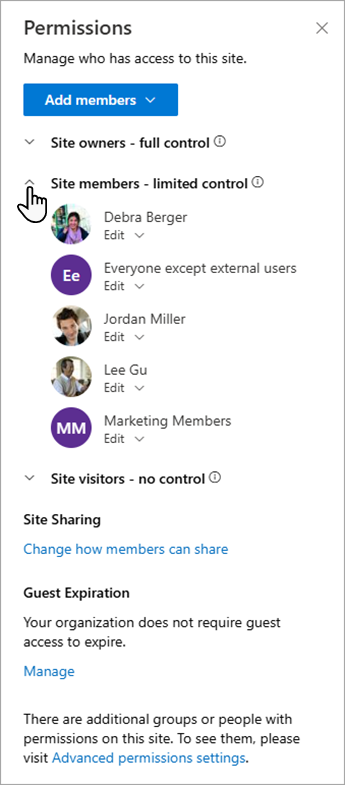
If you have additional groups or people that you'd like to give permissions to the site, select Advanced permissions settings.
For more information, see Sharing and permissions.
Invite people to your SharePoint team site
To give people access to your site, you can either add members to the Microsoft 365 group associated with the site, or you can share the site with others without adding them to a Microsoft 365 group. For more information on site permissions, see Understanding permission levels in SharePoint.
Note
If you're a site owner, you will see a link for Advanced permission settings where you can configure additional SharePoint permission settings. For more information, see Understanding permission levels in SharePoint.
Select Settings, and then select Site permissions.
Select Add members and select one of the following options.

Add members to group to add members to theMicrosoft 365 group associated with your site (preferred method).
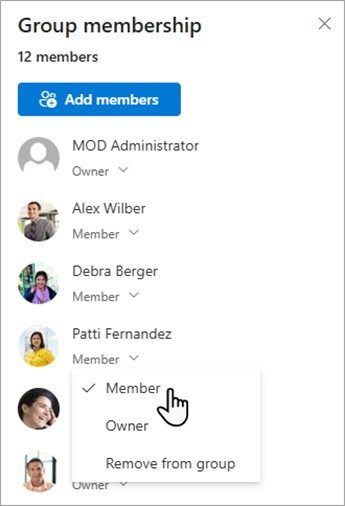
After making this selection, the Group membership for the site will display. Select Add members, enter a name or email address, and select Save.
Members added to the Microsoft 365 group are added to the SharePoint Site members permission group by default and can edit the site. They also have full access to the Microsoft 365 group resources such as group conversations, calendar, etc.
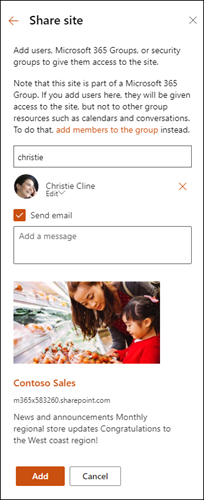
Share site only to share the site with others without adding them to theMicrosoft 365 group associated with the site.
Enter a name or email address, select the down arrow to select the SharePoint permission level, and then select Add.
Sharing the site gives users access to the site, but they won't have access to the Microsoft 365 group resources such as group conversations, calendar, etc.
Change site permissions for individuals
To change the permission level for an individual or group, selectthe down arrow next to the SharePoint permission level for that person or group and select Full control to add them to the Site owners group, or select Read to add them to the Site visitors group.
Change site permissions for a member of a Microsoft 365 group
By changing the permission level of a member that is currently part of a Microsoft 365, you can change the level of control they have on your site without removing them from the Microsoft 365 group.
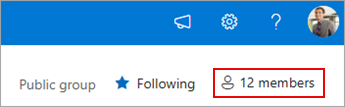
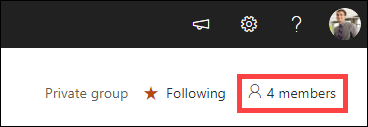
Select members at the top right corner of your site.
Select the down arrow next to the member to change and select a permission level.
Remove site permissions from individuals
In SharePoint in Microsoft 365, to remove someone who isn't a member of the Microsoft 365 group associated with your site:
Note
The Remove option is only available for individuals that aren't part of the Microsoft 365 group.
Select Settings, and then select Site permissions.
Select the down arrow next to the permission level for the member to remove.
Select the down arrow next to the member to remove and select Remove.
Note
If a member is removed who was added using Share site only, and is also part of a Microsoft 365 group, they will still retain their permissions from the Microsoft 365 group.
Remove members of the Microsoft 365 group associated with your site
In SharePoint in Microsoft 365, to remove someone who is a member of the Microsoft 365 group associated with your site:
Note
The Remove from group option is only available for individuals that are part of the Microsoft 365 group.
Select membersat the top right corner of your site.
Select the down arrow next to the permission level for the member to remove and select Remove from group.

Note
If a member is removed who was part of a Microsoft 365 group, but was also added using Share site only, they will still retain their permissions as an individual.
Add real-time chat
Connect to Microsoft Teams or other collaboration platforms to chat in real-time and share resources with the team.
- To learn more about connecting to Microsoft Teams, see Create a Microsoft Team from SharePoint.
- To explore how other collaboration tools can integrate with SharePoint—bringing real-time communication, file sharing, and seamless teamwork directly into your workflows. For the most up-to-date instructions on connecting your preferred tools, please search online for the latest guidance from the respective providers.
Additional settings and limits for your site
- For SharePoint in Microsoft 365 service, user, and storage limits, see SharePoint limits.
- To manage large amounts of data, see Manage large lists and libraries.
- Use Windows PowerShell to set storage quota and external sharing. Storage quota and external sharing can only be configured using Windows PowerShell. If you're an admin, you can do this by using Set-SPOSite. For information on managing groups with PowerShell, see Manage Microsoft 365 Groups with PowerShell.
Troubleshoot settings
- The most common problem with trying to change settings is not having the correct permissions. If you aren't sure what your permissions are, check with your SharePoint, network, or Microsoft 365 admin.
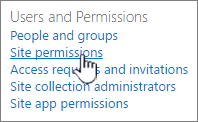
- If you have permissions, be sure of the version of SharePoint that you're using. For more information, see Which version of SharePoint am I using? If your site was built with an older version of SharePoint, it might be using the classic look. To change logo, description, or other settings, selectthe 2016 tab. SharePoint classic experience uses the same user interface for settings as SharePoint 2016.

Note
- Some functionality is introduced gradually to organizations that have set up the targeted release options in Microsoft 365. This means that you might not yet see this feature, or it might look different than what is described in the help articles.
- Group-connected team sites have different customization options. For more information, see Customizing "modern" team sites.
- Groups can't be hidden from address lists in order to enable the corresponding SharePoint site logo to be edited.