
Communities in Viva Engage serve the need for knowledge-sharing and employee experience by providing a central place for your conversations, files, events, and updates. When you create a community, you automatically become an owner of the community. To learn how to manage your community, see Manage community members in Viva Engage.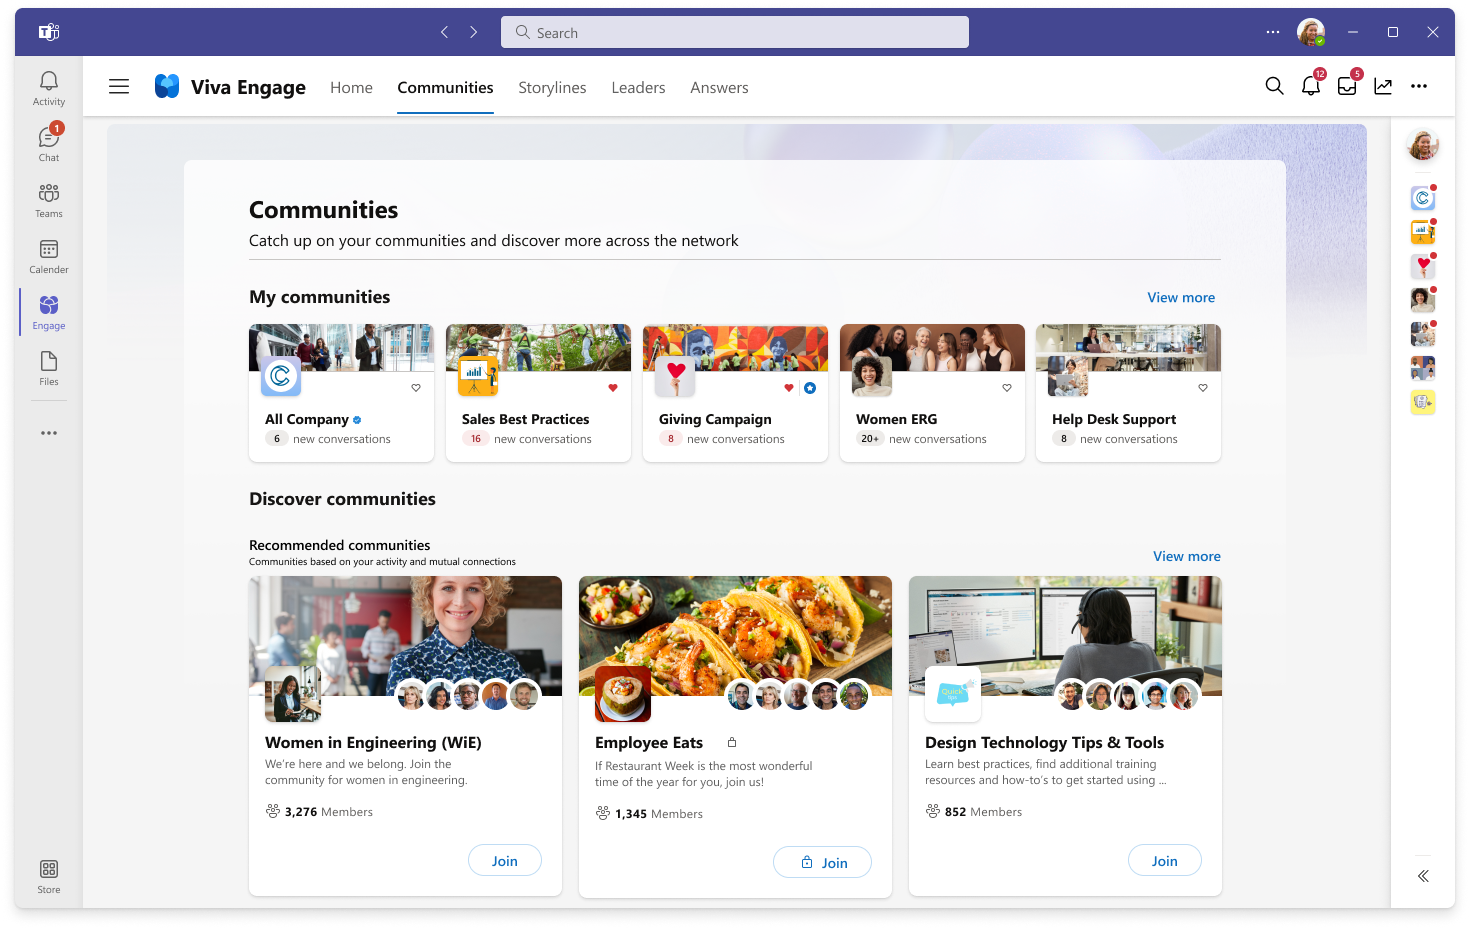
When you join a community, you can participate in that community's feed. Communities you already belong to appear in the left pane of your Home page.
-
From your Viva Engage Home page, find a community you want to join:
-
Select the Communities tab, or
-
Under your communities, select Discover more
-
-
On the Communities page, use the search bar or browse by selecting View all communities.
-
Select a community to go to its landing page, where you can scroll the feed and check out members.
-
Select Join next to the community name.
-
Under Community Members, enter the names or email addresses of anyone you want to add to the community.
If it’s public, you’ll be added right away. If it’s private, the community admin will add you when they approve your request.
When you create a community, you become the owner of that community. When a new Microsoft 365 connected community is created, it gets a new SharePoint site, SharePoint document library, OneNote notebook, plan in Microsoft Planner, and shows up in the Global Address Book.
Your admin manages the group creation policy which determines who can create a community.
-
Click the Viva Engage tile in Microsoft 365.
-
At the bottom-left corner of the screen, select Create a Community.
-
Under Community Name, enter the name of your community.
Tips:
-
Use a short name so that it is easy for people to scan the list of communities. Your company may have community-naming conventions to follow. Look at other community names in your organization to see the names other people have used and to make sure the community you want to create doesn’t already exist.
-
If your organization uses Office 365 connected groups and has a group naming policy, a prefix and or a suffix will be automatically added. If needed, an Engage admin can override the group naming policy. For more information, see the Office 365 Groups Naming Policy.
-
-
Under Members, enter the names or email addresses of anyone you want to add to the community. After the community is created, you can add more members.
Native mode: You can add up to 19 members while creating a community (20 total including the community creator).
Non-native mode: You can add up to 50 members while creating a community.
-
Under Who can view conversations and post messages, select one of the following:
-
Public Access: Anyone on your network can view the content posted to this community and can join this community.
-
Private Access: Only approved members of this community can view the content and a community admin must approve people who request to join this community.
-
-
A default classification is selected under the Classification section. To change it, click Edit, and select the classification from the drop-down list.
-
Select Create.
Learn more
Customize a Viva Engage community


