
Manage town hall recordings in Microsoft Teams
Record a town hall
By default, a town hall will start recording right when it starts. To start a town hall, join the town hall from your Teams calendar and select Start meeting in the meeting controls when you’re ready.
To prevent a town hall from recording automatically:
-
Go to your Teams Calendar.
-
Open your upcoming town hall.
-
Select Meeting options

-
Turn the Record automatically toggle off.
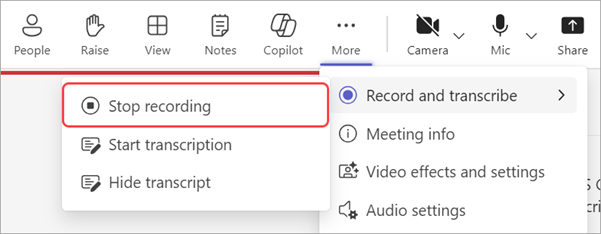
To stop recording during a town hall, select More actions… > Record and transcribe > Stop recording.
Publish a town hall recording
To publish a town hall recording:
-
Go to your Teams Calendar.
-
Select a past town hall.
-
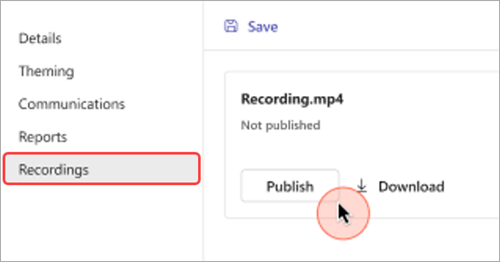
Go to Recordings.
-
Select your recording.
-
If your recording was saved in OneDrive, select Publish from OneDrive.
-
Find and select your recording. Select Confirm.
-
-
Select Publish.
To unpublish, return to the town hall recording and select Unpublish.
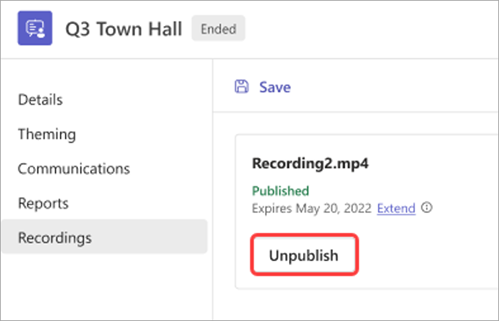
By default, published recordings will expire 30 days after you publish them. You can extend them by choosing Extend for 60 days next to the published recording. After the new date passes, you’ll have to reupload and republish the file to keep sharing.
Share a town hall recording
When you publish a town hall recording, attendees will automatically receive an email with a link to access the recording.
What's next?


Need more help?
Want more options?
Explore subscription benefits, browse training courses, learn how to secure your device, and more.


Communities help you ask and answer questions, give feedback, and hear from experts with rich knowledge.


