Create a SharePoint agent
Applies To
You can build an agent that is tailored to your team's needs and content and share them with your teammates in Teams chat.
What you need
You can create new agents or edit an existing agent if you:
-
Are assigned with a Microsoft 365 Copilot license, or your organization has pay-as-you-go service enabled for SharePoint agents.
-
And have edit permissions on a SharePoint site.
Where you can create a SharePoint agent
After signing into your SharePoint site, with site edit permissions, you can create your own agent from:
Note: The agent only answers questions using information from sites, pages, and files that the user already has access to and have been included as the agent's sources. To get information from all the sources you want the agent to use, you may need to update permissions for yourself or the people you want to share the agent with.
Create an agent from the site homepage
On the site home page, select New > Agent
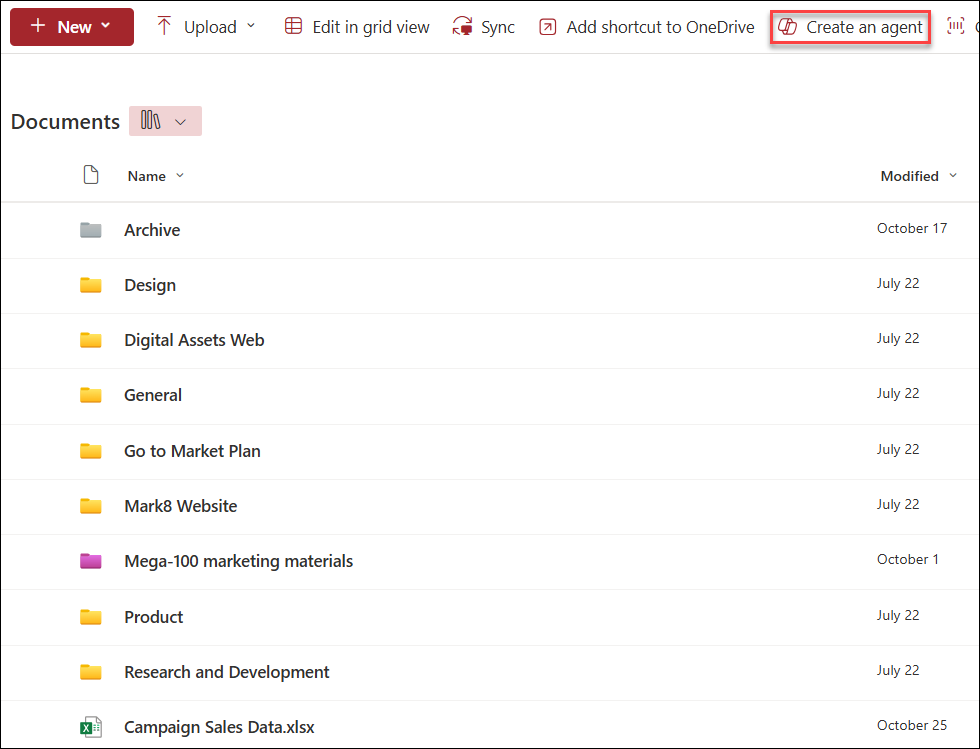
Create an agent from the command bar of a document library
On a document library, you can choose Create an agent for all supported files in this library.
Create an agent from the context menu of selected file(s)
Instead of creating an agent for all files in a document library, sometimes you may want to just include some files. In this case, you can select the files you want, then select Create an agent from the context menu by either right clicking or selecting the ellipsis next to one of the selected files:
Create an agent from the agent chat pane
On any site, page, or document library, select the Copilot button on the upper right to open the agent. Then select the dropdown next to the current agent, then select Create an agent.
No matter where you choose to create your agent from, once you select Create an agent, the agent is immediately ready, scoped to your selection. You can choose to Open agent directly without further adjustments, or you can select Edit to customize its branding, purpose, scope and behavior.
Where can you find your agent file?
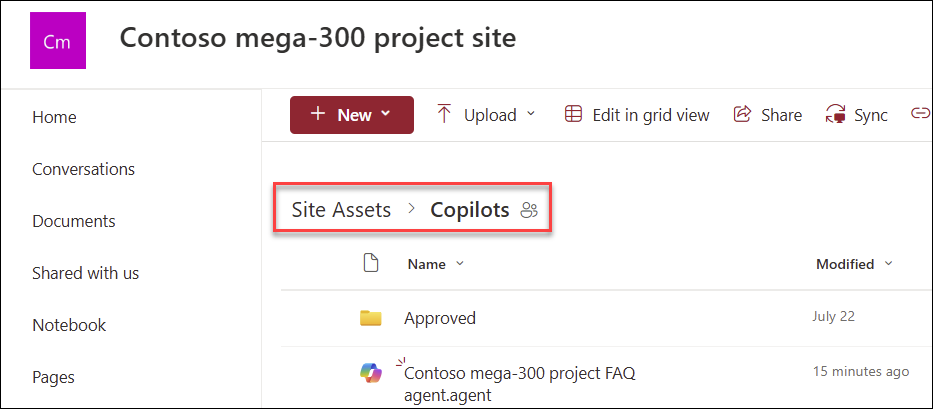
The Copilots folder
Every time you create an agent, it is stored as a .agent file.
If you create it from the site's homepage, the .agent file is automatically stored under Site contents > Site Assets > Copilots.
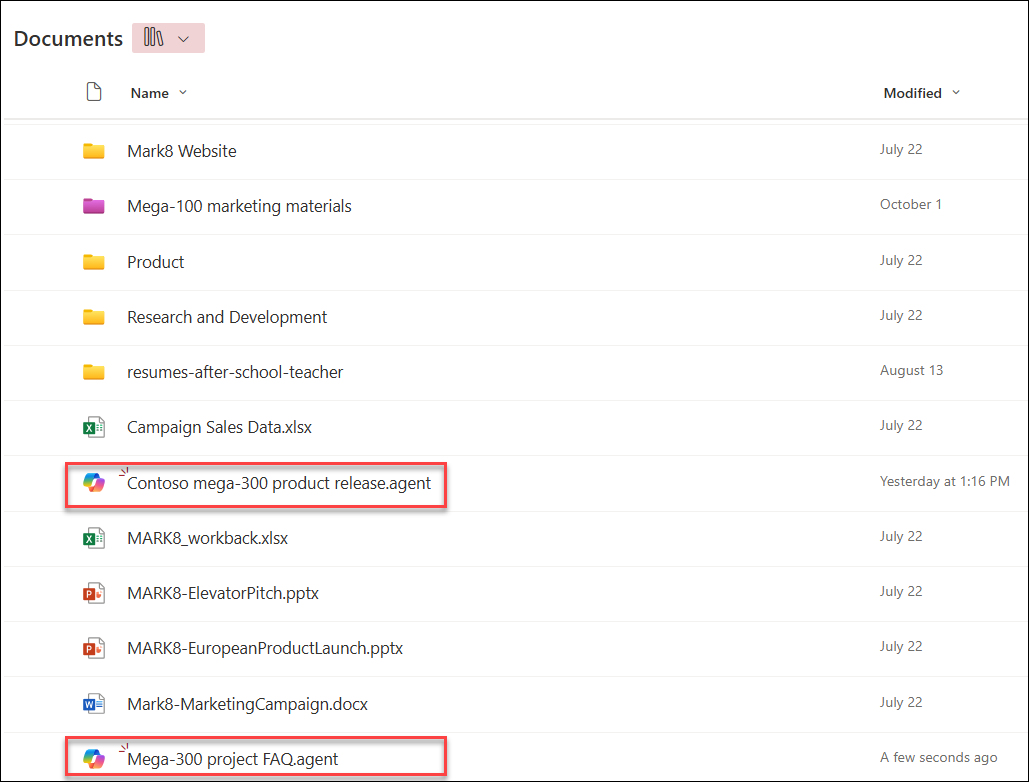
Document library
If you create an agent from other places, the agent is automatically saved to the current document library folder, in the place where you originally created it.
You can edit the agent at the end of the creation or later by:
-
Customizing its branding and purpose
-
Adding or removing which sites, pages, and files your agent should include as knowledge sources beyond the current SharePoint site.
-
Refining the agent's behavior by writing customized prompts tailored to the purpose and scope of the agent.
FAQ and data handling
To learn more about agent, see Frequently asked questions.
For more information on how Microsoft 365 Copilot works, see Data, Privacy, and Security for Microsoft 365 Copilot.


