
Record your screen, create webcam videos, and add effects directly in Microsoft 365 with your work or school account! The Stream screen recorder is great for explainer videos, product demos, or quick webcam videos without leaving M365. You can add inking, stickers, images, music, text, replace your background, and record multiple clips.
Record
-
Go to the Stream start page at https://stream.office.com
-
Select + New recording. This will open the camera.
-
When prompted by your browser, select Allow to enable your camera and microphone. See this article for more information on how to enable or troubleshoot your camera.
-
Select your desired webcam, microphone, and screen share settings.
-
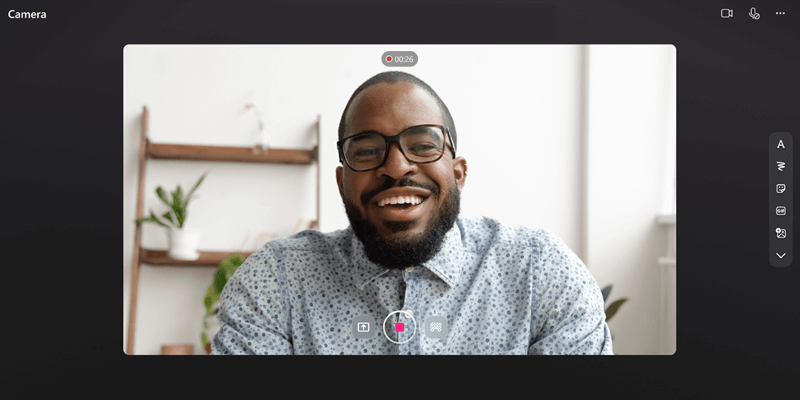
Choose any effects you'd like in your video: Filters, Background blur, Background replace, Stickers, and more.
-
Select the circular capture button to begin recording or pause recording.
Review & upload
-
Select Next in the bottom righthand corner.
-
Select the progress bar and drag handles to Trim your recording.
-
Review your recording and select Retake to rerecord.
-
Select Add music to add background music to your recording.
-
Select Publish to upload the recording to Microsoft 365.
Enhance & share
After your video is uploaded it will open in the Stream web app for you to enhance the video and share.
-
From within the Stream player page, you can add a title or description, generate a transcript for your video, set the thumbnail, add chapters to make the video easier to navigate, suppress background noise in your recording, and more.
-
Select Share to create a sharing link to your video to send to someone to view.
-
After people view your video, select Analytics in the Stream player page to see a trend of views and visitors over time and which part of your video was viewed.


