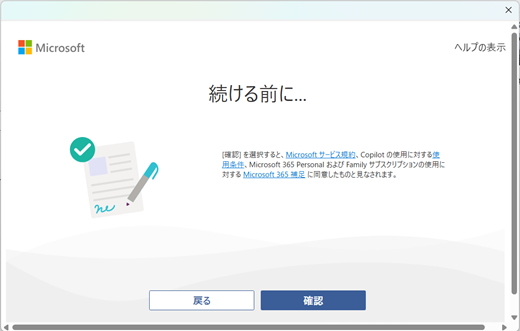
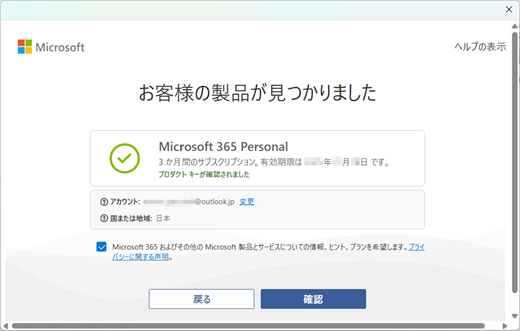
Starting October 2025, the Microsoft 365 Personal 24 months free subscription may be included with Office Pre-installed PCs in Japan. If you want to start this subscription included with your device, you should perform the steps under the either 'Windows Set-up' tab or 'Microsoft 365 Client' tab following below.
Important
The free subscription will expire if you do not start this within 180 days after Windows is activated on your device. If you will purchase multiple Office Pre-installed PCs with this free subscription included at once, please don't start a 3-month trial subscription with a single Microsoft account on each device. For this matter, please refer to 'Frequently Asked Questions for Office Pre-installed PC'.
Caution
If you are currently using the Microsoft 365 Family subscription, please start this Microsoft 365 Personal 24-month free subscription after your current Microsoft 365 Family subscription has expired. If you purchased your Microsoft 365 Personal or Family from a third-party retailer, please also see Manage your Microsoft 365 subscription purchased through a third party.
Windows Set-up is the initial setup process displayed when Windows is booted for the first time, serving as a guide for users to customize their system. If your purchased PC includes the Microsoft 365 Personal 24-month free subscription, you can proceed to start that subscription in Windows Set-up.
1: Start Microsoft 365 Personal in Windows Set-up
Step 1:
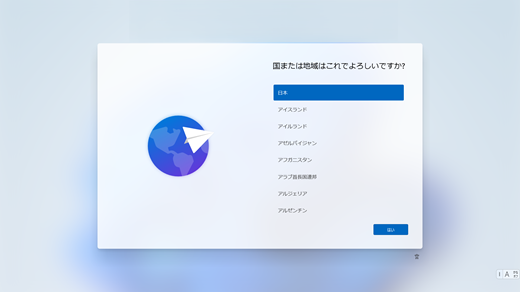
Boot your device and Windows Set-up starts
Connect to Internet and then accept the Windows license agreement and proceed the steps to custumize the system settings.
Step 2:
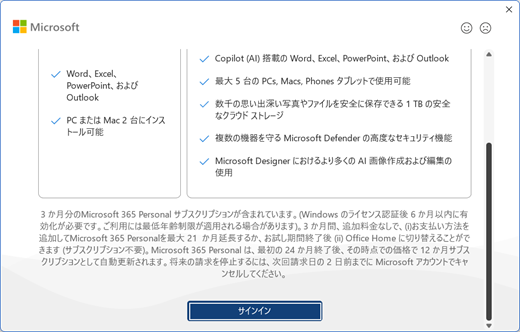
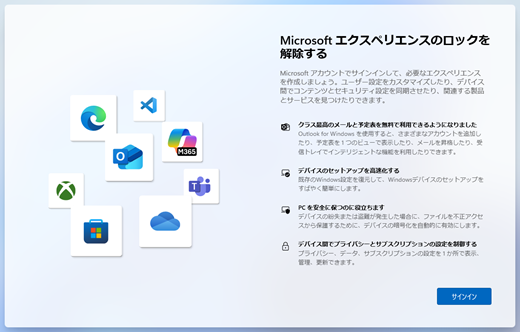
Unlock Microsoft Experience screen opens
Select the Sign in button
Sign in with your Microsoft account and start the steps for the services with your Micrsoft account required.
Step 3:
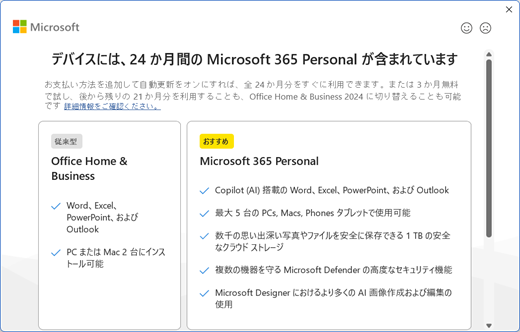
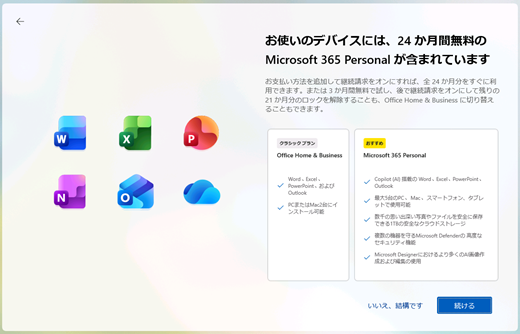
'Your device comes with 24 months of Microsoft 365 Personal for free' screen opens
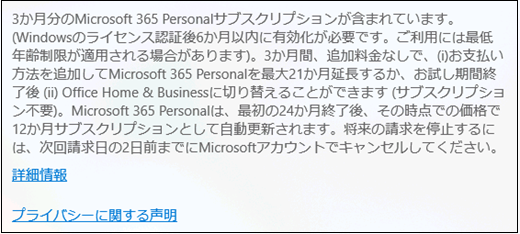
This indicates that your device comes with a Microsoft 365 Personal 24-month free subscription.
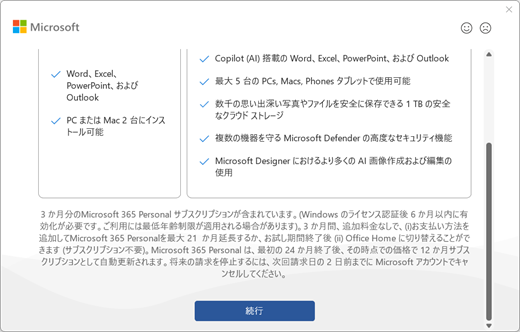
If you want to start the subscription in Windows Set-up, read the explanation of this subscription carefully, and select Continue button and go to step 4.

Important
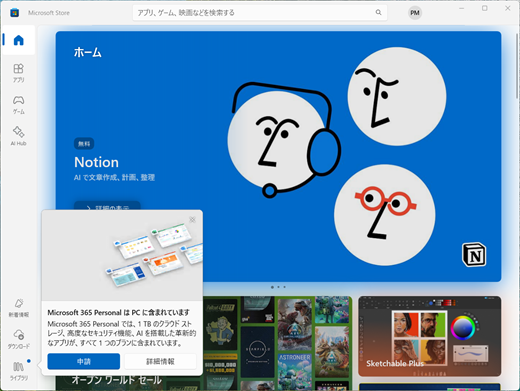
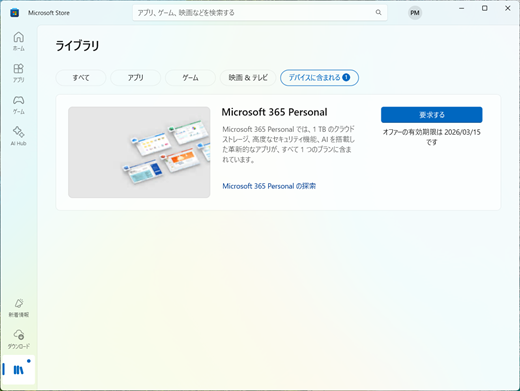
If this screen did not appear at all during Windows Set-up, it means that the free subscription itself is not included with your Office Pre-installed PC. In this case, please be sure to confirm whether 'Microsoft 365 Personal' exists under the 'Included with device' tab in 'Library' in Microsoft store app after Windows activated. if you cannot see 'Microsoft 365 Personal' in Microsoft store app, please contact the manufacturer of your purchased Office Pre-installed PC.
Caution
If you will select the 'No, thanks' button in this screen, you can skip the steps to start the subscription in Windows Set-up. In the case, please perform the steps to start this free subscription via the first run experience on a Microsoft 365 client app within 180 days after Windows activated. (Please refer the steps under the "Microsoft 365 client" tab in this page.)
Step 4:
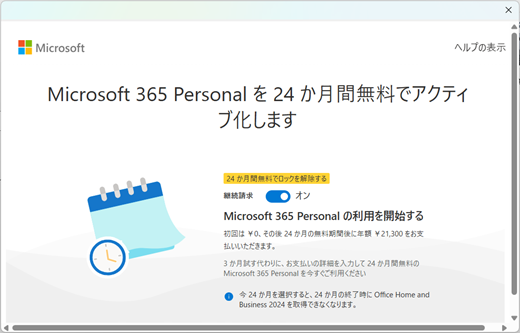
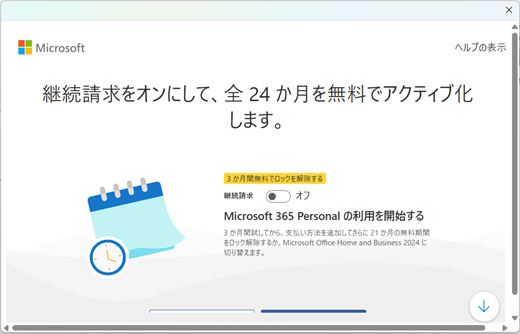
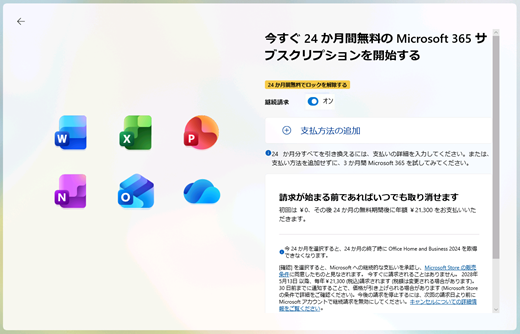
'Start the 24 months free Microsoft 365 subscription right now' screen opens
'Recurring billing' switch is turned on by default
Caution
If this screen is displayed instead like the image on the right, you have already registered at least one payment method in your Microsoft account. If you select the Confirm button as is, the 24-month full subscription will be started. If you want to activate the 3-month trial subscription, please turn off the switch and change the screen.
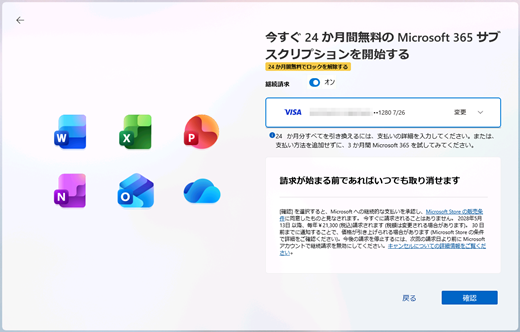
Turn the Recurring billing switch on or off in this screen.
According to your choice, please select either 'Turn the switch on' or 'Turn the switch off' from the options below and proceed to Step 5.

Option 1: Turn the switch on
Step 5:
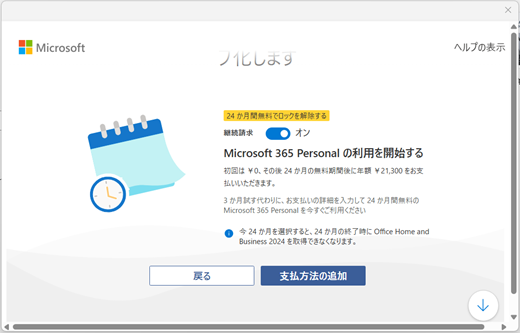
The 'Start the 24 months free Microsoft 365 subscription right now' screen opens
This state of this screen indicates that no payment method has registered in your Microsoft account yet. If you want to start a 24-month full subscription, you need to register at least one payment method in your Microsoft account.
Select Add Payment method button in the screen
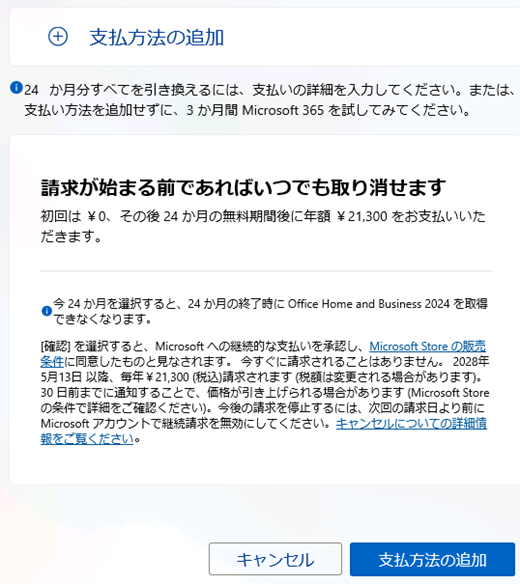
Step 6:
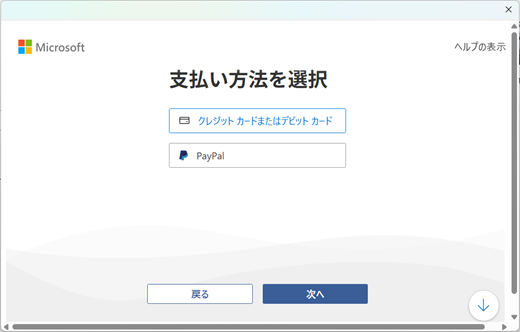
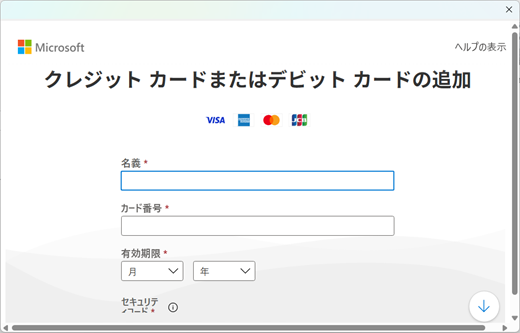
Add your credit card screen opens
Enter your payment information
Select Next button
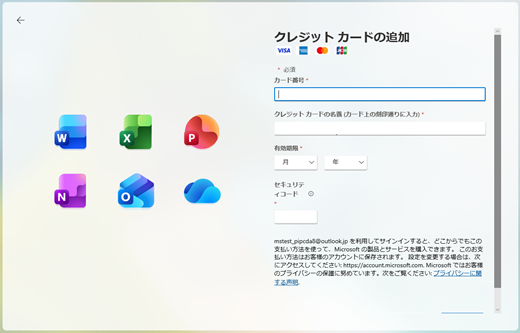
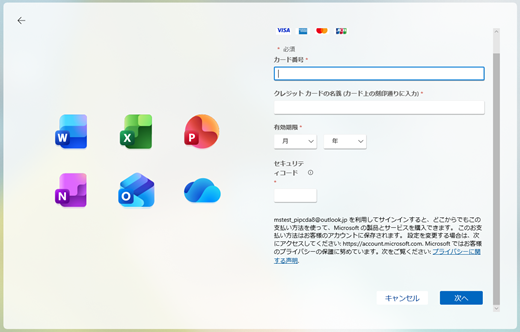
Step 7:
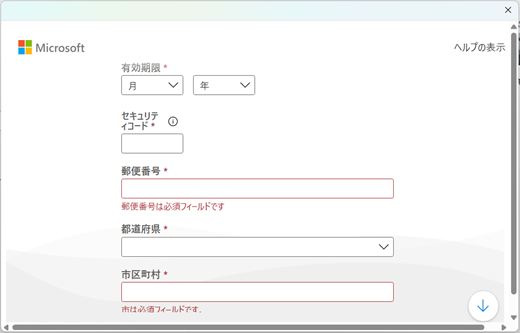
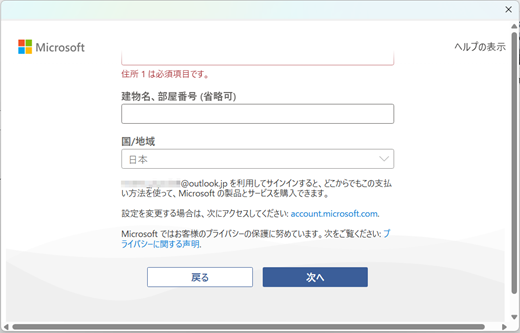
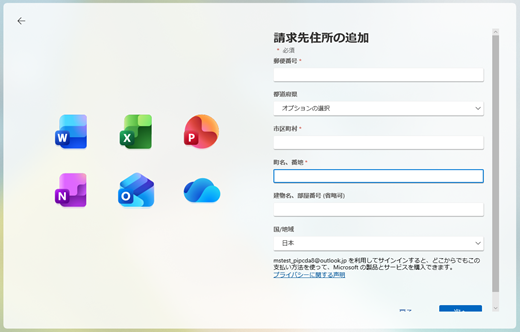
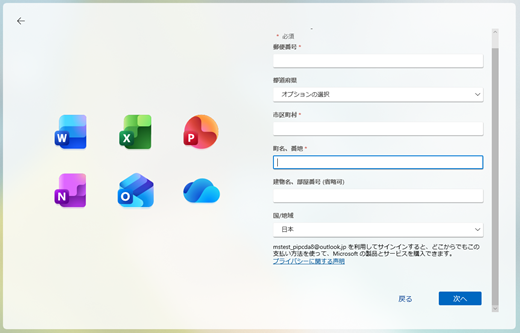
Add your billing address screen opens
Enter your billing address.
Select Next button
Step 8:
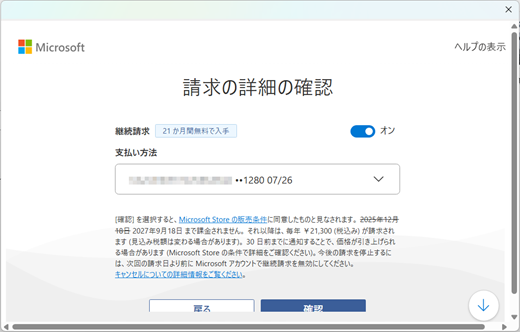
Return to the 'Start the 24 months free Microsoft 365 subscription right now' screen
This indicates that the payment method (your credit card) registered to your Microsoft account has been designated as the billing method for the auto renewal of Microsoft 365 Personal.
Select the Confirm button if there is no problem with that selection
Step 9:
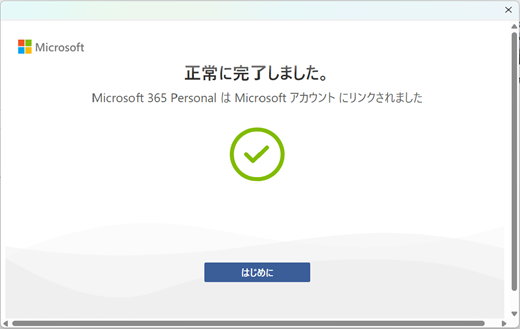
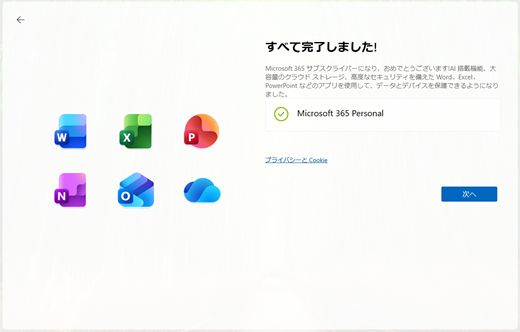
You're all set screen opens
This indicates that the 24 months subscription starts successfully.
Select Next button and complete remaining other process in Windows Set-up
Caution
- If you choose to start the 24 months free subscription, Office Home & Business 2024 free package is never provided for you. And after 24 months passed, you will be billed for next 12 months subscription fee and your subscription will be extended automatically.
- If you avoid the next billing of your subscription, please refer this article and turn the recurring billing off by at least 2 days before the next billing date of your subscription.
Option 2: Turn the switch off
Step 5:
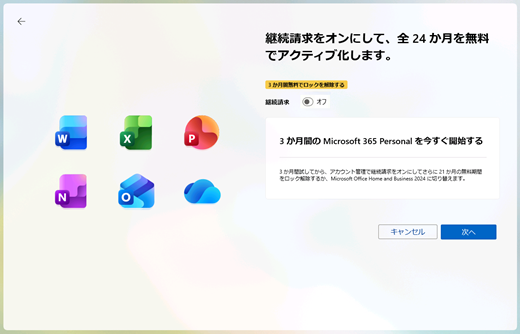
The title changes to "Turn on recurring billing to activate all 24 months for free".
You can start the 3-month free trial subscription with recurring billing turned off. (In other words, you can start this subscription regardless of whether a payment method is registered to your Microsoft account.)
Select Next button
Step 6:
You're all set screen opens
This indicates that the 3-month trial subscription starts successfully.
Select Next button and complete remaining other process in Windows Set-up
Caution
After you started the 3 months trial subscription, you can extend your subscription to the 24-month subscription by activating the additional 21-month subscription for free during your trial subscription is active. If you won't activate the additional 21-month subscription, you will not be charged once the trial subscription will be expired, but the additional 21-month free subscription itself will be revoked. After your trial subscription ends, we will offer the Office Home & Business 2024 for free to you instead.
2: After Windows Set-up has finished
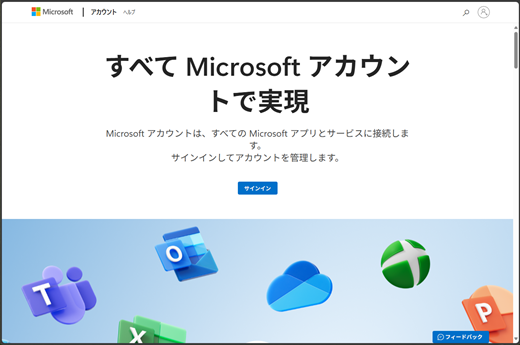
Check the Microsoft 365 Personal in Microsoft account dashboard
Step 2:
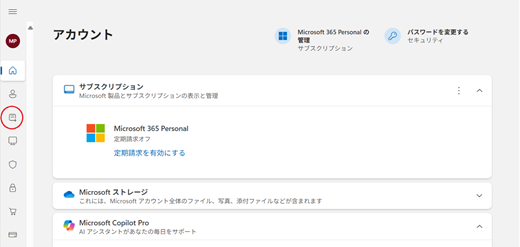
Main Dashboard page opens
Select the Subscription icon in the left menu
Step 3:
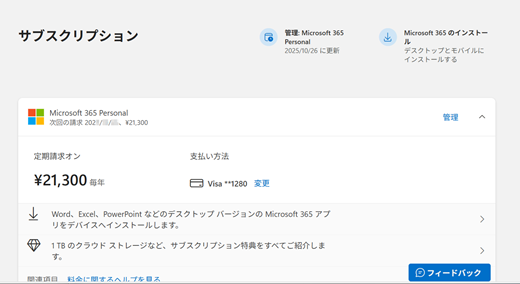
Subscription page opens
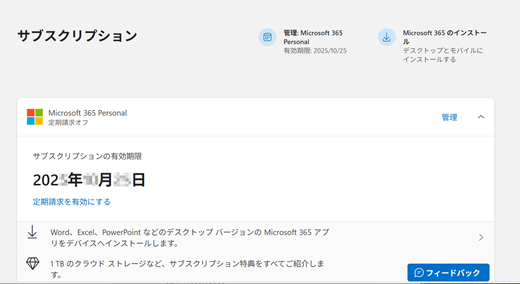
You can see the status of your active Microsoft 365 Personal subscription displayed in it. Please check the next billing date or the expiration date is displayed based on your subscription (24-month full or 3-month trial).
24 months full subscription started
3 month trial subscription started
Activate the Microsoft 365 client apps
Activate the preinstalled Microsoft 365 apps with your Microsoft account.
Step 1:
Start a preinstalled Microsoft 365 app from Start menu (Word, Excel or PowerPoint)
Step 2:
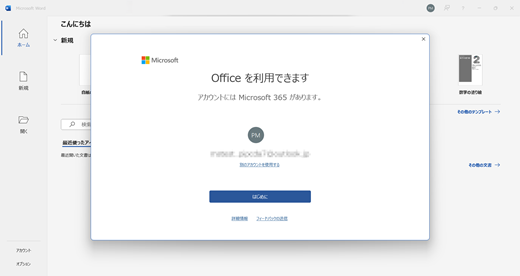
You've got Office screen opens
The app is automatically signed in with your Microsoft account, and the screen indicates that your account has the active Microsoft 365 subscription.
Select Get started button
Step 3:
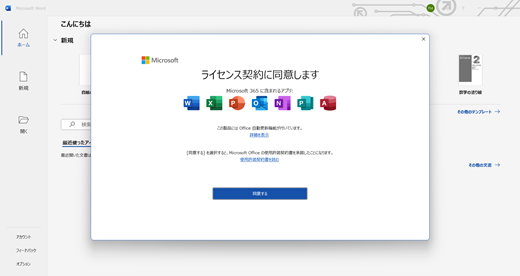
Accept the License agreement screen opens
It indicates that the Microsoft 365 apps are activated.
Select the Accept button to accept the agreement
Step 4:
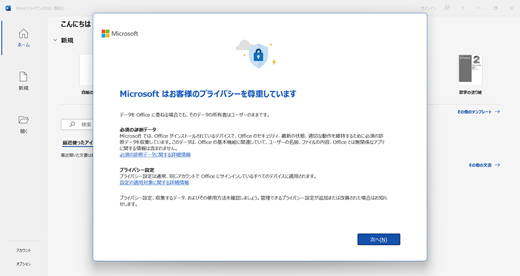
After accepting, configure the remaining settings and complete the Set-up in the client app.
Step 5:
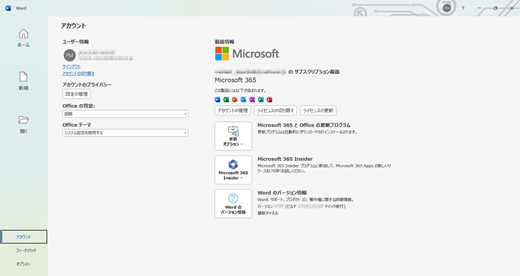
Check the Microsoft 365 apps are activated in the Product info in Account menu in the apps
3: Next steps
If you started the 24-month full subscription, see the articles also
Manage a Microsoft subscription
Turn recurring billing on or off for Microsoft 365 for home
How to renew your Microsoft 365 subscription
If you started the 3-month trial subscription, please see the links for next steps
Option 1: Activate the remaining 21-month subscription
Option 2: Switch to Office Home and Business 2024