Create, submit, and grade assignments, all in Microsoft Teams.
Create an assignment
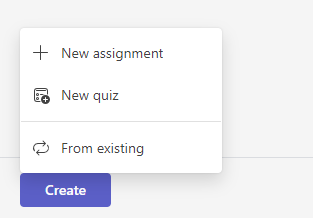
- Navigate to your class team and select Assignments.
- Select Create > Assignment.

Add details to your assignment
The only thing your assignment requires to be saved is a title. All other fields are optional.
- Title (required)
- Choose multiple classes or individual students in one class to assign to.
- Add additional instructions
- Add resources. (See below.)
- Select a due date and time. (See below.)
- Points available
- Add a grading rubric.
- Add a category.
Tip
Read more step-by-step instructions for reusing assignments, assigning quizzes, and more.
When you are finished, select Assign. To save this assignment as a draft, select Save.

More on adding resources
- Select Add resources to choose an existing file or create a blank Microsoft 365 document to assign to each student.
- Select Attach.
- The default for the file will be Students can't edit, which means the document is read-only. This is a great option for reference materials.
- Select More options
 > Students edit their own copy to distribute an identical document to each student to edit and turn in.

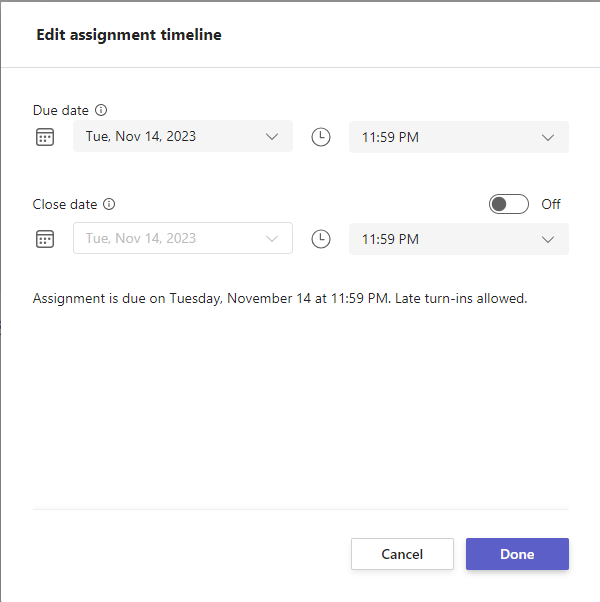
Choose assignment timeline
- To set a future assign date or prevent students from turning in late assignments, select Edit underneath the due date field.
- Make your selections and select Done.
Note
By default, close dates are not selected, allowing students to turn assignments in assignments.
View grades
Track student progress and access grades in Grades.
- Navigate to your class team and select Grades.
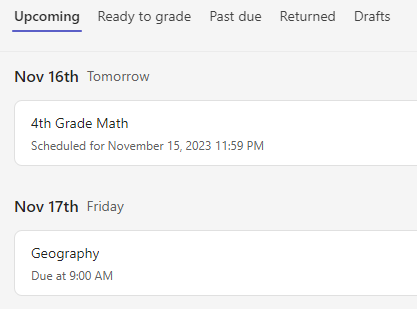
Assignments appear in rows and your students in a column. Assignments are in listed in order by soonest due date. Scroll down or across to view all assignments.
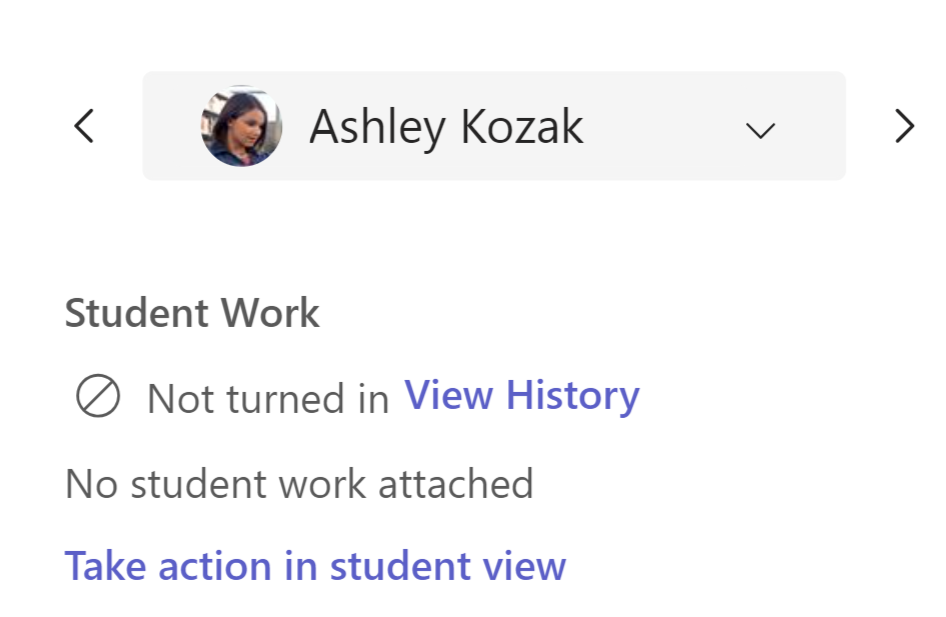
You can also view students' assignment statuses:
- Viewed - The student has opened and viewed the assignment.
- Turned in - The student has turned in the assignment and work is ready to grade.
- Returned or points - When you've graded student work, the points assigned will show. You'll see Returned if the assignment doesn't have points.
- Blank - No action has been taken on the assignment yet.


Start grading
You can select any cell in the Grades tab to edit it.
- To begin grading, select More options
on a cell, then Open student work.
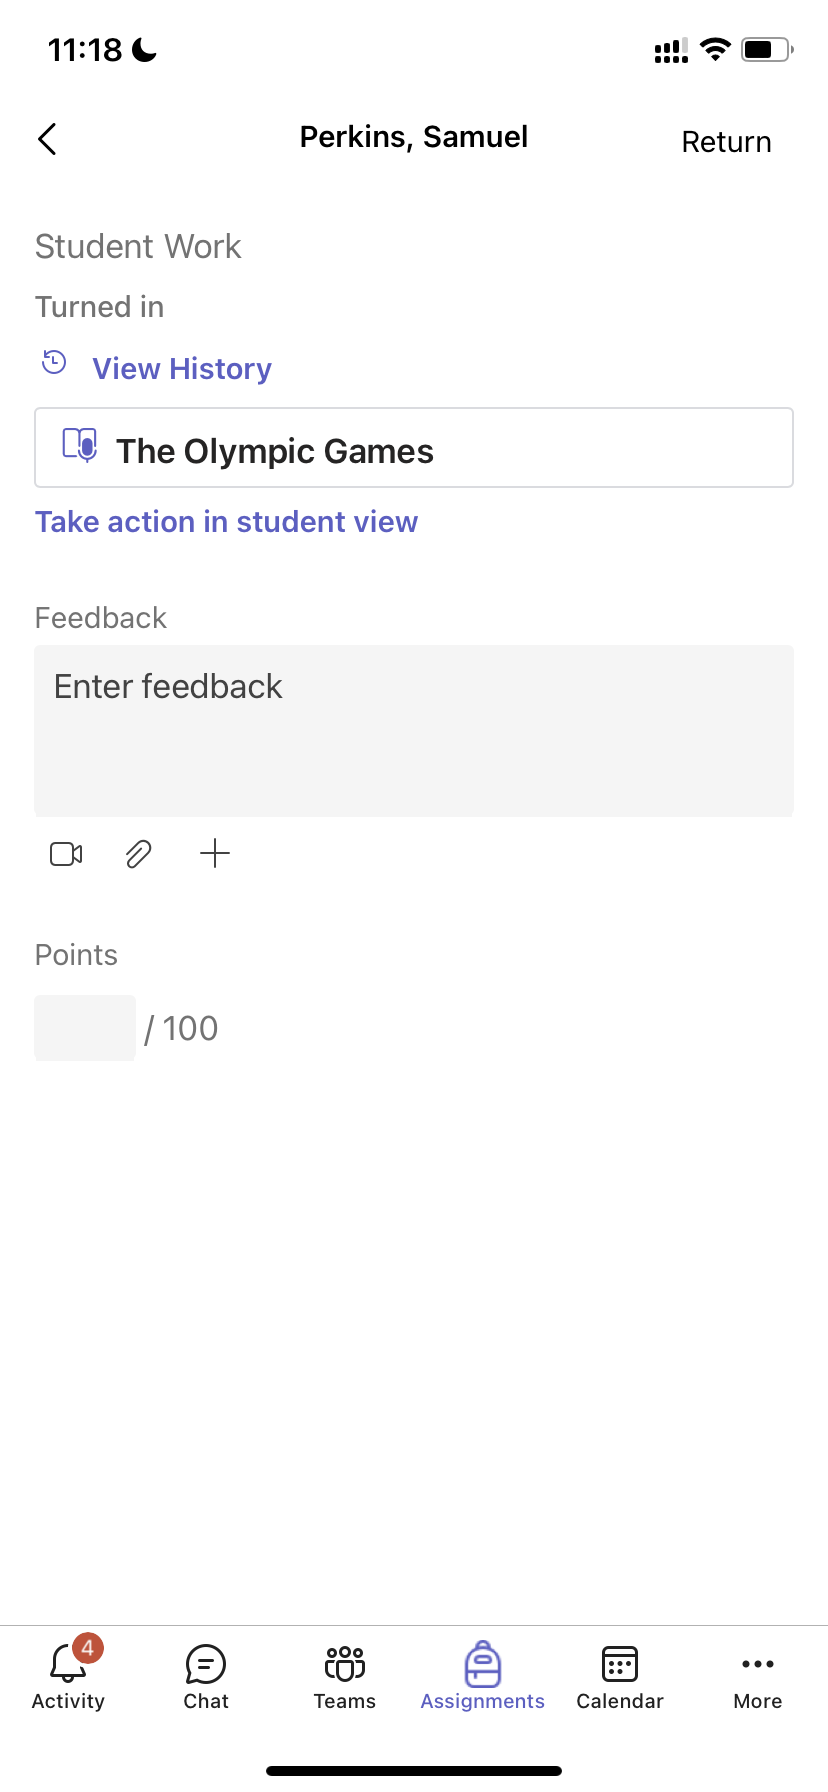
- This will open your student's assignment with a Feedback and Points field you can fill in.
- To write comments on the document itself, select Edit Document and either choose to edit in your desktop app or browser.
- Select the arrows next to the student's name to navigate between student assignments.
- Select Return > Return or Return for revision when you finish grading and want to return an assignment to a student. They will be notified and able to see your feedback.


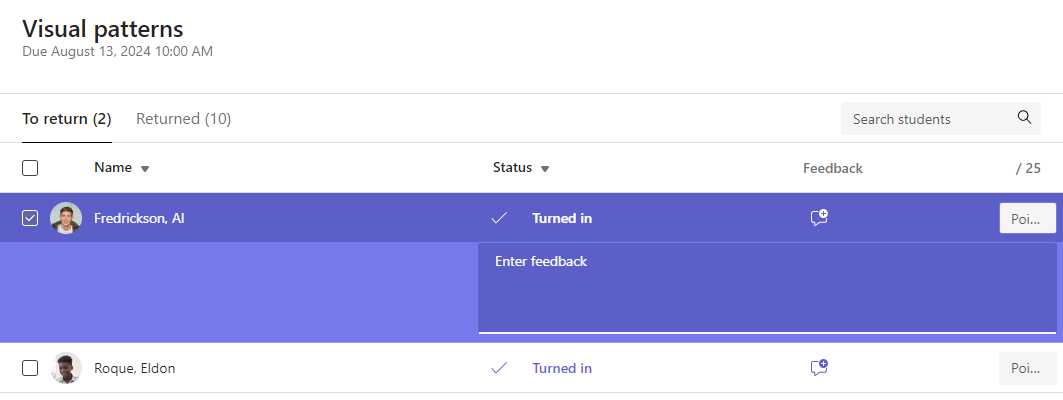
Return multiple grades at once
- To return multiple student grades simultaneously, select Assignments.
- Select an assignment.
- You can enter feedback and points here without opening student work.
- Check the boxes to specify which student work to return, or select all.
- Click Return > Return or Return for revision.
Tip
Learn more about the Grades tab and reviewing student work.