
These instructions explain how to print the adaptive pen grips on an FDM printer. FDM is a widely used 3D-printing method that melts thermoplastic filament and lays it down layer by layer to build an object. Common FDM printer brands include Bambu Lab, Creality 3D, Prusa, and FlashForge.
Material recommendations
- PLA (polylactic acid)
- ABS (acrylonitrile butadiene styrene)
- PETG (polyethylene terephthalate glycol modified)
- Nylon
Printer set-up
There are 3 parts per grip and 1 part per cap as shown in the image below:
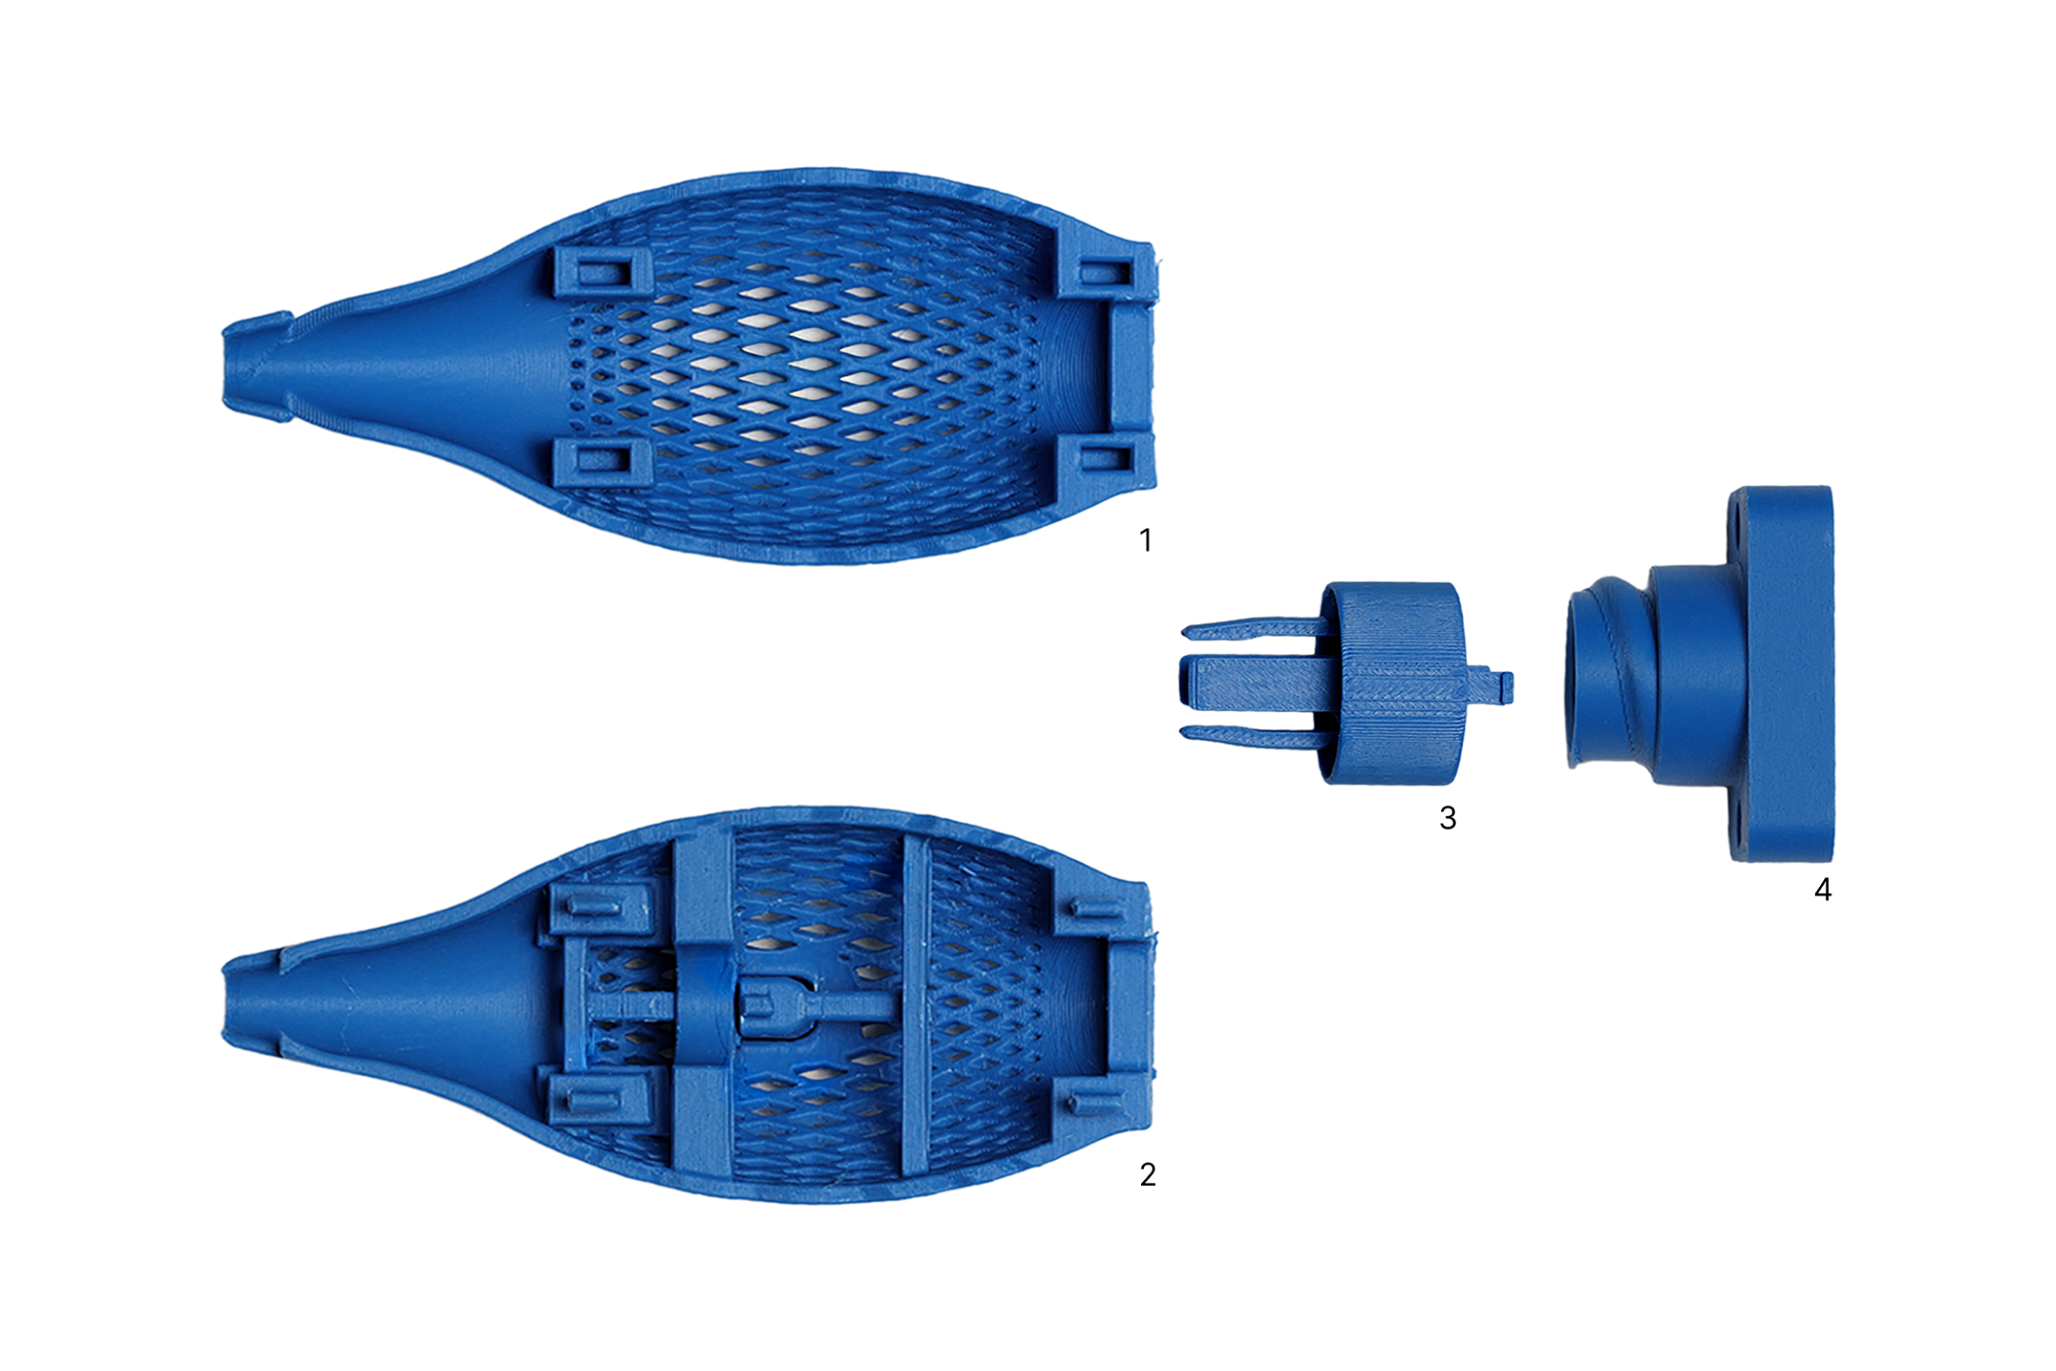
- Part 1 = Back Grip
- Part 2 = Front Grip
- Part 3 = Topper
Printer details:
- Nozzle size: 0.4mm
- Layer height: 0.2mm
Print settings:
- Wall loops: 2
- Top shell layers: 5
- Bottom shell layers: 5
- Infill: 15% Grid
- Support Type: tree
- Threshold Angle: 30
If you're downloading the 3MF file, you can skip this step because it already has the correct print orientation set up.
Orientation per part:
- Back grip: Vertical, upside down, with 30deg tilt back
- Front grip: Vertical, upside down, with 30deg tilt back
- Topper: Horizontal, on tangent
- Cap: Vertical, upside down
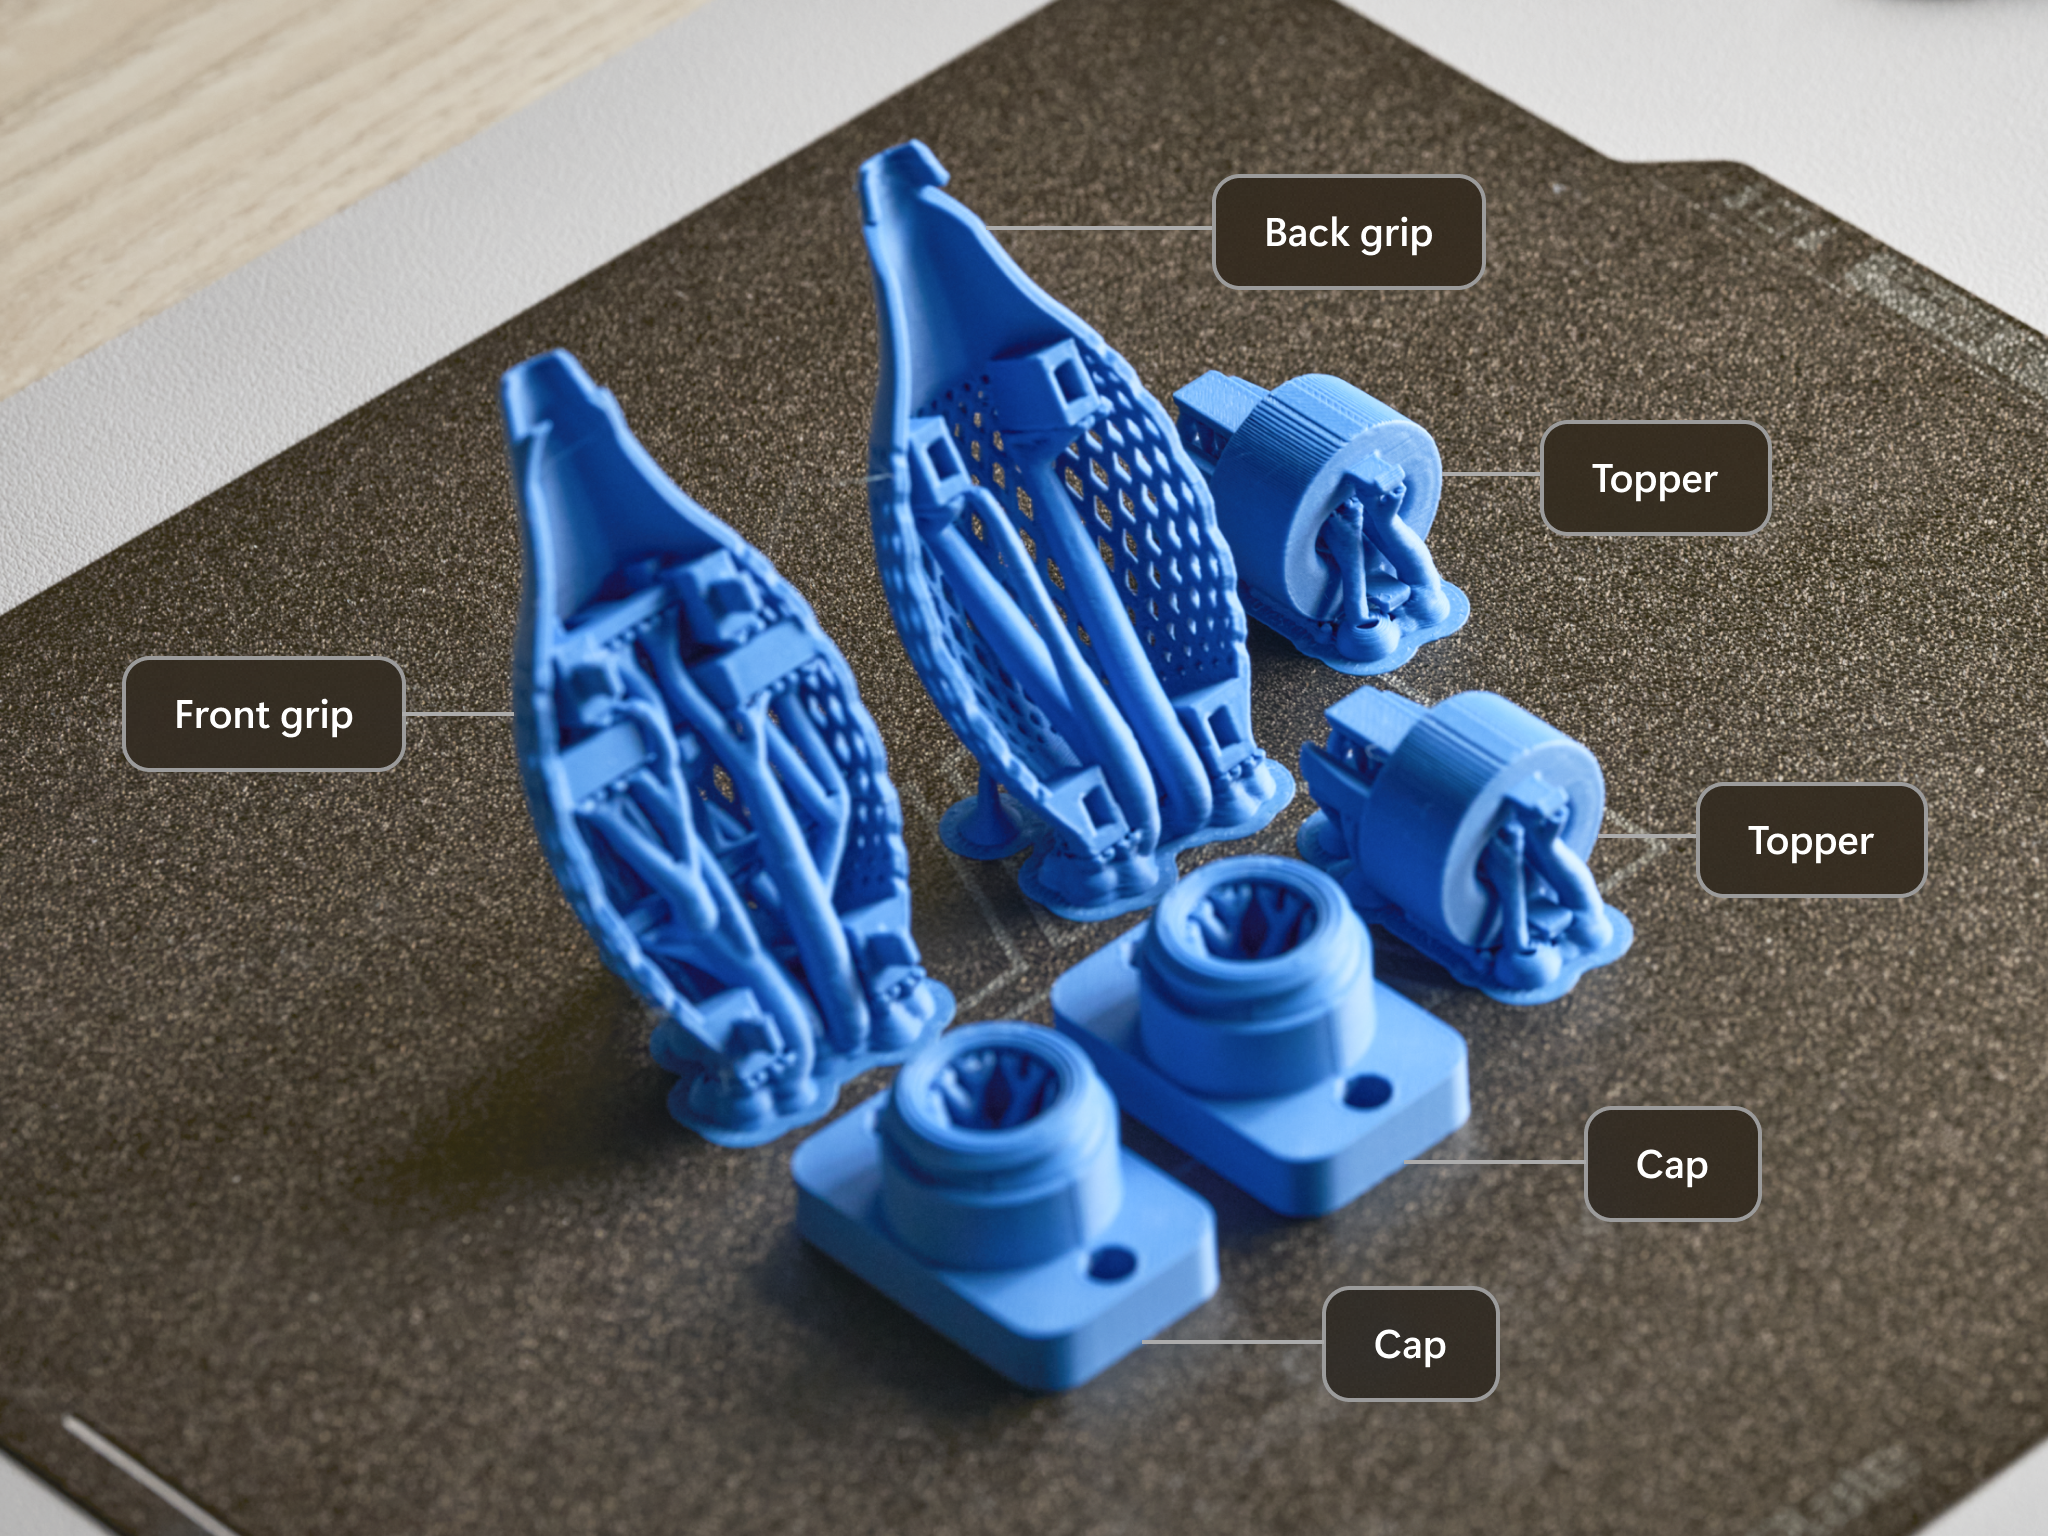
Here is an example of the final layout:
Note
The 3MF files include a 2nd topper as an extra. This image also shows 2 caps, and the cap files are available as a separate part download.
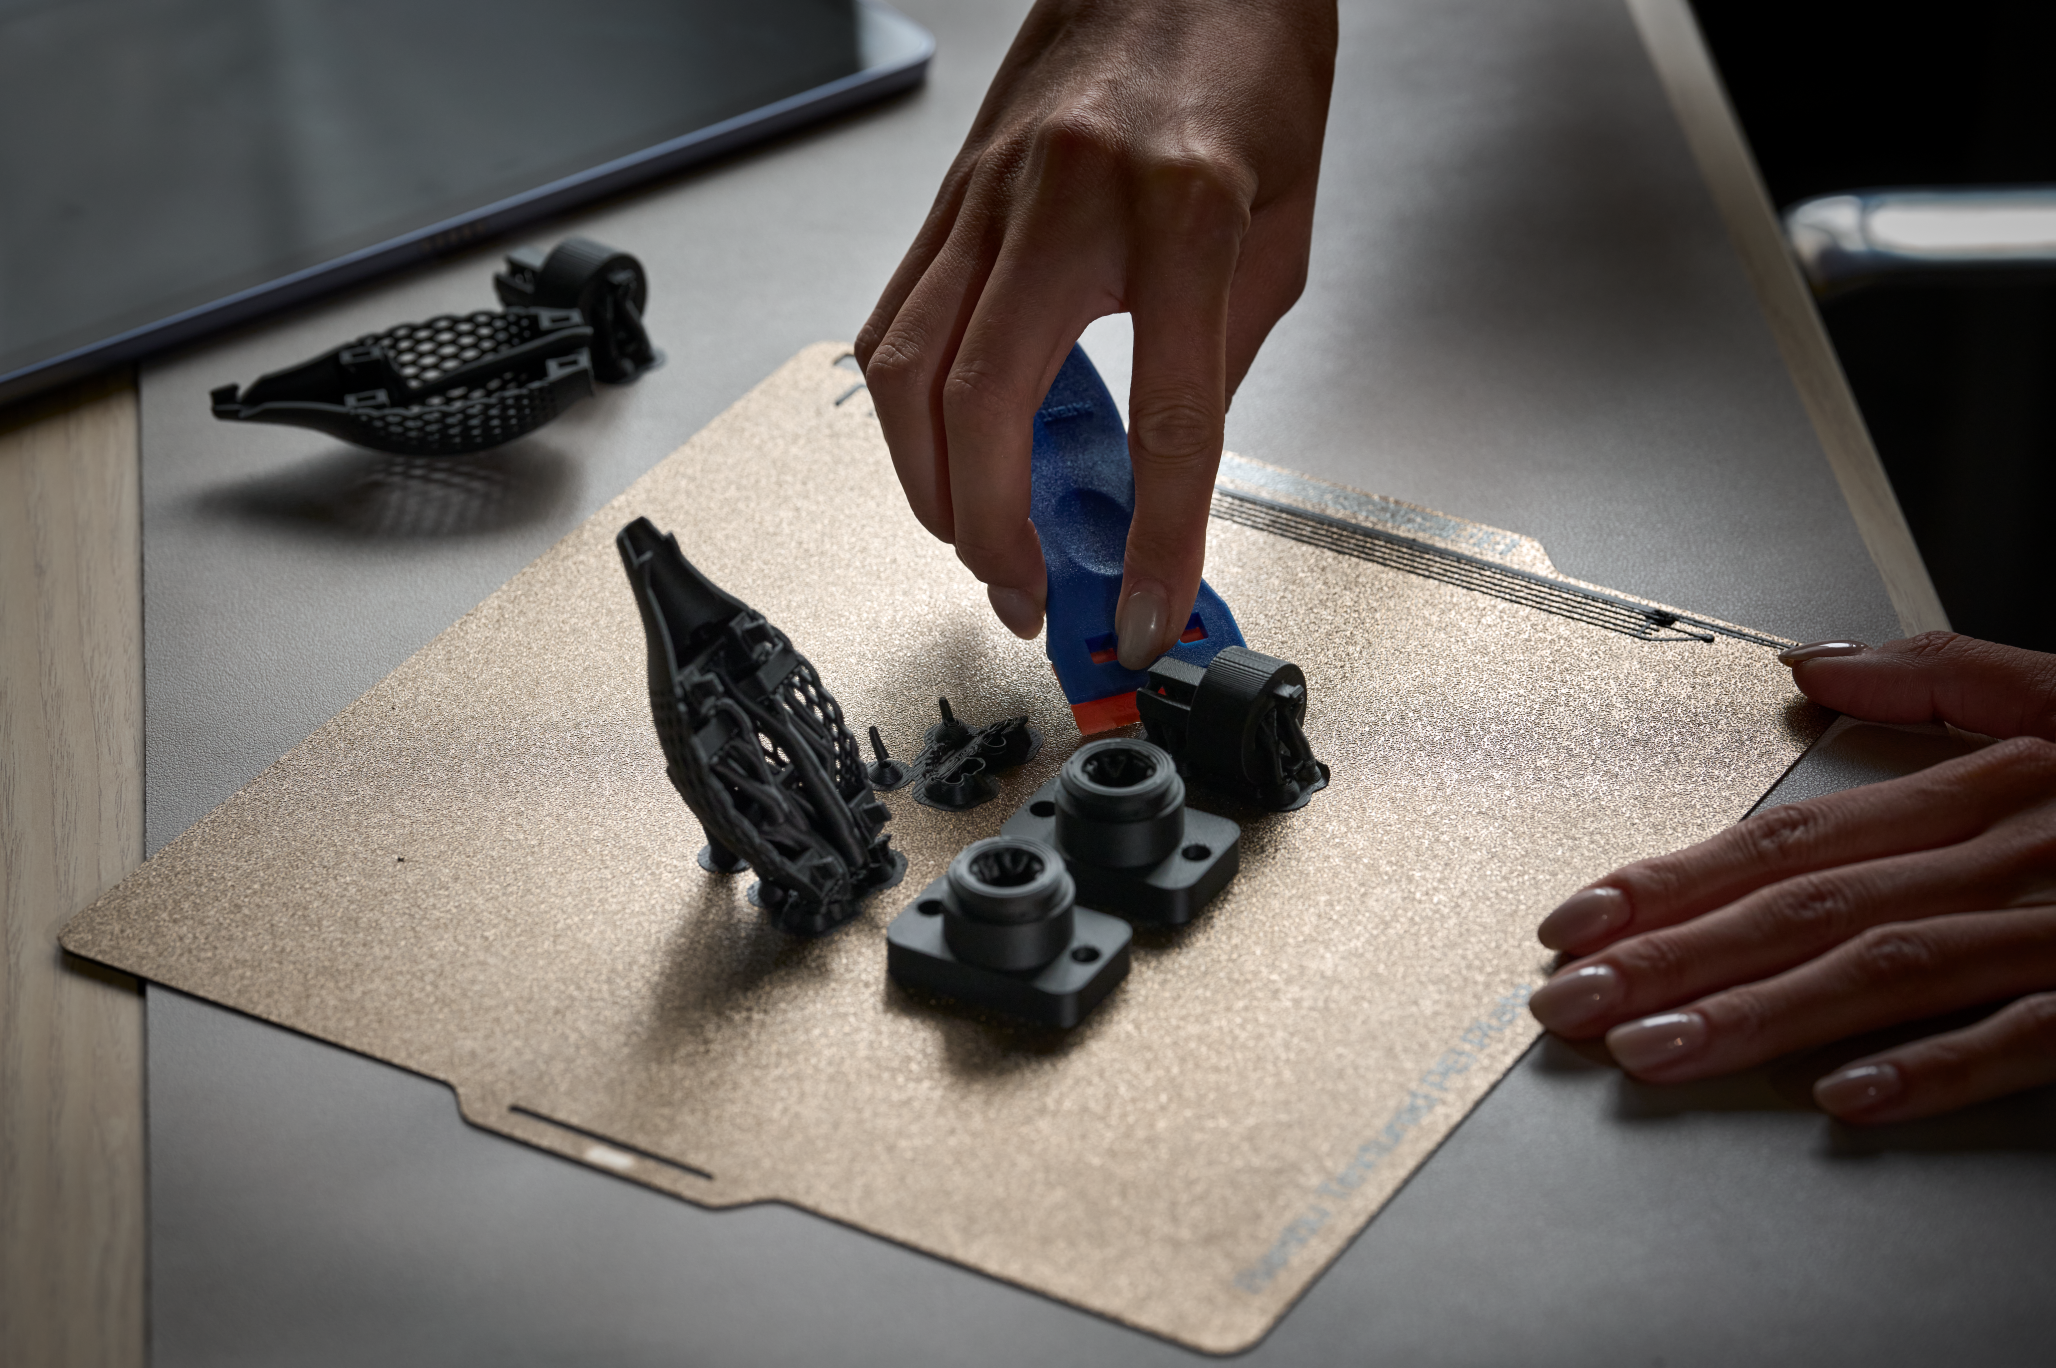
Remove support material
After printing, remove the parts from the print bed. You might need a scraping tool.
When you remove the prints, take out the support material before assembling the parts. You need tweezers or needle-nose pliers for this task.
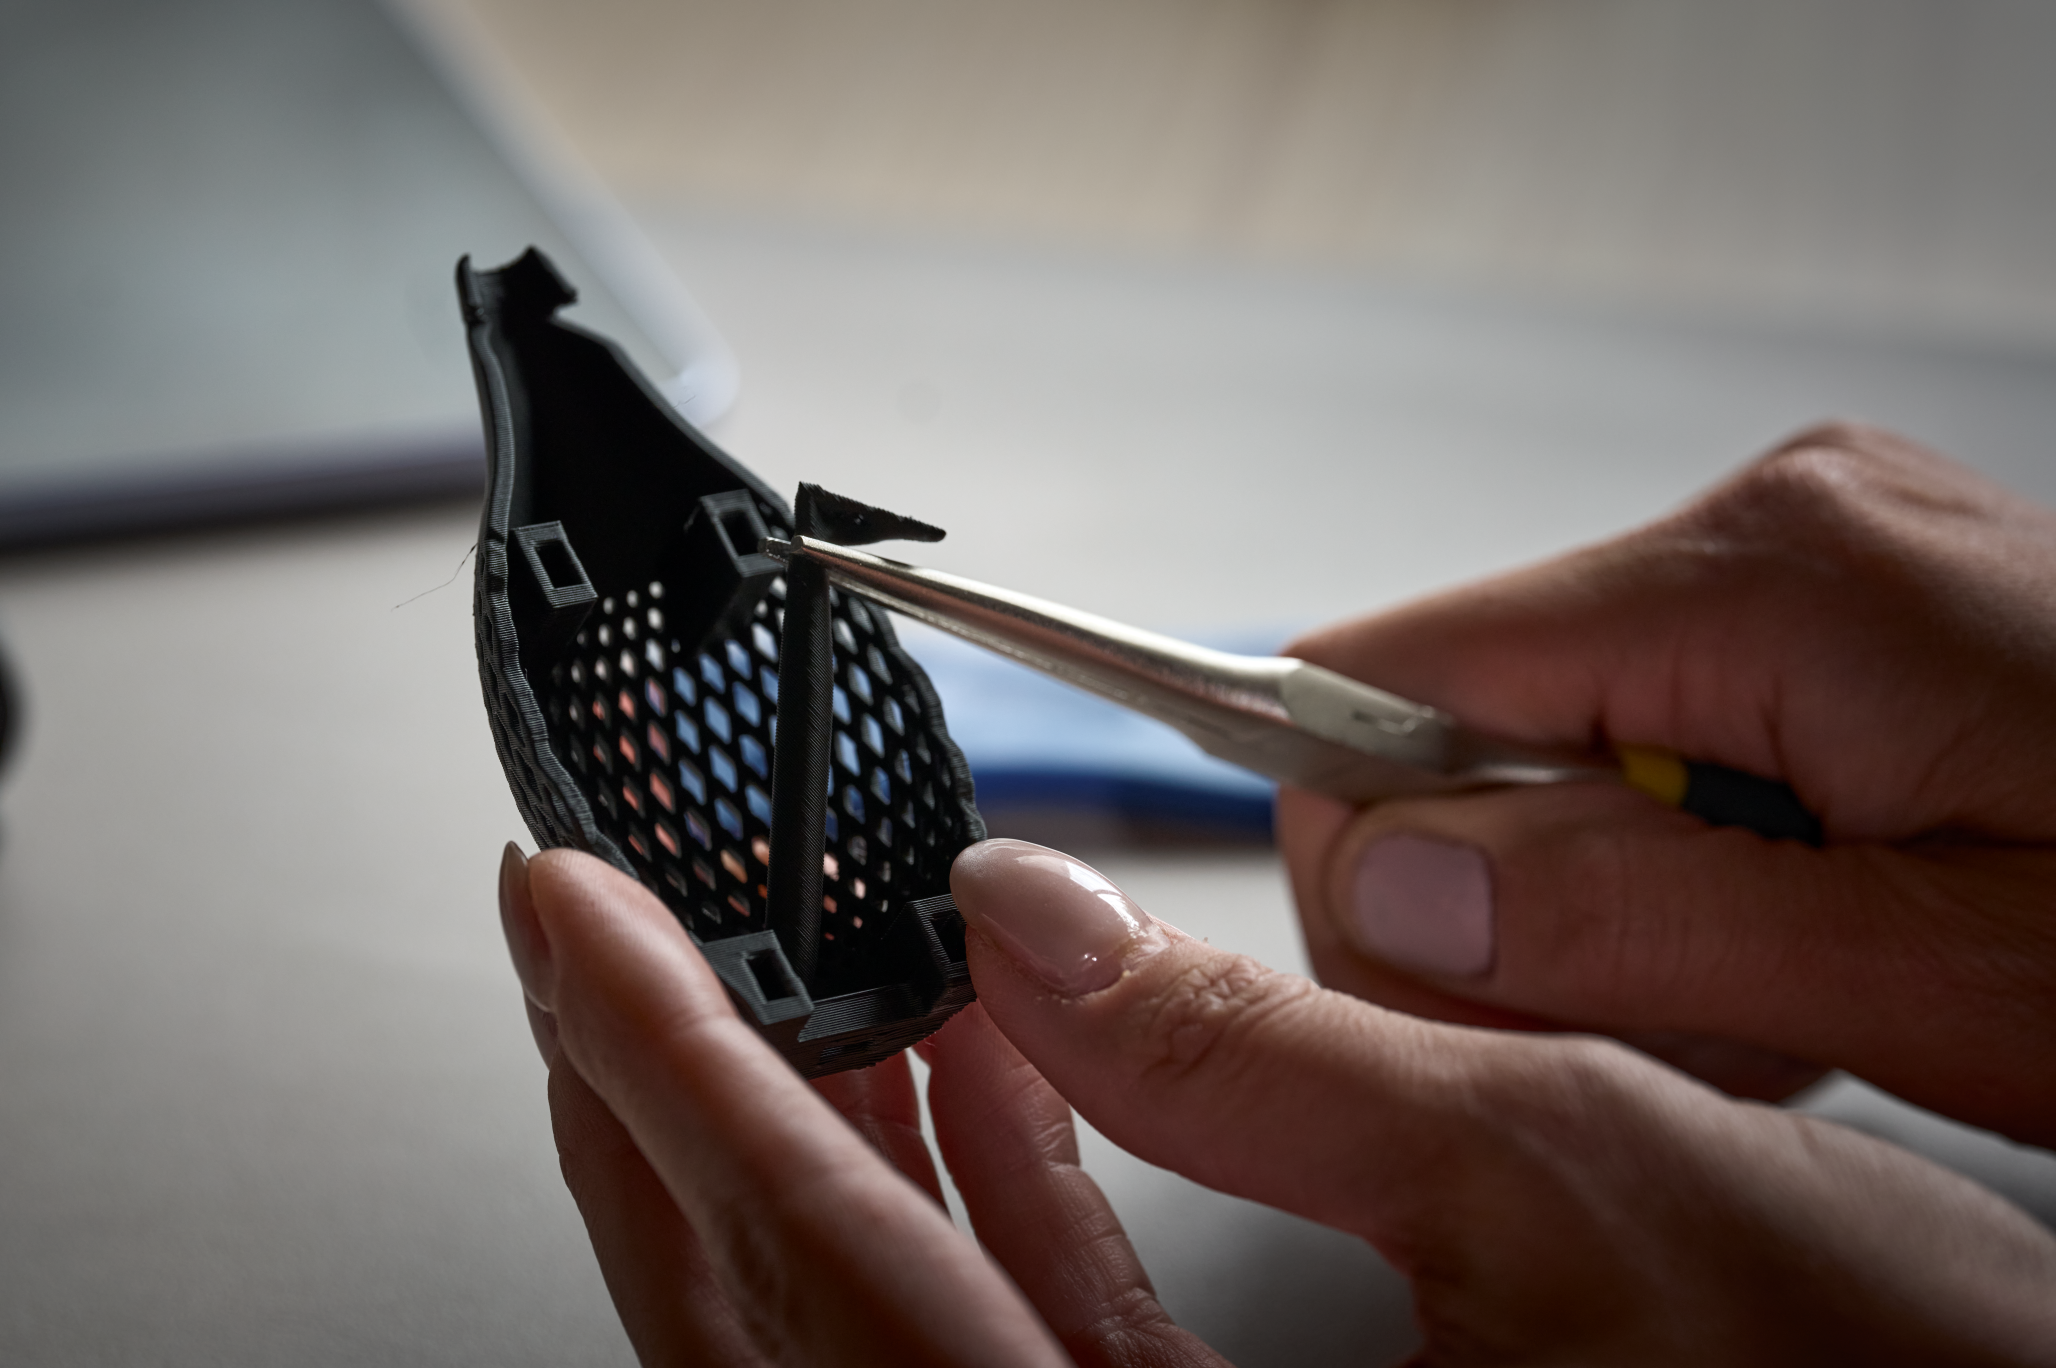
Part 2 has more complex supports and several small features that require care. Don't remove the four small posts or the H-shaped beams around the button.
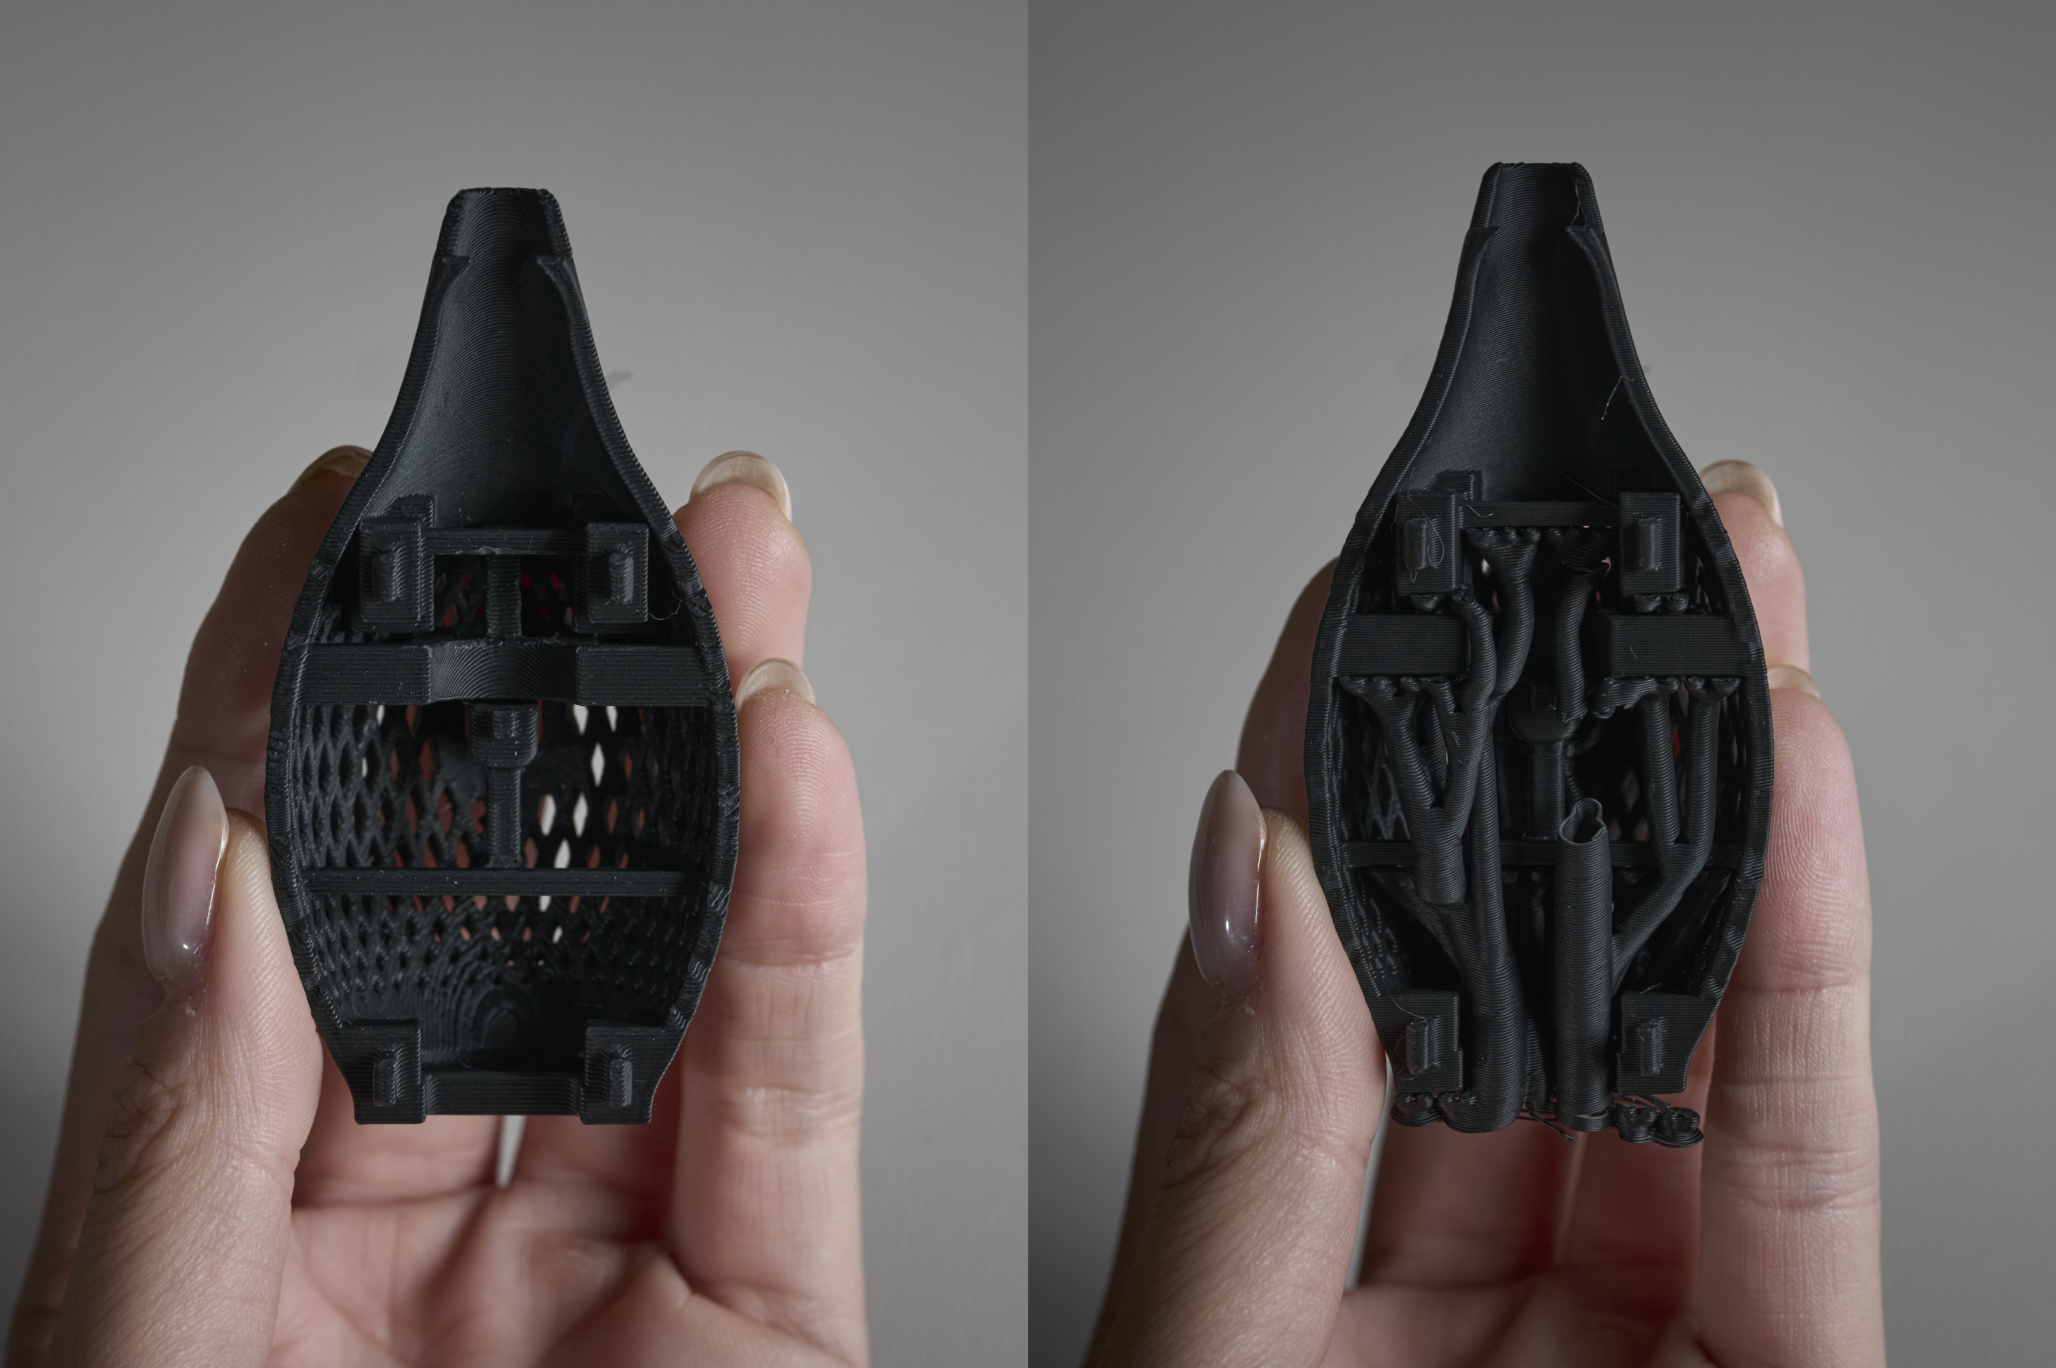
Assembly
Take parts 1 and 2, align the four snaps and slots, and press the parts together.
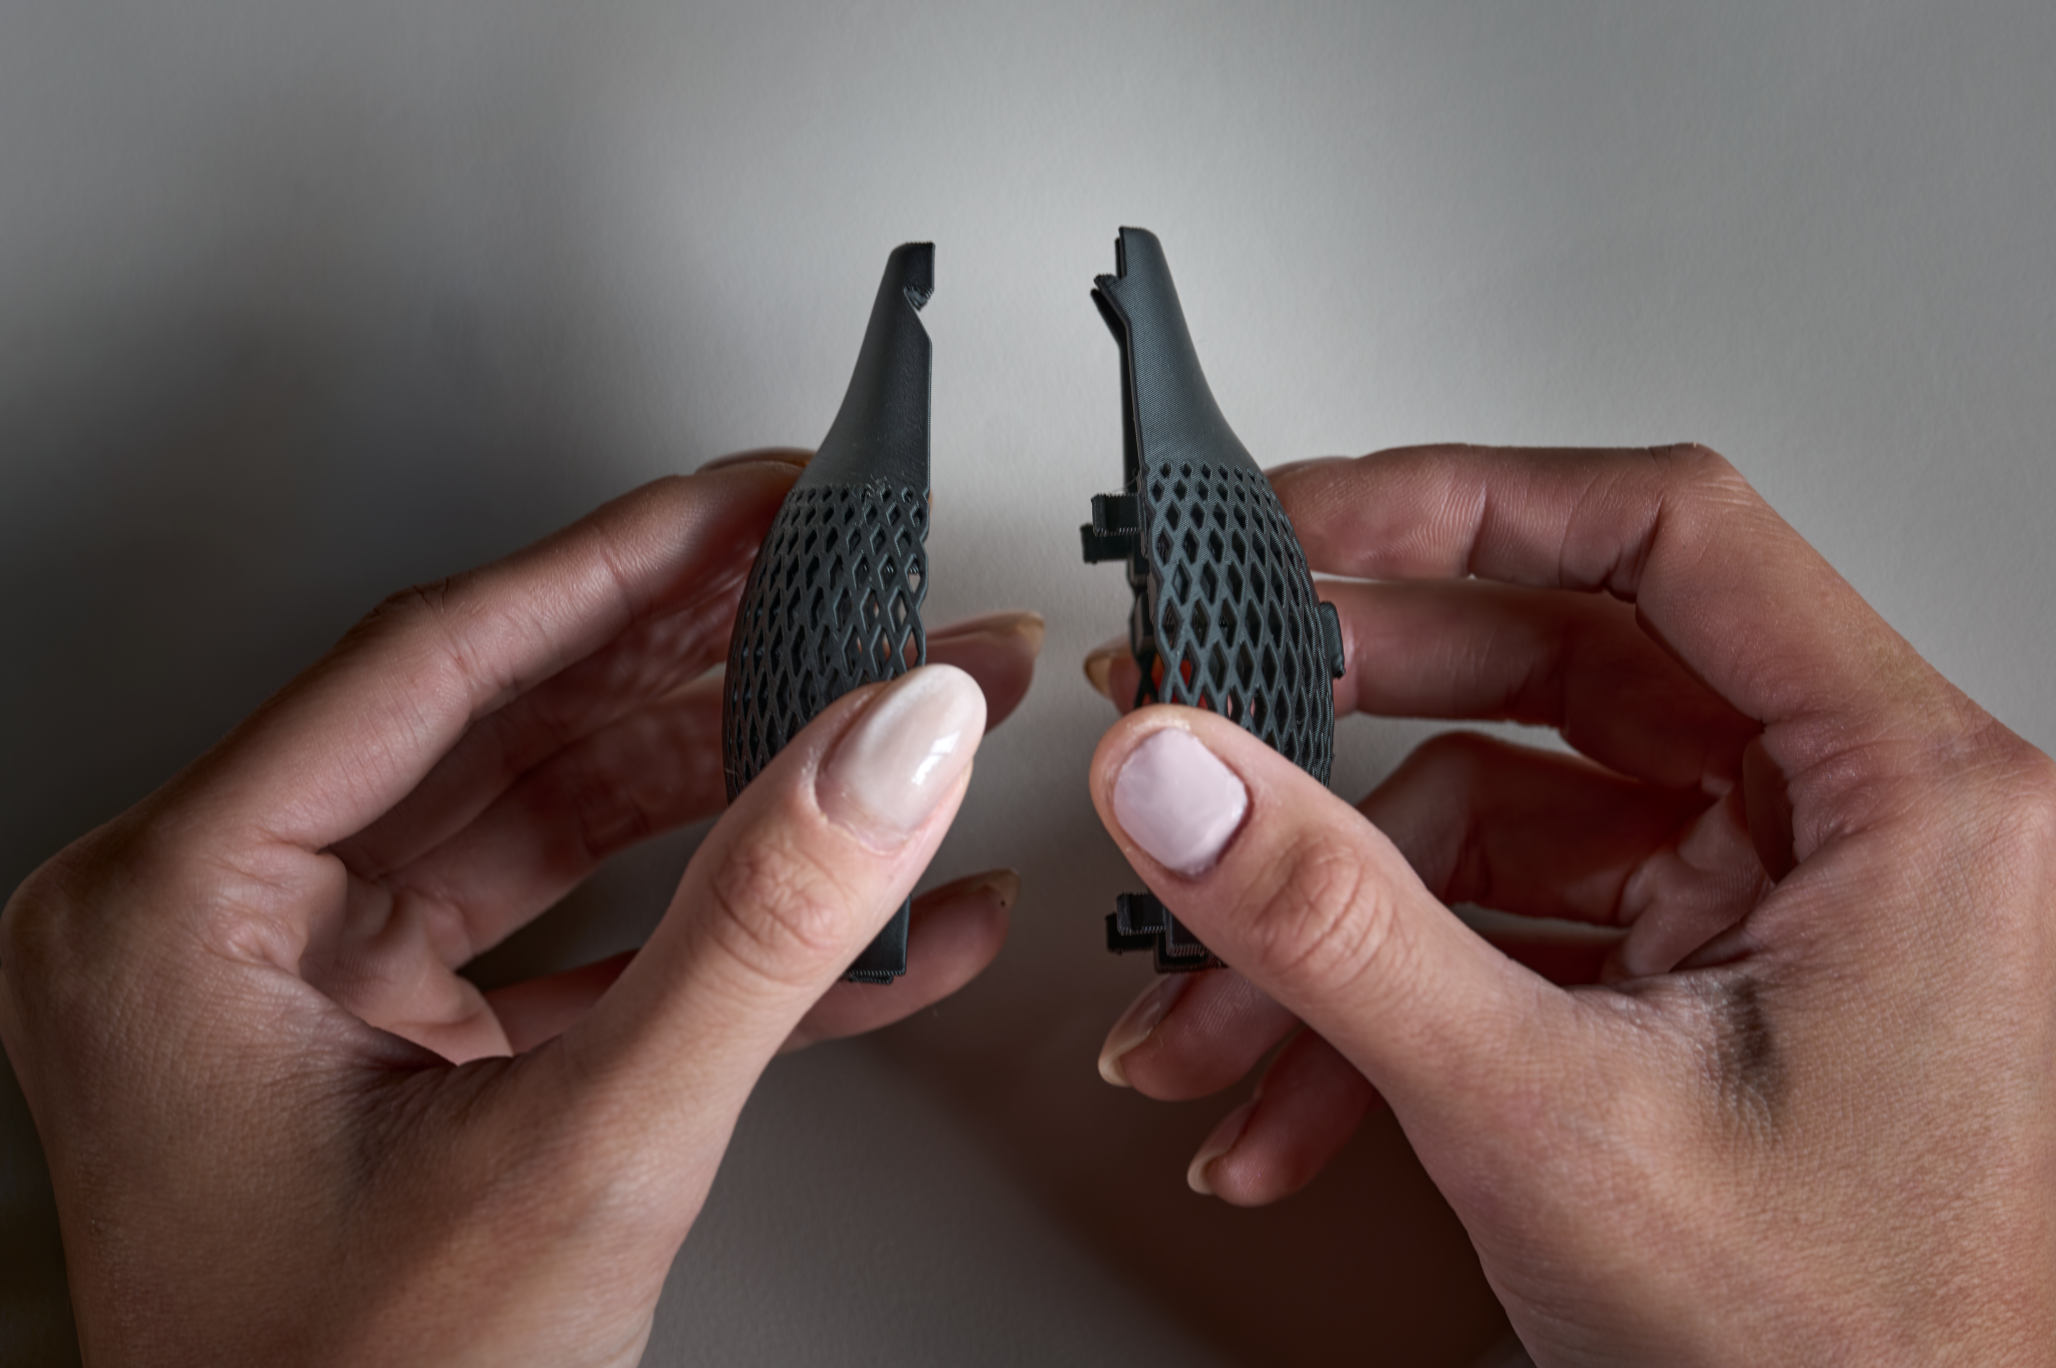
Take part 3, align the snaps with the slots on parts 1 and 2, and press them together.
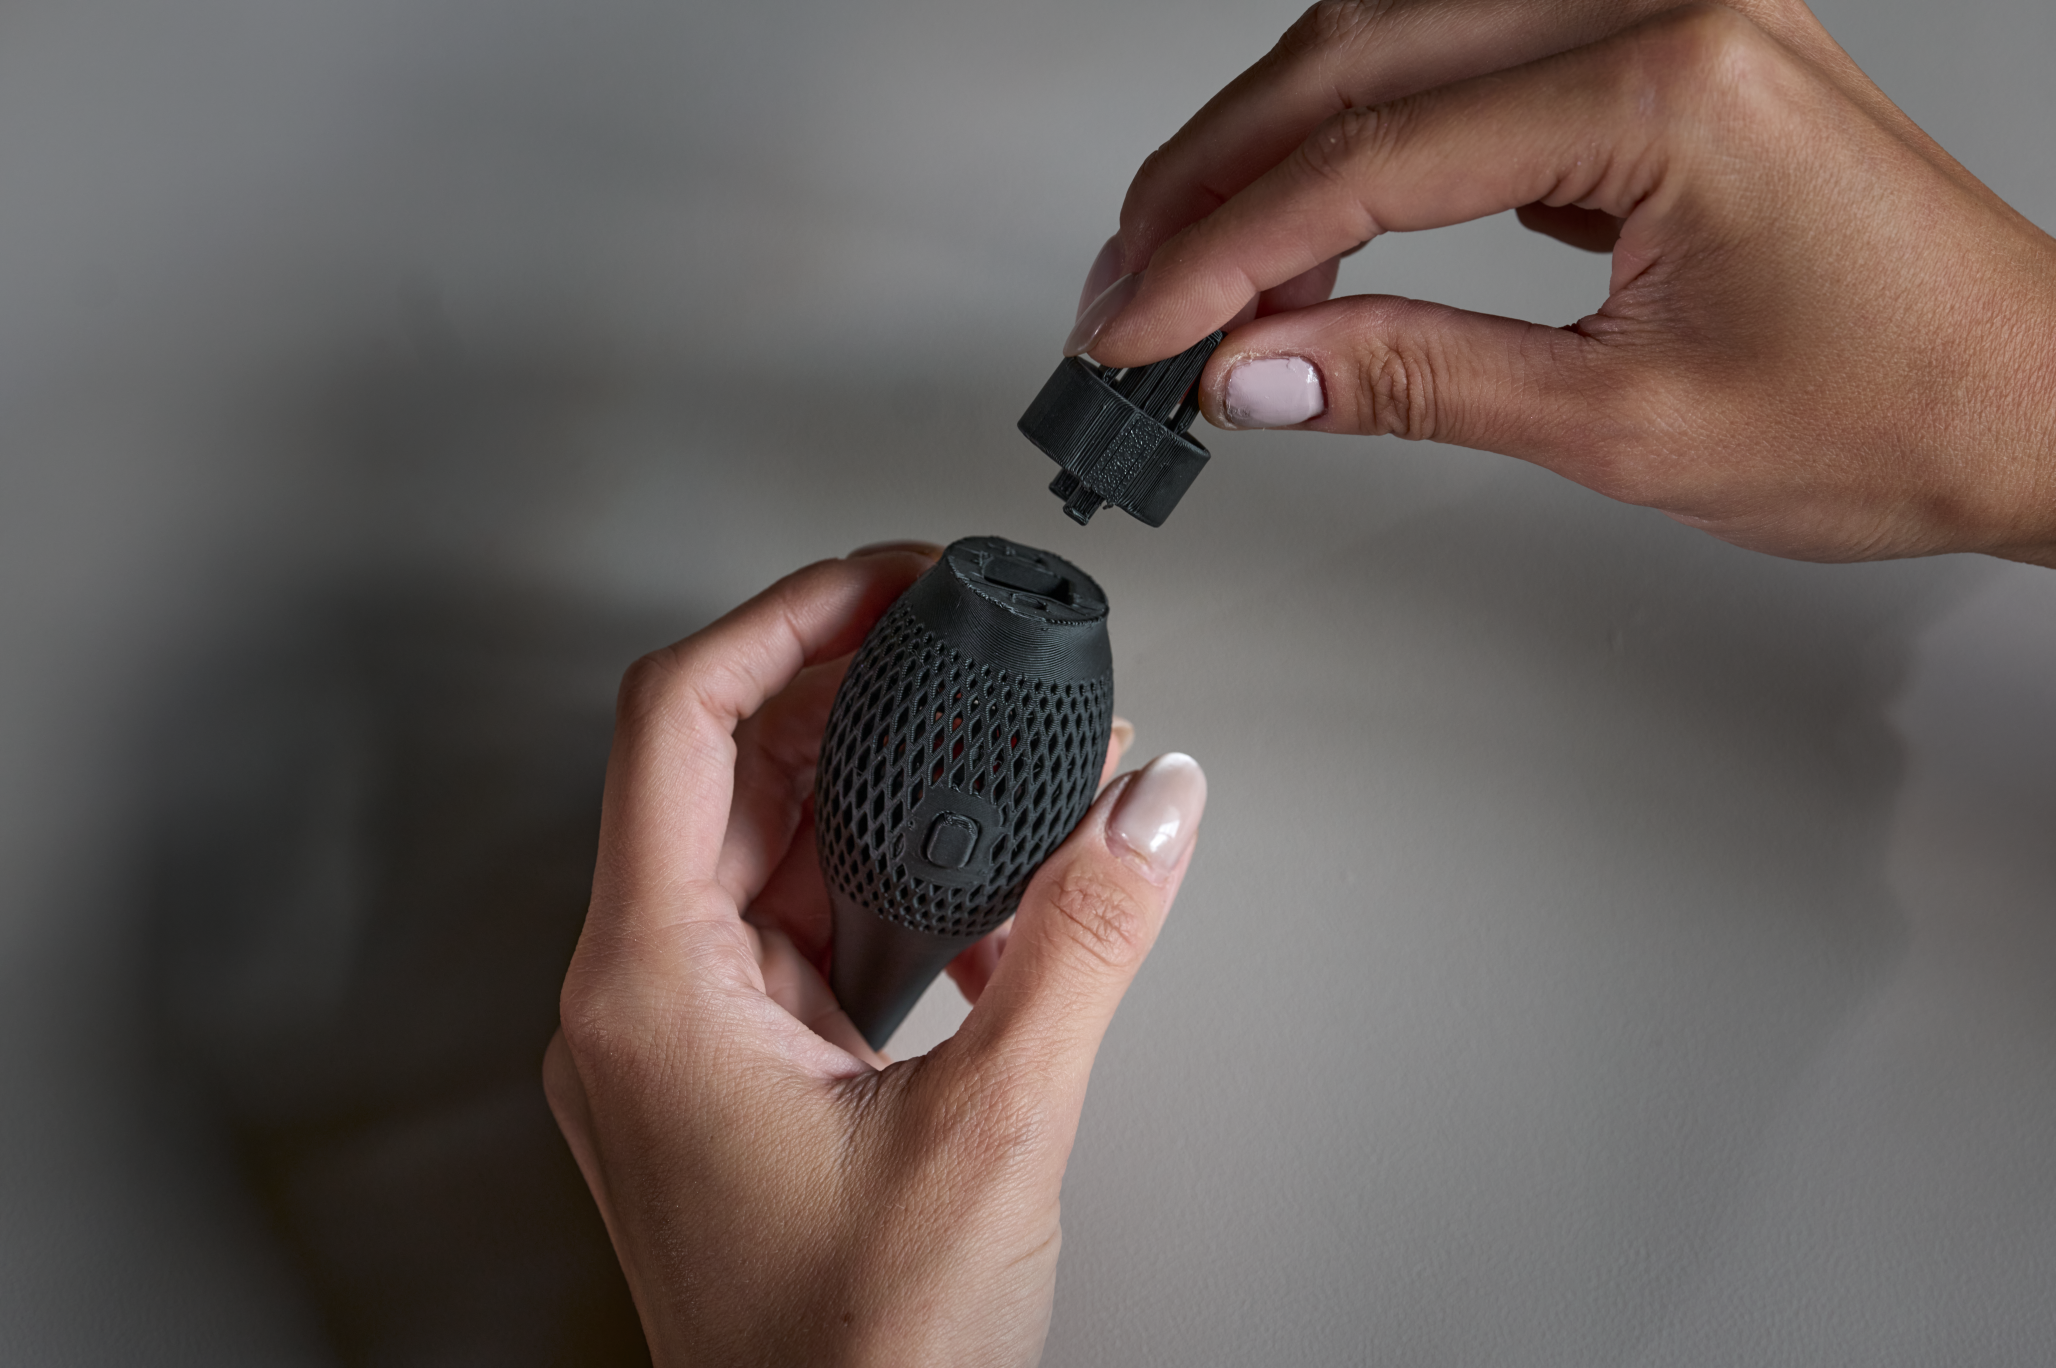
Print the cap. Put the cap on top of part 3.
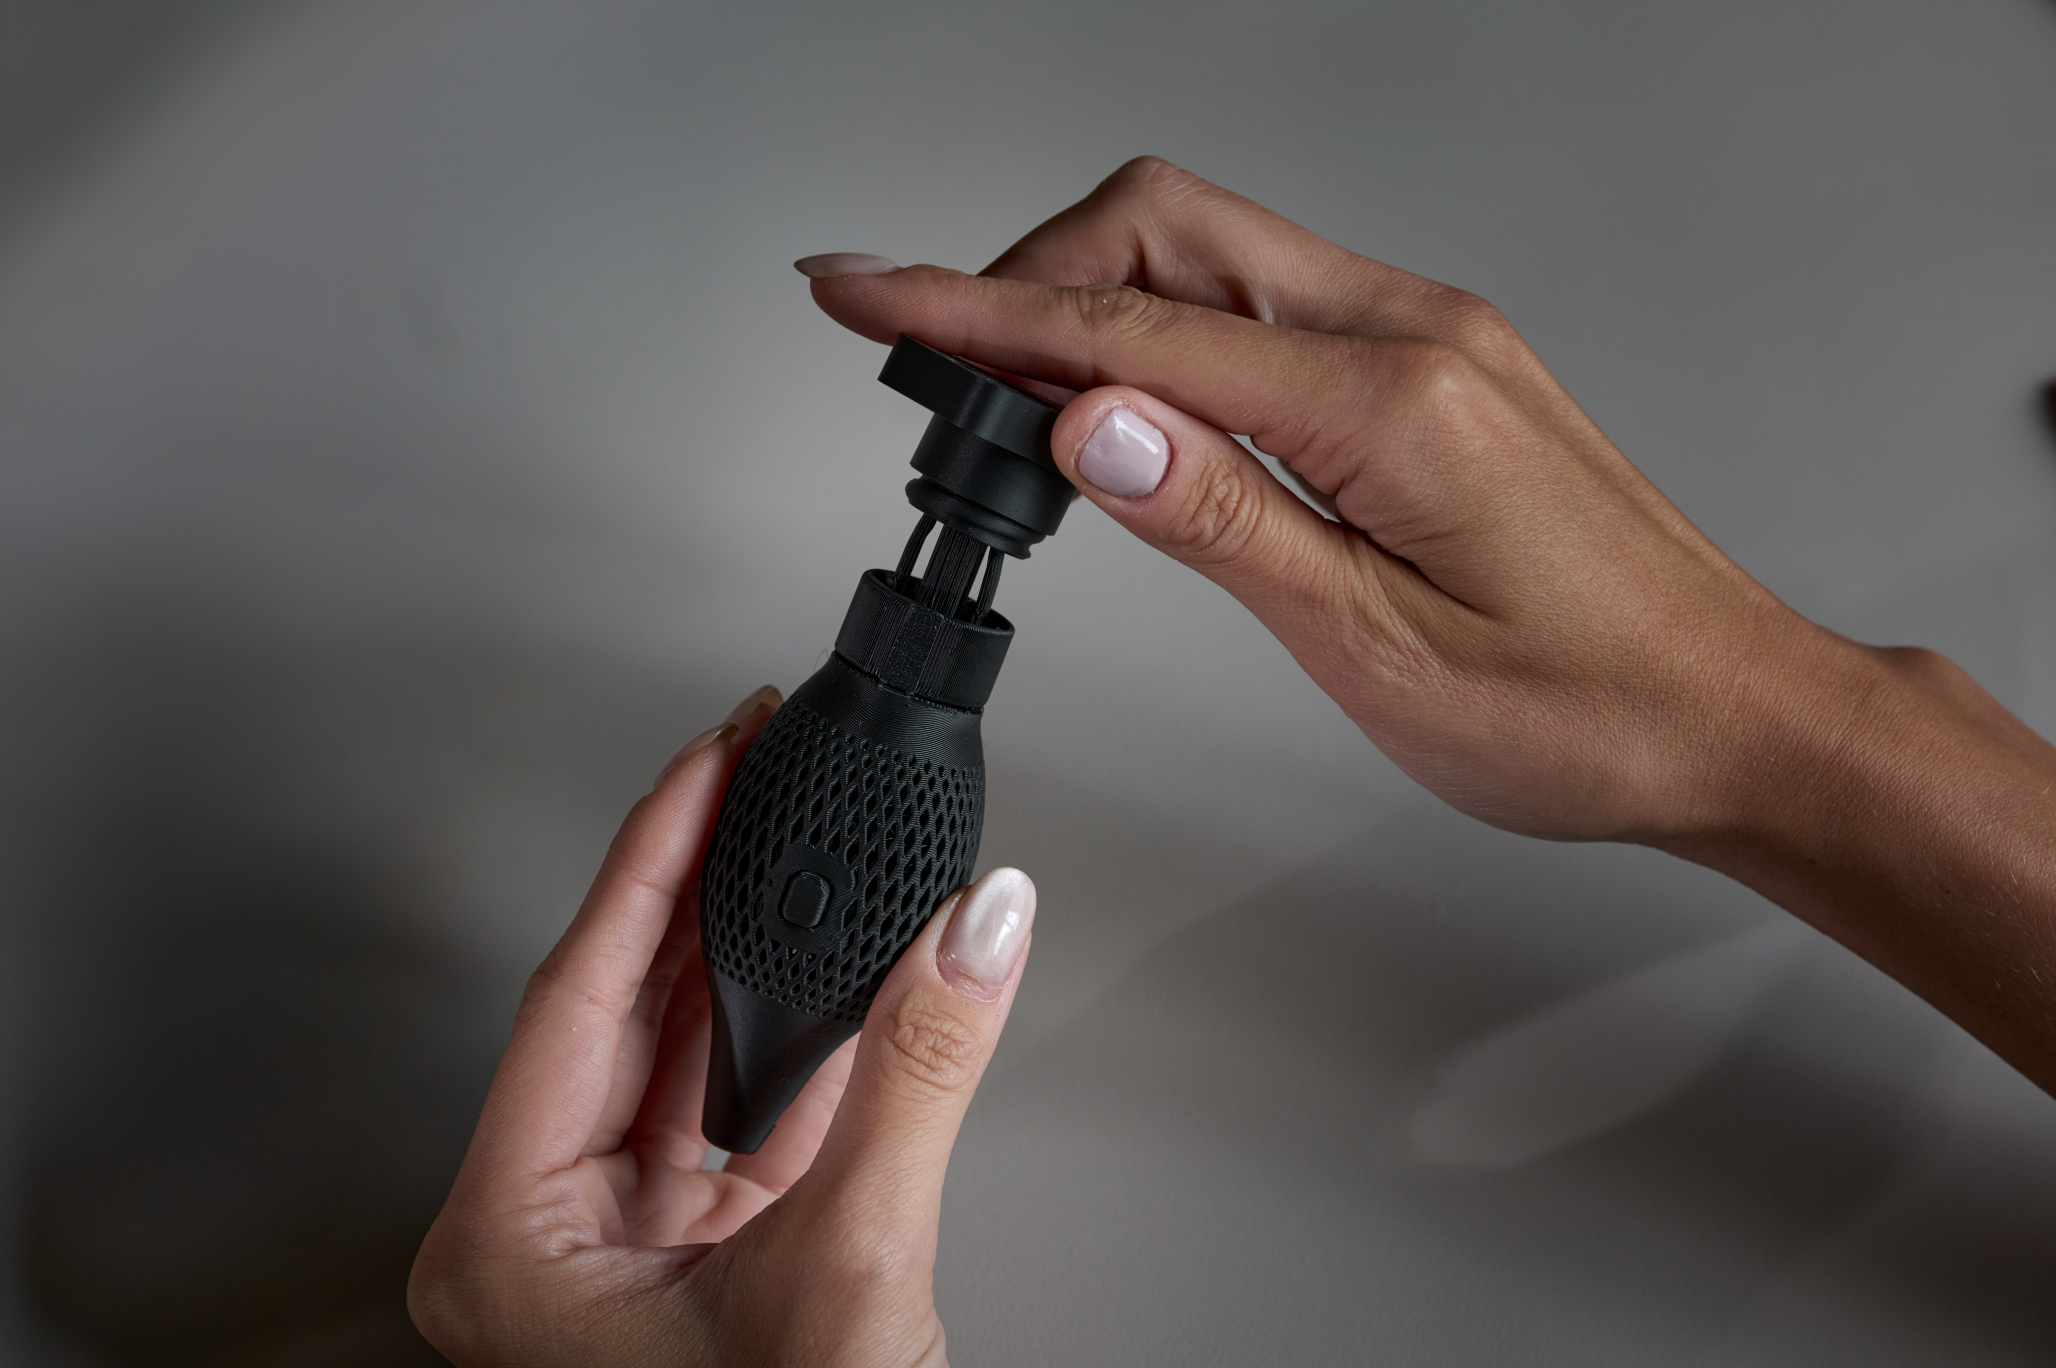
Twist clockwise for one rotation to tighten. Then, twist counterclockwise for one rotation to loosen. The cap should now remain captive in the topper part.
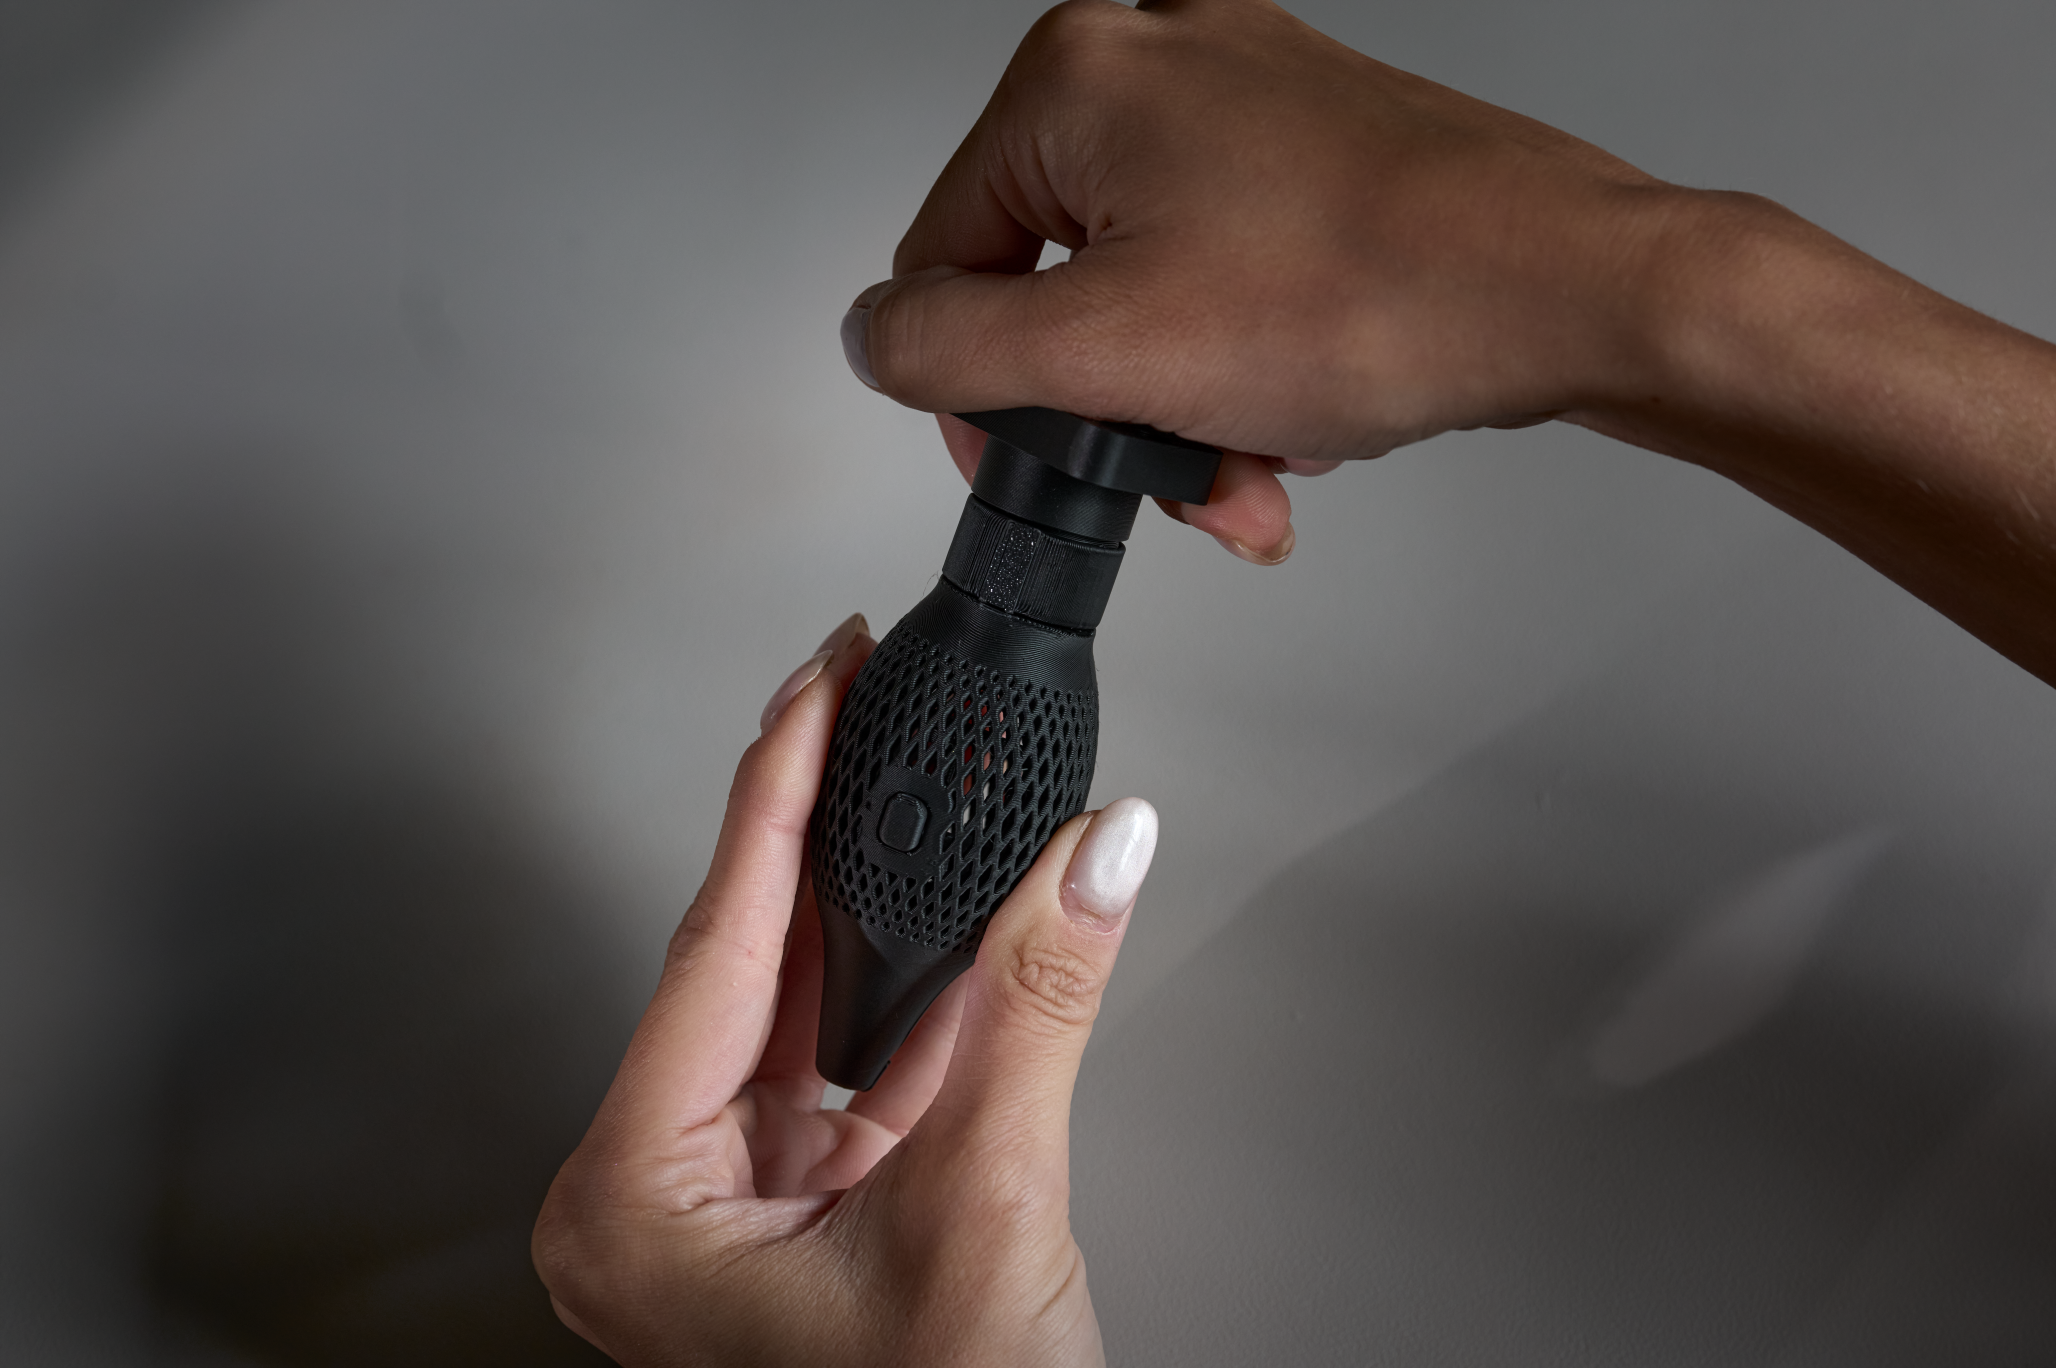
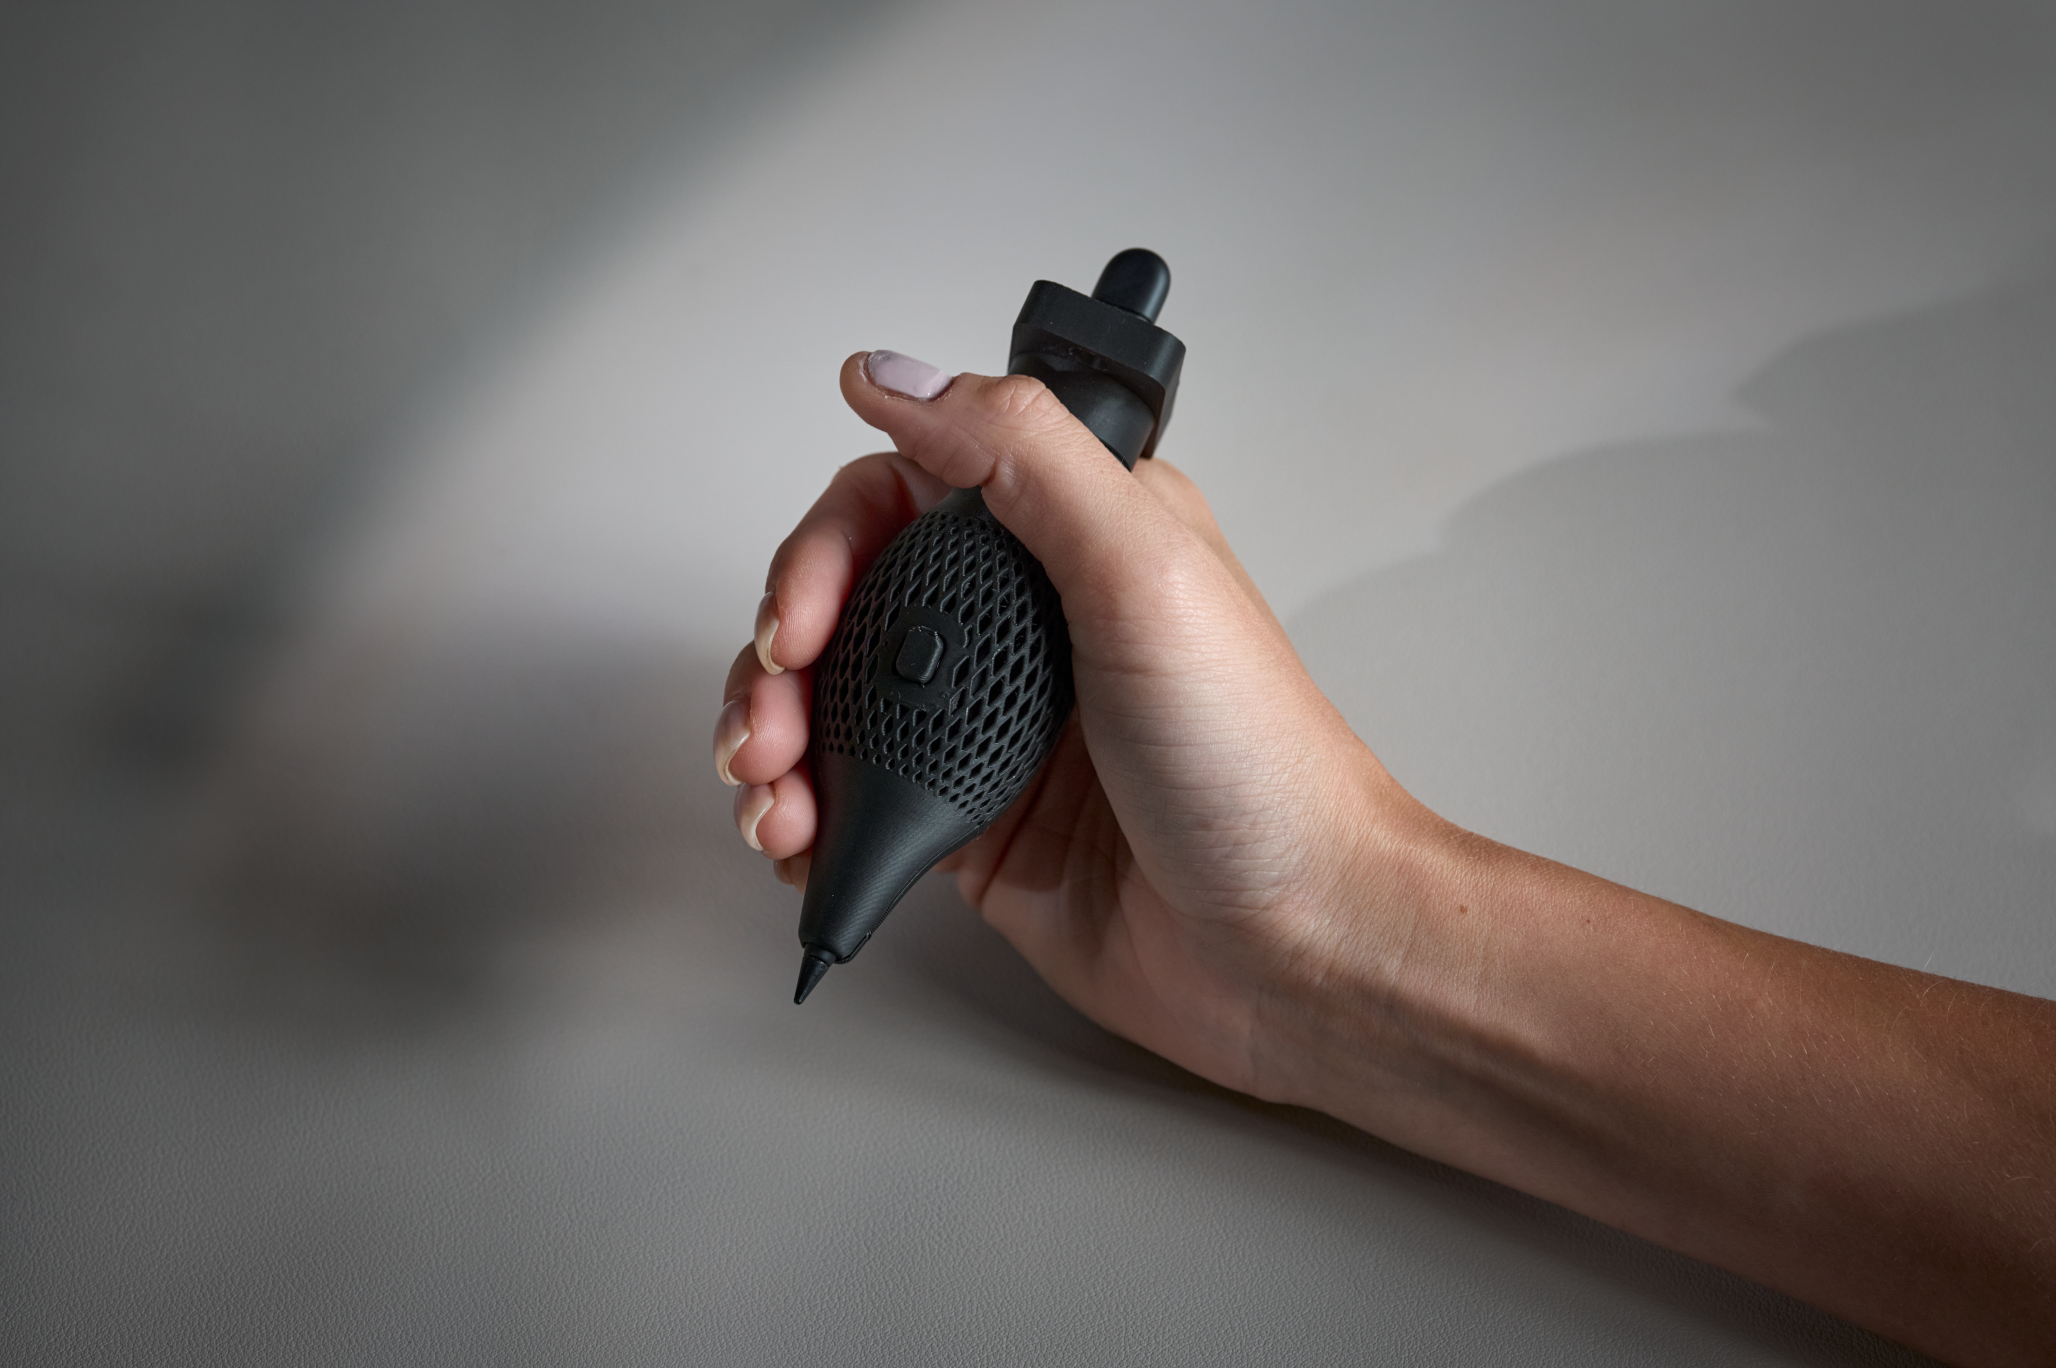
Get your Surface Slim Pen and slide it into the grip with the cap in a loosened state. Ensure the buttons are on the same side.
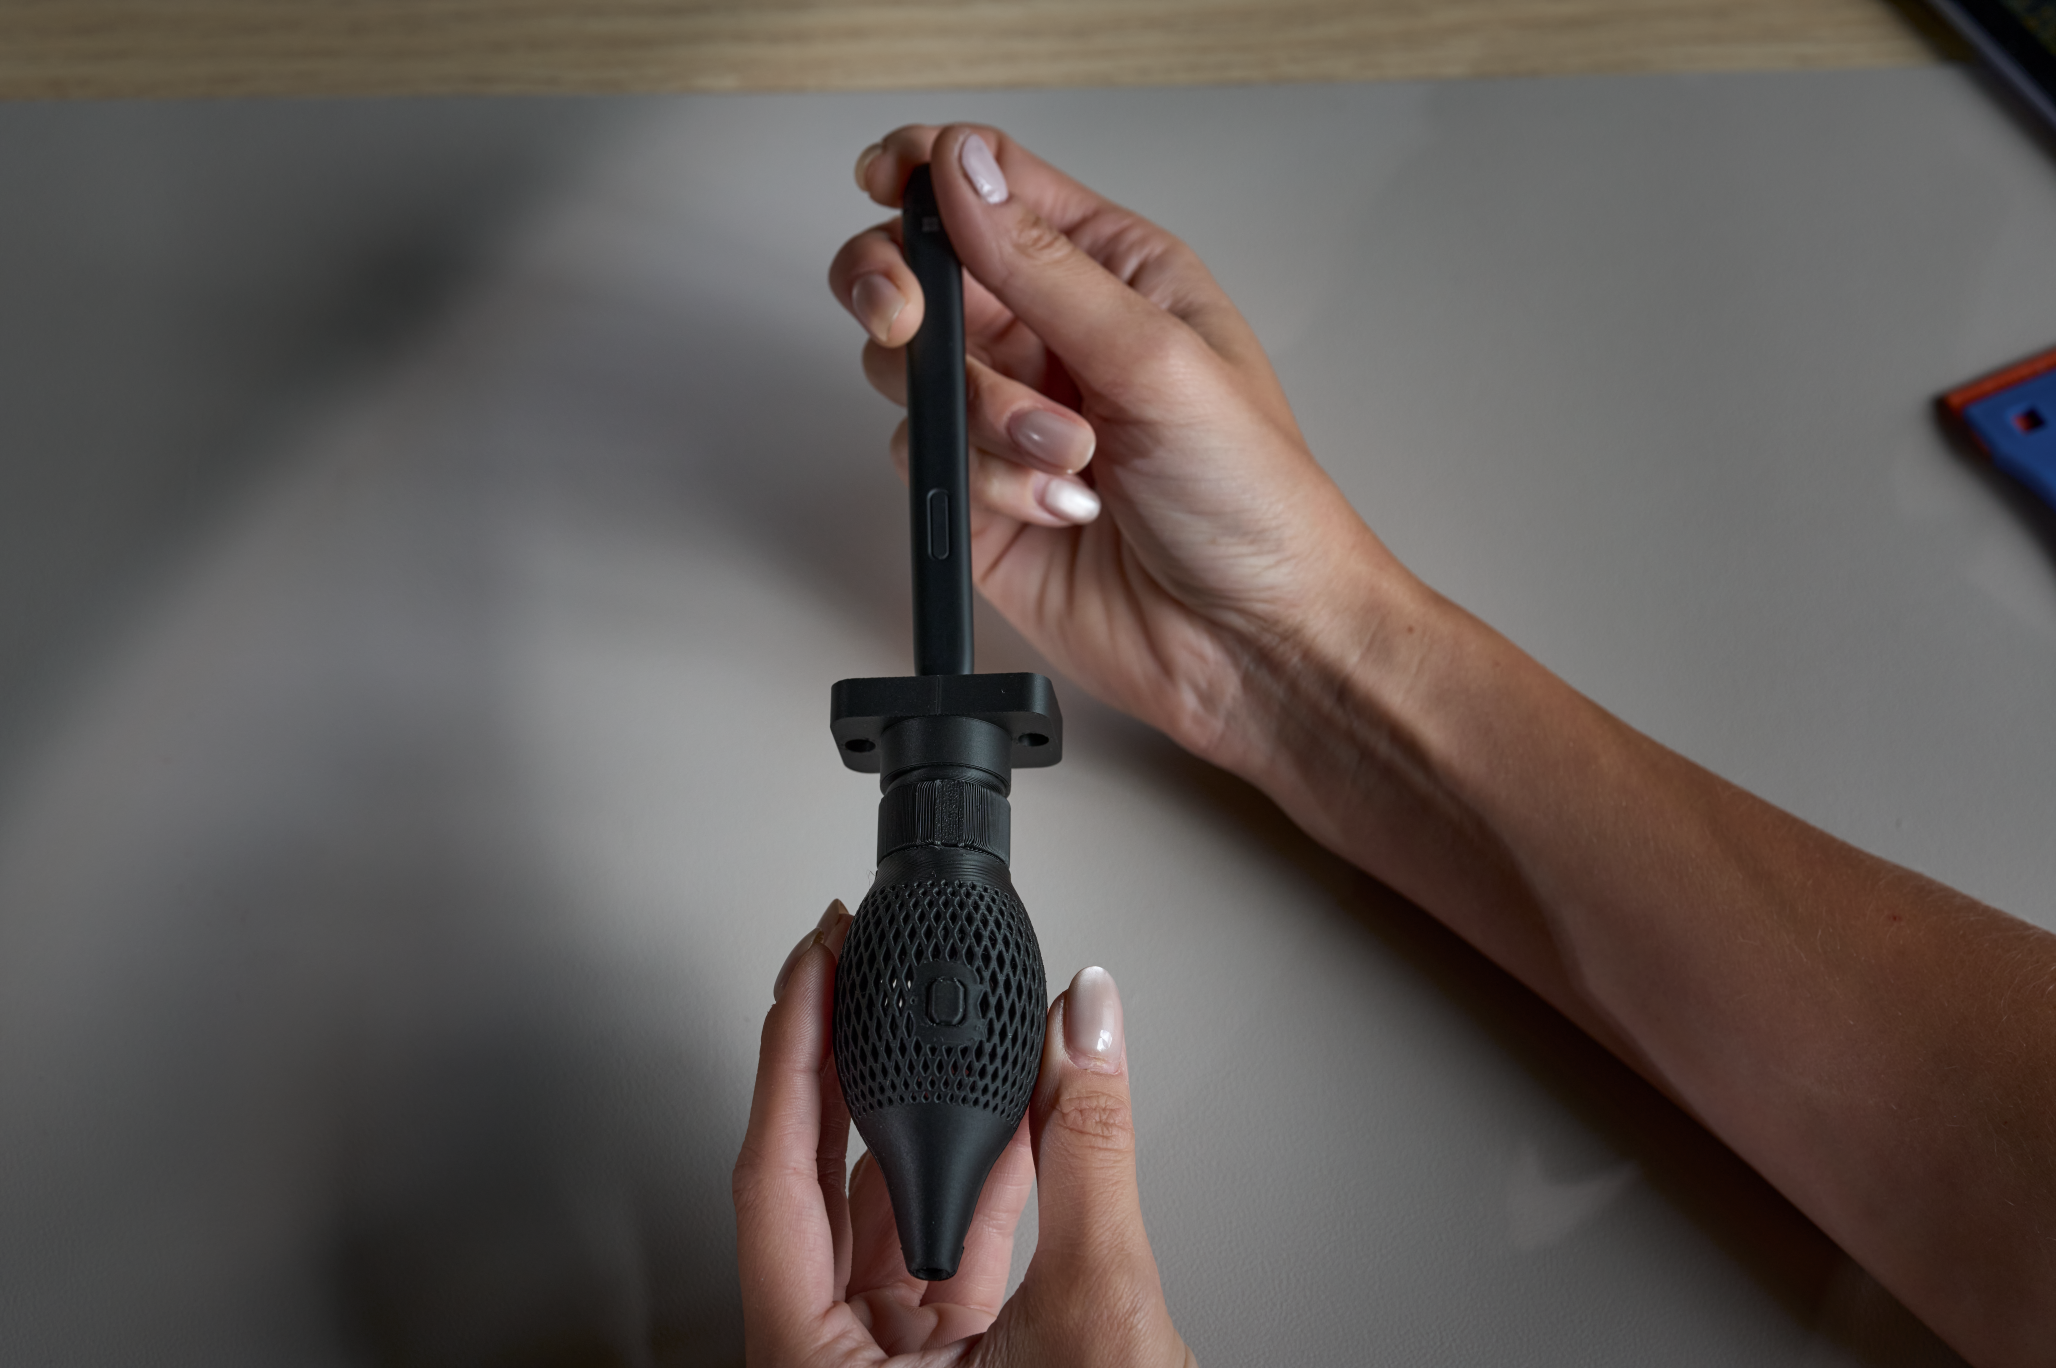
Twist the cap clockwise to tighten the grip on the pen.
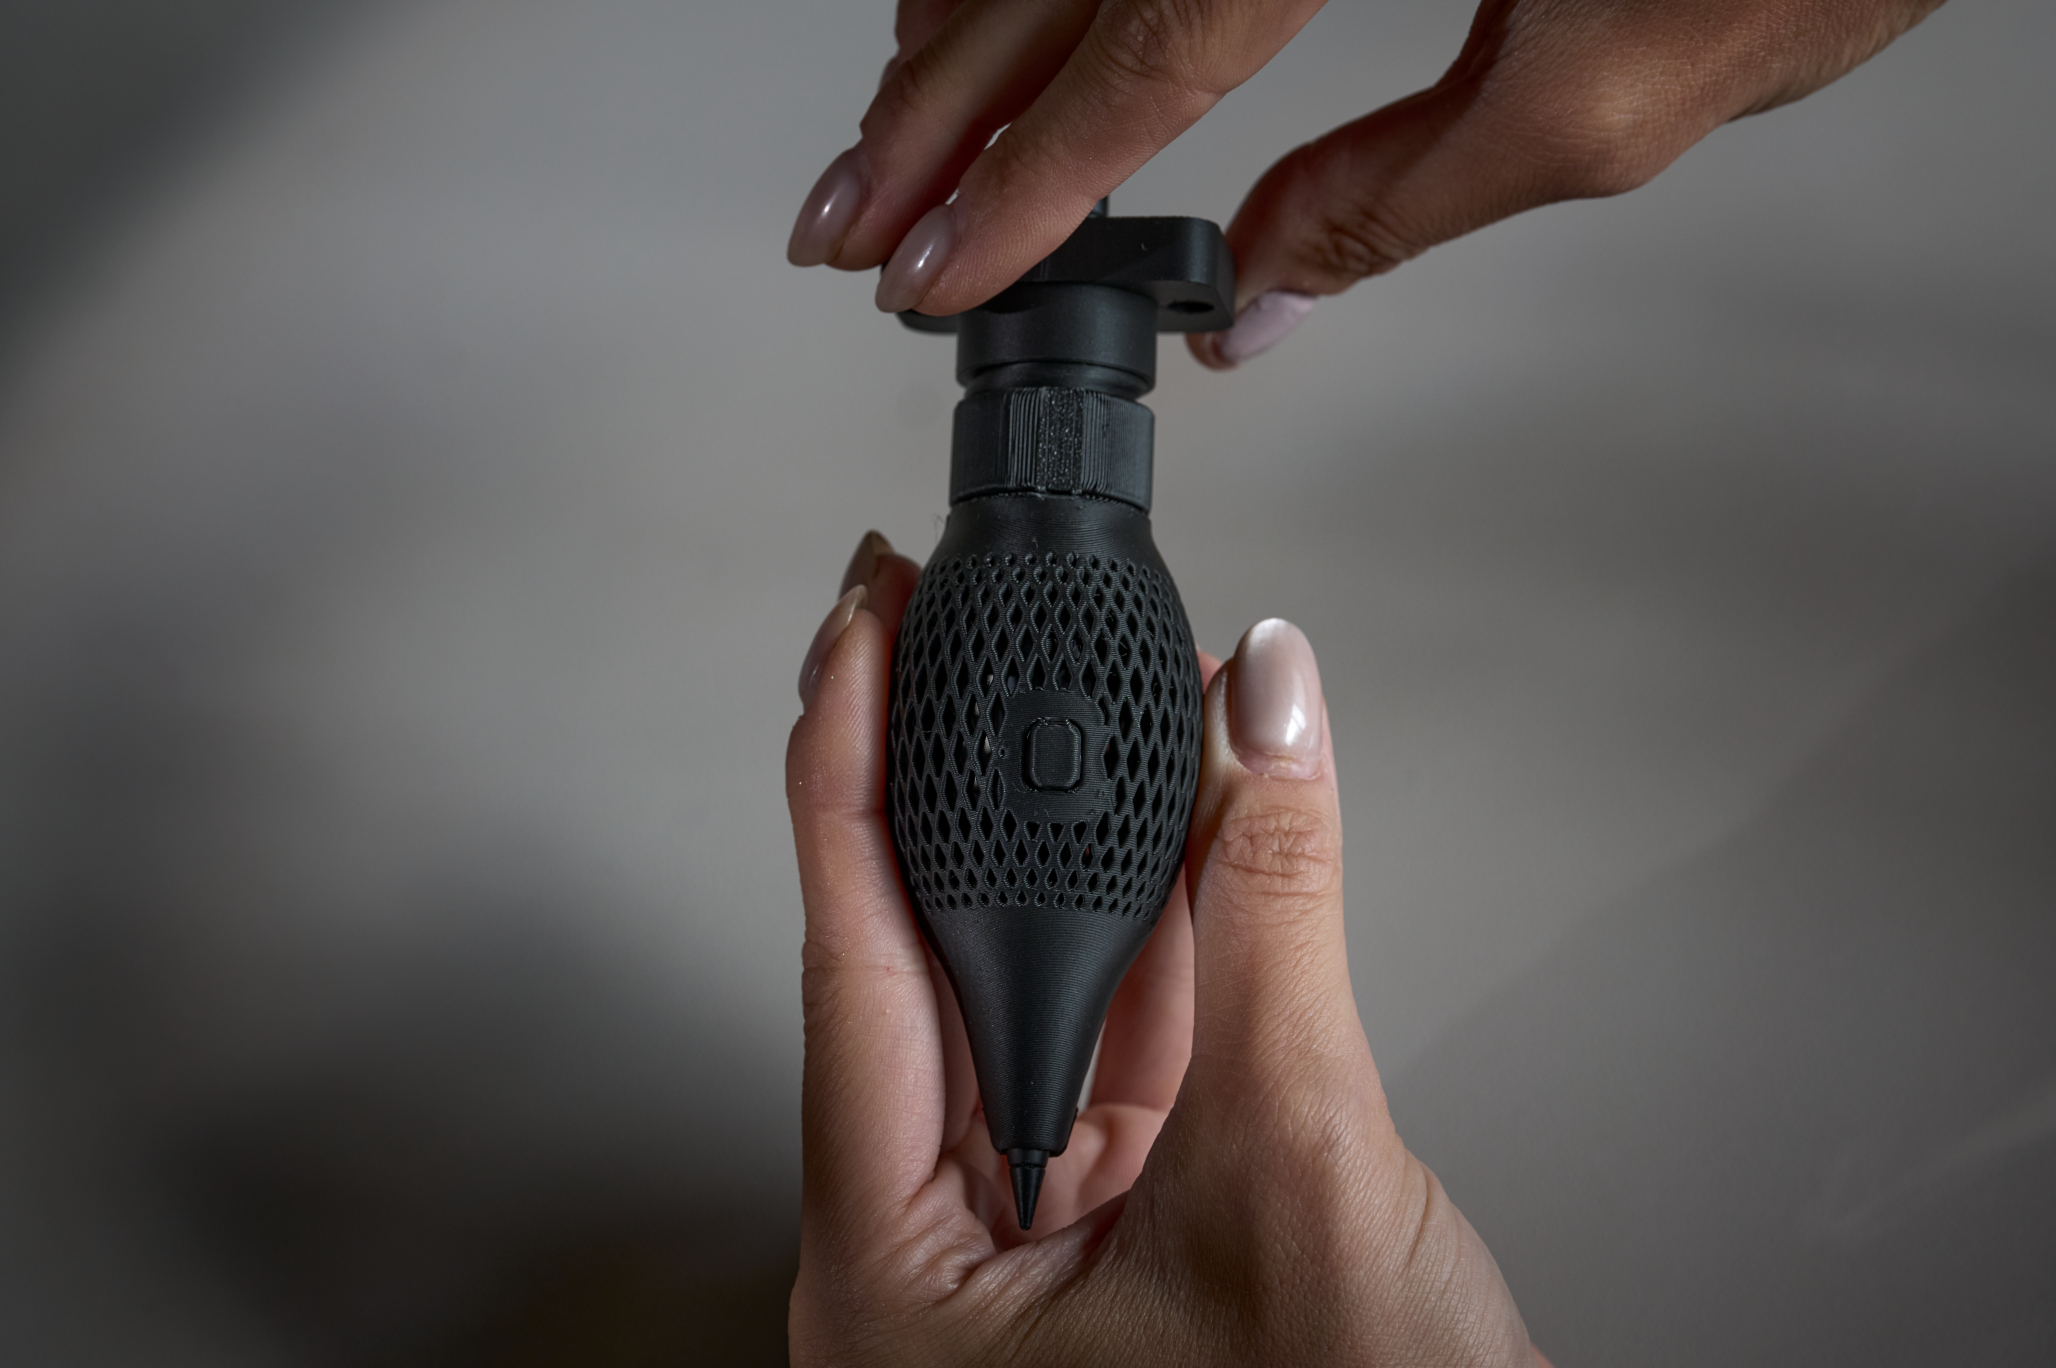
Note
The pen caps are designed so you can twist them with one hand by using the edge of the table.
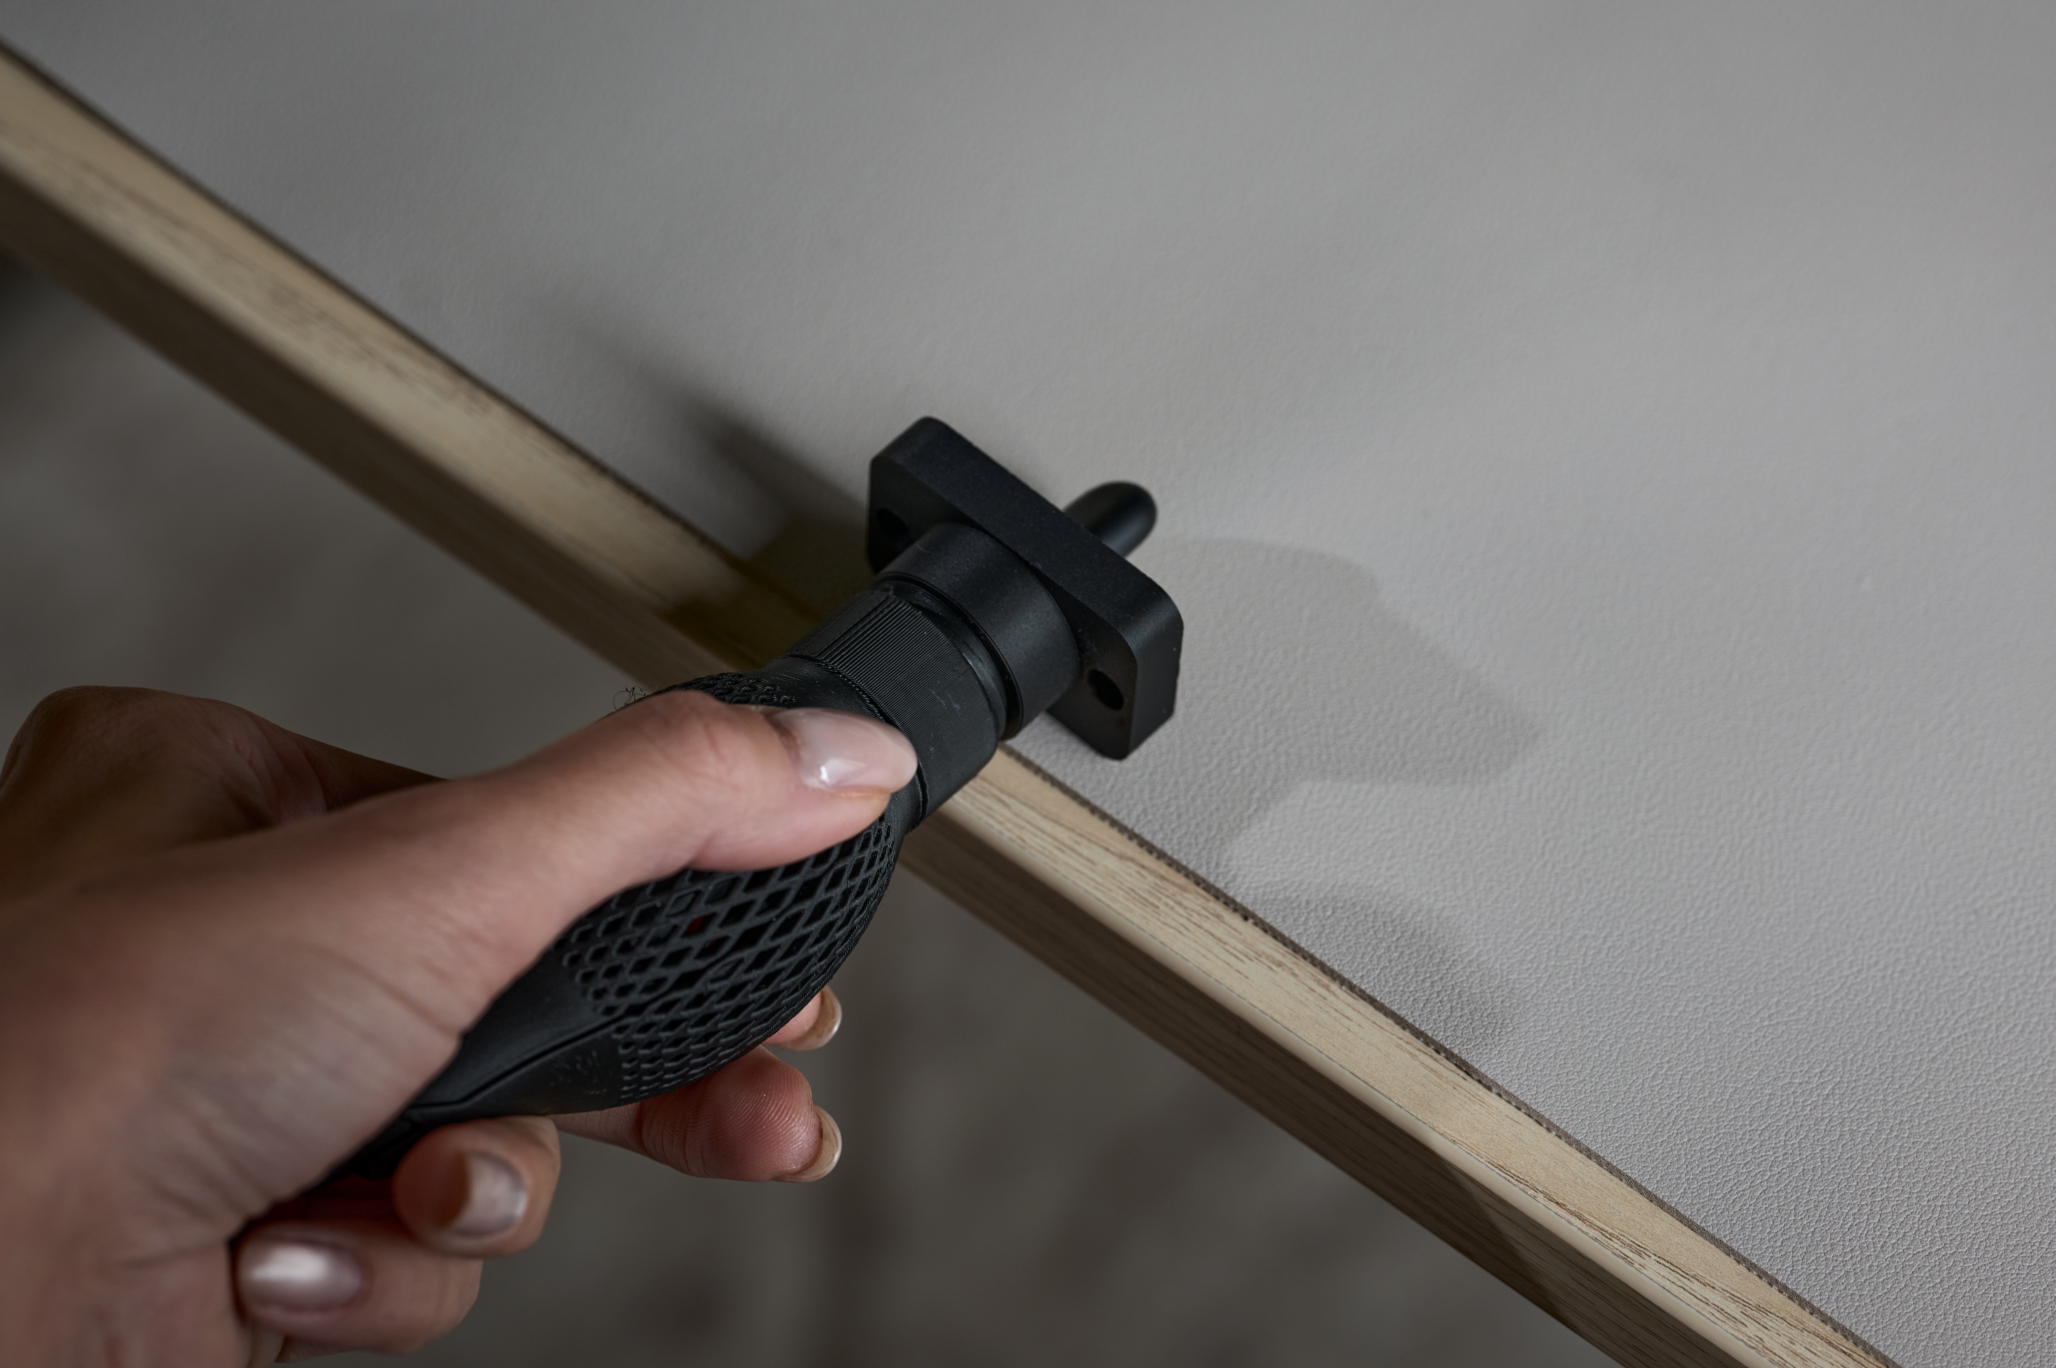
The pen is now secure in the grip. To remove the pen, twist the cap counterclockwise and pull or shake out the pen.
Disclaimer: Don't press the button when the pen isn't in the grip.