Delete a community in Viva Engage
Applies To
You can delete a community if you're the community's admin, a network admin, or a verified admin. To delete a community that's backed by a Microsoft 365 group, you must be a network admin and also be the Group admin of that community.
Important: When you delete a community, the action also deletes the community's resources and messages and immediately removes them from search results and end-user views.
-
If you set network retention to Delete, Engage keeps deleted conversations for 30 days, after which they're permanently deleted and can't be recovered.
-
If you set network retention to Archive, deleted conversations are indefinitely retained.
Delete a community
-
For Microsoft 365 backed communities, move any files you want to save from the community's SharePoint library.
-
In the Viva Engage community you want to delete, to the right of the community name, select More and choose Settings .
-
In the Settings dialog, in the lower left corner, select Delete this community.
-
At the bottom of the Settings page, select Delete this community.
-
Select Delete.
Delete a public community
Take the following steps when you need to first delete all of the conversations and files for a public community.
-
Select More and choose Settings .
-
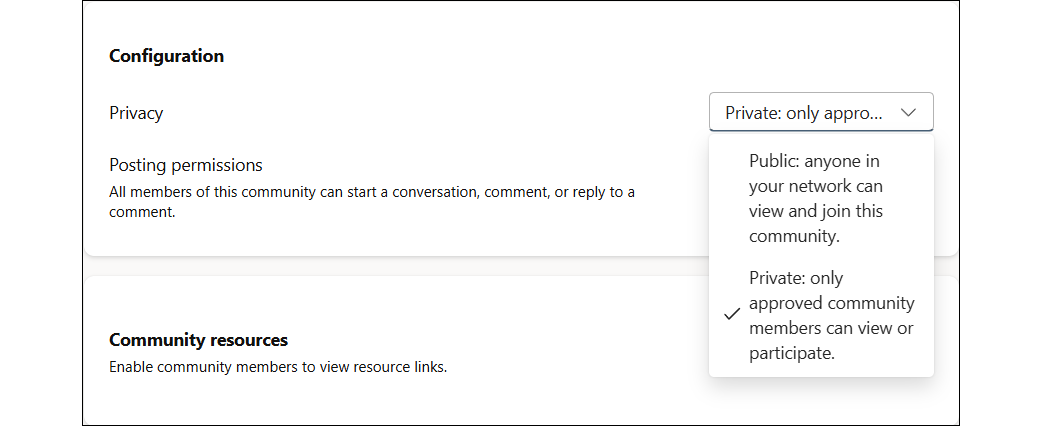
Under Configuration > Privacy, change Public: anyone in your network can view and join this community to Private: only approved community members can view or participate.
-
Take the steps from the preceding section, Delete a community.
Restore deleted Microsoft 365 resources
When you delete a community that's tied to a Microsoft 365 connected group, the associated Microsoft 365 resources (SharePoint site, files, and so on) are also deleted. You can restore them for a limited time, depending on the data retention policies your verified admin sets for the network.
To retrieve deleted resources, contact your administrator, Help desk, IT, or technical support department. For more information, see Restore a deleted Microsoft 365 group.


