Manage your apps in Microsoft Teams
Get a streamlined view of your apps in Teams and take actions to manage them from Manage your apps. You'll find apps you've added, as well as any apps added on your behalf by qualified team members.
-
Select Apps on the left of Teams.
-
At the bottom of the Apps sidebar, select Manage your apps.

-
Select the app you want to manage. You'll see a list showing where that app has been used recently. When you select a location, Teams will take you to that location's Apps tab.
Update an app
Most app updates happen automatically in Teams, but when an app update requires new permissions, you must manually accept the update. Once you do, the update will be applied everywhere you have the right to change things. That might include chats, channels, meetings, or other places.
Update indicators
When an update is available, you'll see an update indicator in the following places:
-
Next to Manage your apps at the bottom of the Apps sidebar
-
Next to the Apps tab on the Manage team pane
Accepting updates
On the Apps tab of Manage your apps, you'll see an Update button next to each app you have the necessary permissions to update.
-
Select Update.
-
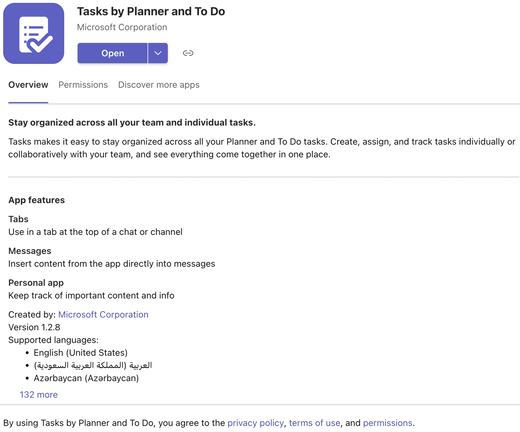
The app details page for that app will open, showing any features new to the update and permissions the app is requesting for the update.
-
To update the app, select Update now.
View app details
The app details page information about the app. (detailed description, permissions, sometimes video)
-
On the Apps tab of Manage your apps, find the app you want to see the details for.
-
In that app’s row, select More options


Remove an app
When you remove an app in one place, it's only removed from the location you select.
-
On the Apps tab of Manage your apps, find the app that you want to remove.
-
Expand the row to find the location from which you want to remove the app.
-
Select Remove

Note: If you see Information


Publish an app
Whether you’re a professional or a citizen developer, you can publish an app from Manage your apps.
Select Upload an app and choose the option you want:
-
Upload a custom app: Sideload an app to test it as it's being developed or to use it without submitting it to your org or to Partner Center.
-
Submit an app to your org: Upload an app to the Teams admin center for review by your IT admin.

Related articles
First things to know about apps in Microsoft Teams


