Workflows let you automate repetitive tasks or processes that connect one or more apps to Teams. In short, they can save you time and effort. Here, we’ll walk you through how to add, run, and manage your workflows.
How can workflows help you?
Take a moment to ask yourself the following questions. Every time you answer “yes,” there’s an opportunity to increase your productivity with a workflow.
-
Is there something you do over and over again in Teams?
-
Do you switch between Teams and other apps to check for updates or complete tasks?
-
Do you ever copy and paste info from Teams into other apps?
-
Are you getting app notifications in email that you’d rather get in Teams?
-
Do you ask people the same questions on a regular basis, whether in a channel, chat, or meeting? (for example, can you post your weekly status update?)
Browse and add workflows
The easiest way to get started is to browse our selection of pre-built workflows.
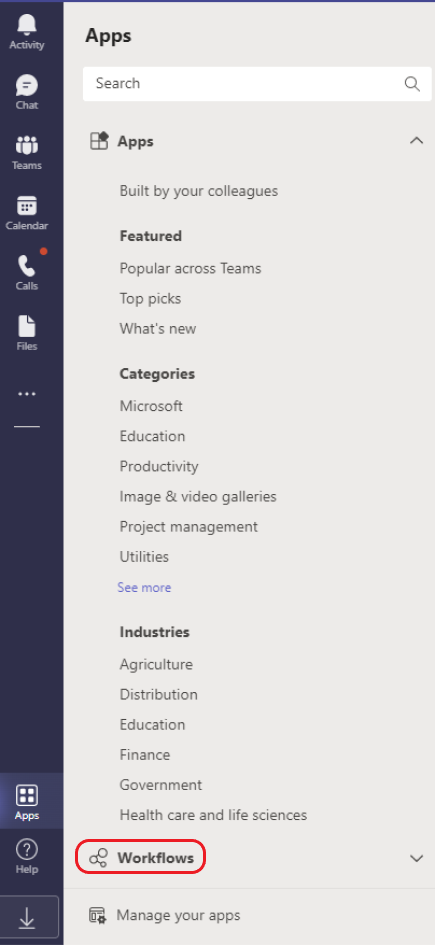
1. Select
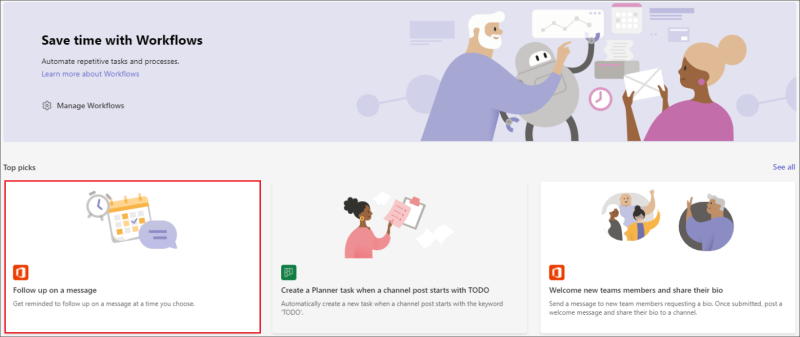
2. Scroll and select
3. Select a workflow that interests you.
4. Follow the prompts given. When done, you’ll get a confirmation saying your workflow was added successfully (the confirmation will also include instructions for running your workflow).
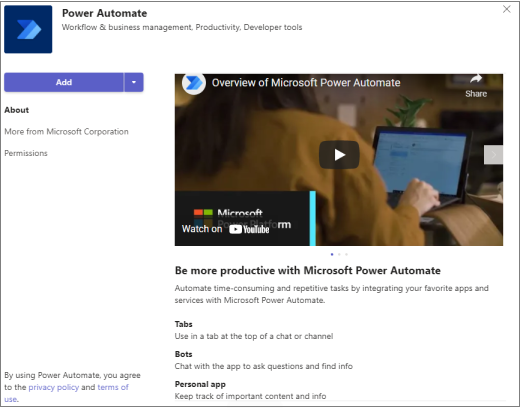
Poznámka: If you haven’t added it yet, you’ll be prompted to add Power Automate, the app that powers the workflows experience in Teams. Select Add, then you’ll be taken to the screen to add the workflow you originally selected, as displayed in the following screenshot.
Run a workflow
As mentioned above, after you’ve added a workflow, you’ll get a confirmation that explains how to run it. Here’s a breakdown of the possibilities:
Your workflow will run automatically. After you’ve added certain types of workflows, you don’t have to do a thing to run them. Each workflow has a trigger, and when the trigger occurs, an action or series of actions are taken automatically. Here are two examples:
|
Workflow name |
Trigger |
Action(s) |
|---|---|---|
|
Notify a channel when a Planner task changes status |
A Planner task on a board (specified when you set up the workflow) changes status. |
A card is automatically posted to a channel (specified when you set up the workflow), notifying your team of the status change. |
|
Start an approval when a SharePoint list is modified |
A SharePoint list (specified when you set up the workflow) is modified. |
An approval is automatically sent in Teams chat to the right people. |
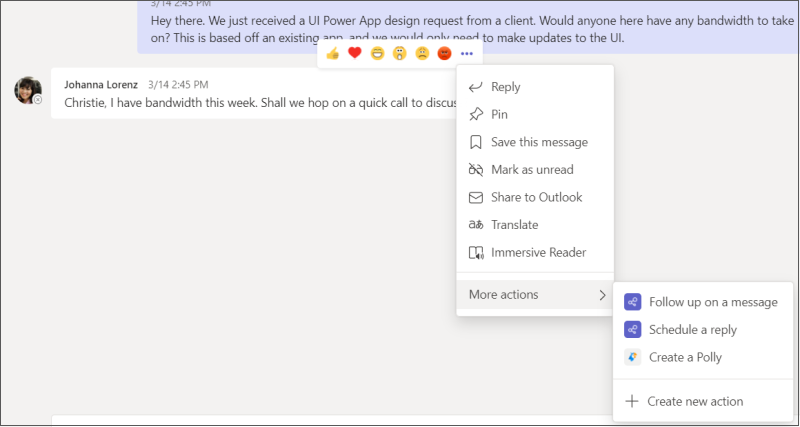
Run a workflow from a message. Some workflows are designed to act on the content of a single Teams message. Once you set up this kind of workflow, it will appear as an option under the More options… menu for you to run from any message. Read step-by-step instructions.
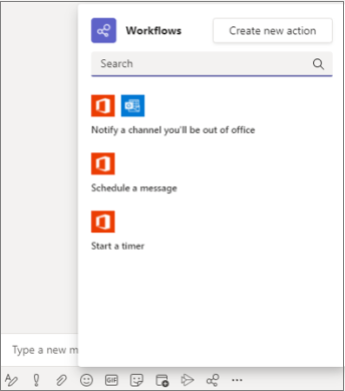
Run a workflow from the messaging area. These types of workflows let you change how a message is typically sent or insert content into a new message. Read step-by-step instructions.
Manage workflows
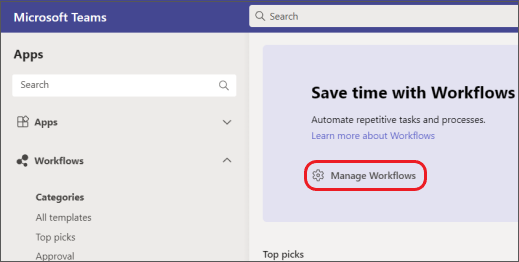
You can check your workflow run history, edit connections, or delete workflows from Manage workflows.
1. Select
2. Go to
3. Select Manage workflows.
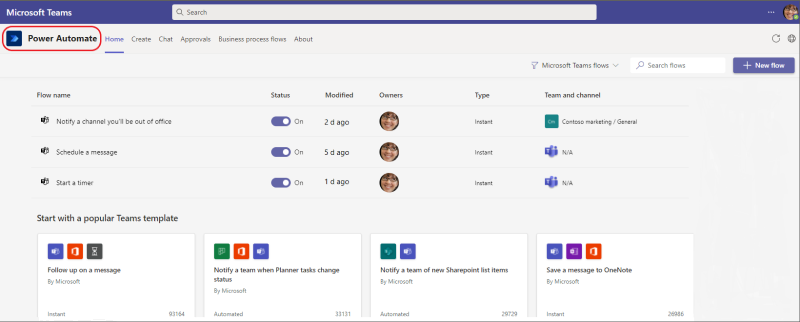
This will open Power Automate inside Teams. Manage your workflows from here.
Tip: Another way to open Power Automate is from More added apps
Create a workflow from scratch
Caught the workflow bug? As mentioned above, pre-built workflows that work inside Teams are available from Apps > Workflows. But you can also work directly in the Power Automate app to build custom workflows from scratch. If you dream it…you can likely automate it!
Related links
Add or run a workflow from a message Add or run a workflow from the messaging area


