
Once you have access to Copilot Notebooks, creating a Copilot Notebook Study Guide is straightforward.
Note
If you don't see the Study Guide option in your Copilot Notebook, it could be because your account isn't enabled yet. In a school or enterprise environment, ensure your IT administrator enrolls your tenant in the Copilot Notebooks preview and assigns the proper licenses. If you're a minor (under 13) or your account lacks necessary consent information, you won't be granted access. In those cases, consult your administrator about the Age Group and Consent settings for your account. These settings must indicate you're 13+ with required consent to use Copilot features.
To create a Study Guide in Copilot Notebooks:
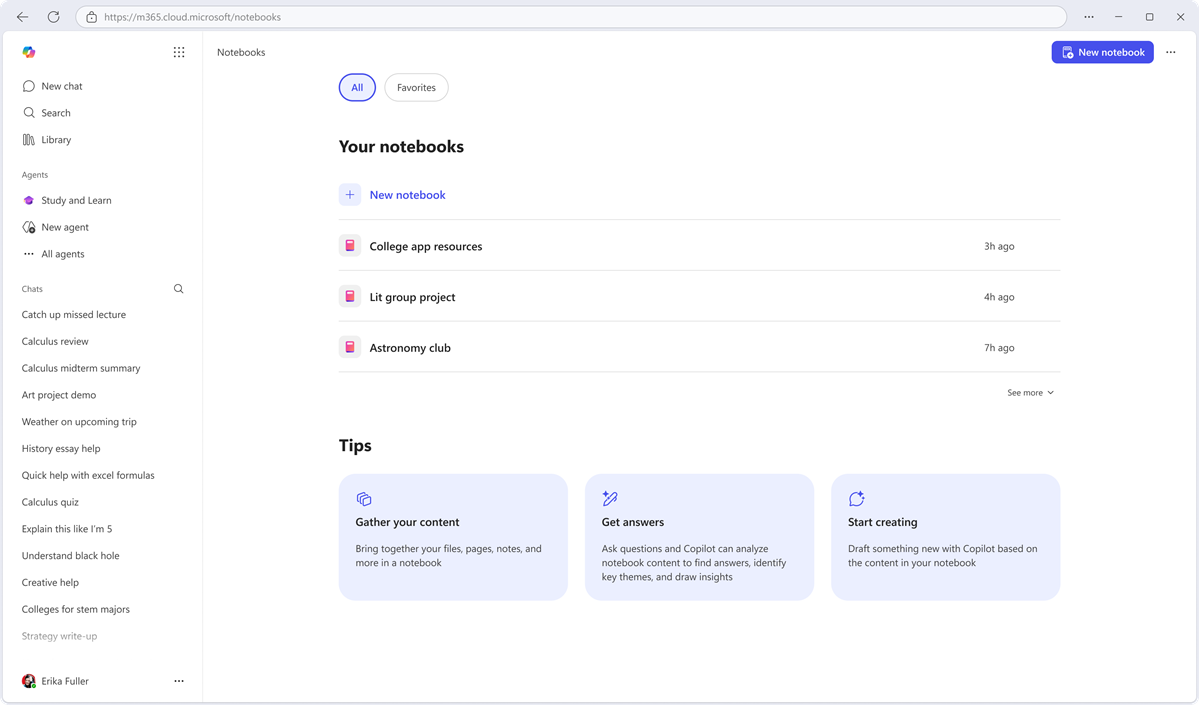
Open Copilot Notebooks: Launch the Microsoft Copilot app (or OneNote on Windows) and go to Notebooks from the navigation pane. Here, you can create a new notebook or open an existing one. Give your notebook a clear name (for example, "Anatomy of the heart").
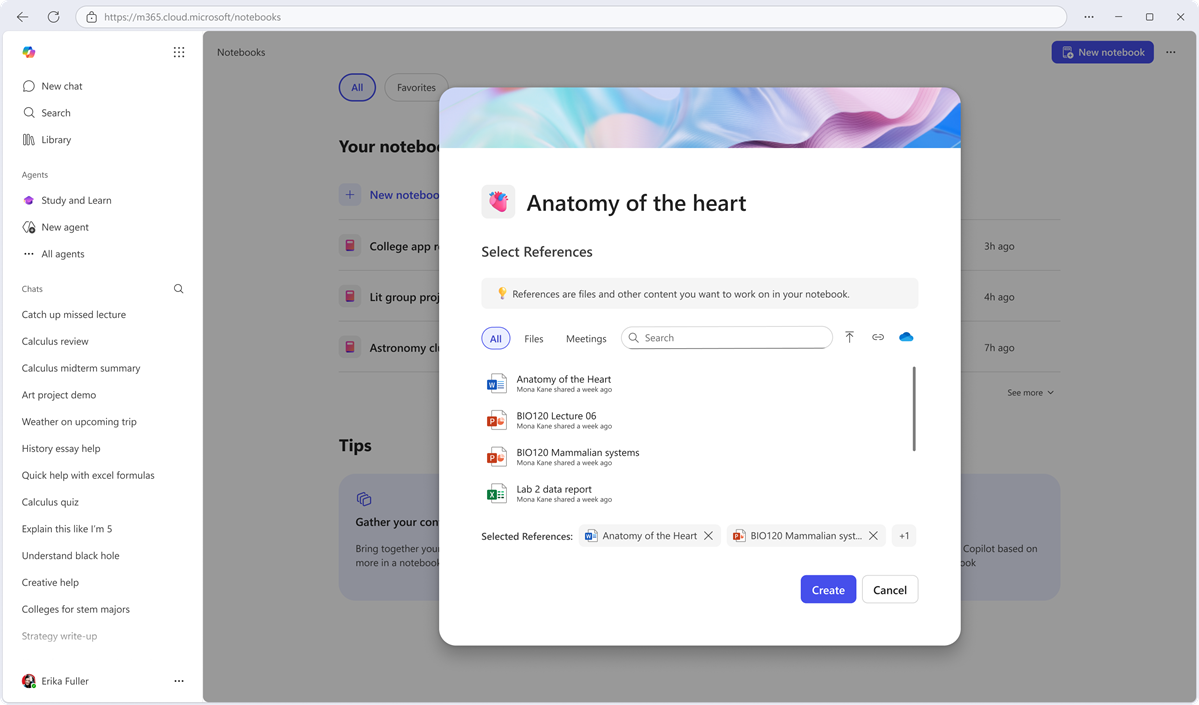
Add your study materials as references: In your Copilot Notebook, choose the References you want to study (your "grounding" documents). You can add various file types, such as Word, Excel, PowerPoint, PDFs, OneNote, Copilot pages, or even Teams meeting notes. This collection of files forms the basis of your Study Guide.
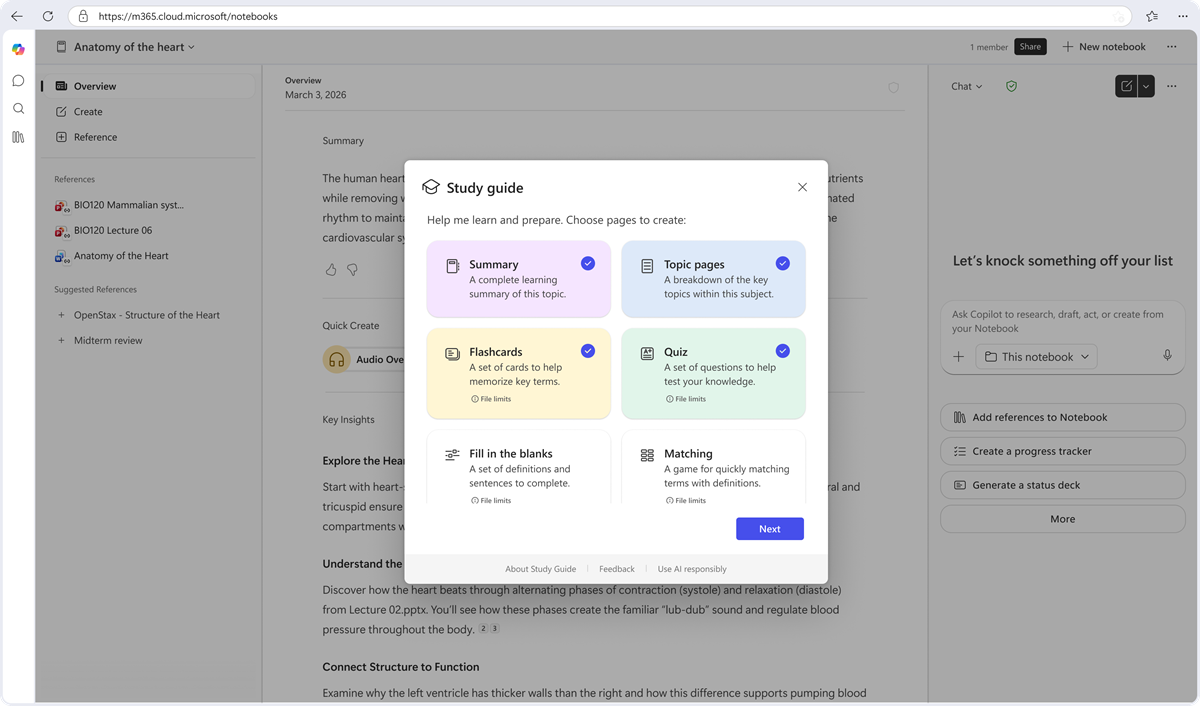
Generate the Study Guide: On the notebook's home page, select the + sign in the left navigation bar of the References pane in a Copilot Notebook and choose the Study Guide option. Copilot prompts you to choose which pages and activities you want in the Study Guide. By default, a Summary page is always created. You can also opt to include Topic Pages one for each key topic covered in the grounding documents, Flashcards, Quiz, Fill in the Blanks, and Matching activities.
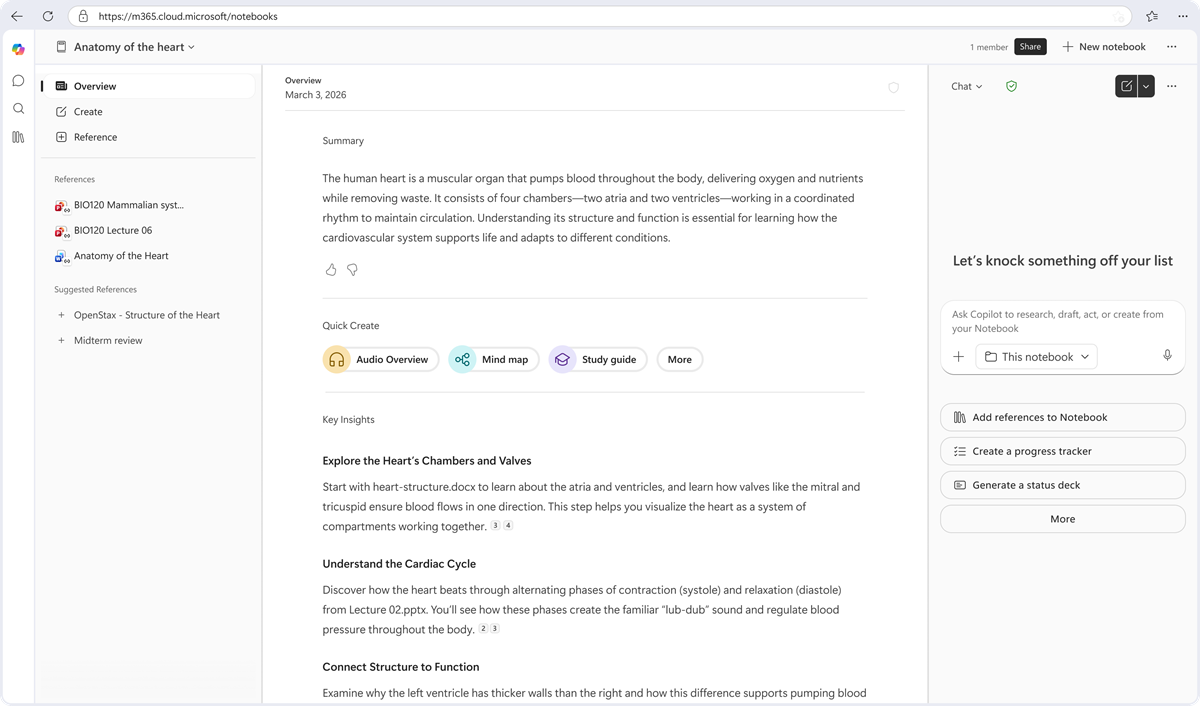
Let the Study Guide be created: After you confirm the selected pages, Study Guide creation begins. This process can take a few minutes. You see a progress bar indicating progress towards completion. Pages appear in the Created content area of the left navigation in Copilot Notebooks as they're created. You can start reading pages as soon as they appear.
Note
If the total file size for your references exceeds 100K characters (a fix for this limitation is actively in progress), or if references include files with Confidential or Highly Confidential sensitivity labels, the Study Guide will still generate Summary and Topic pages. However, learning activities (Flashcards, Quiz, Fill in the Blanks, Matching) may fail to be created. You will see an error message after creation has completed.
Review and refine: The Study Guide is now saved in your OneNote/Copilot Notebook for you. Only you (and anyone you explicitly share the notebook with) can see these pages – they're private by default. Take a moment to skim through the content. You can edit any page just like a normal Copilot page. For example, you might add your own notes, adjust phrasing, or highlight key points. If you add new reference materials to the notebook later, you can also regenerate pages to update the guide with fresh information. This process creates new copies of the study guide pages.
