
Manage a community in Viva Engage
As a community administrator, you have governance over your community's appearance and membership. You can also designate additional community admins to help you with these tasks.
To manage community files and resources, see Manage Viva Engage community resources.
Note: Updates you make to community membership, permissions, and other settings in Viva Engage or Microsoft 365 can take up to 24 hours to replicate across your network. Member counts can be inaccurate for up to 30 days due to user lifecycle.
If you need to add large groups of members and your organization runs Viva Engage as a Microsoft 365 connected network, you can manage your community's membership as a group in Microsoft Entra ID. Learn more about Viva Engage and Microsoft 365 groups. Or, add members with a CSV file (see the following section).
-
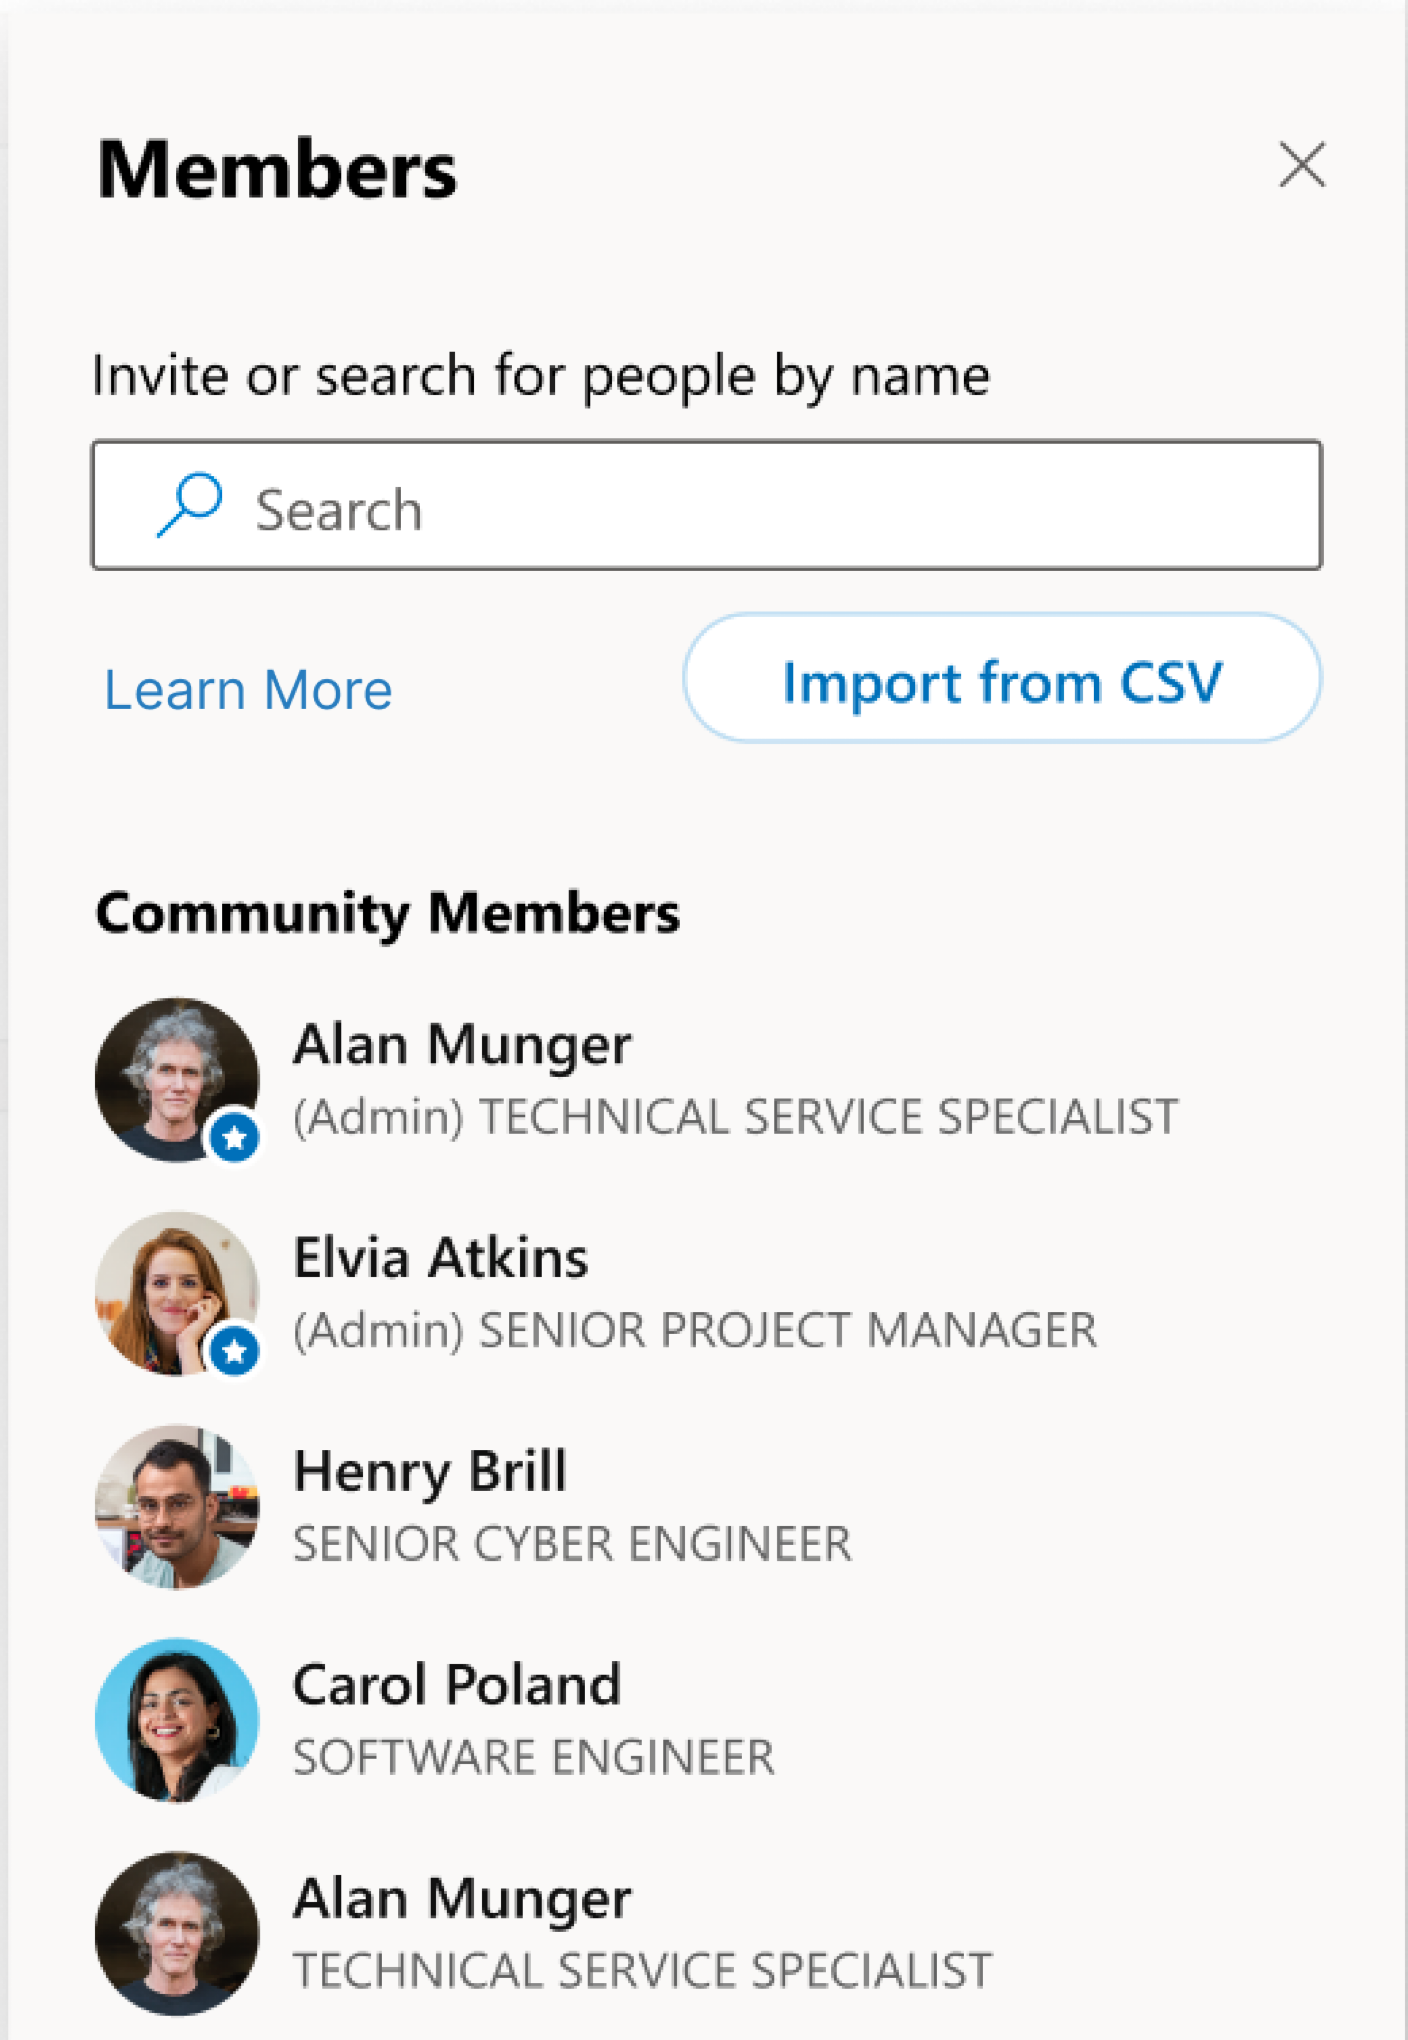
On the home page of the community, select the + icon in the Members tile.
-
Search for the people you want to add by typing their name in the search box.
-
Select the options icon (...) next to the person’s name and choose an option to add or remove the person.
When you add or remove a member, the community content doesn't change. New members get access to all content (including previous posts) in the community. Former members of a private community can no longer access that community's content, except for their old posts through the All Activity feed and notifications. Their posts remain in the community feed.
If Viva Engage is Microsoft 365 connected, you can add large numbers of members to your community at a time with a CSV file. Members must already belong to the network and therefore, have a Microsoft 365 Entra ID account. You can include Azure AD B2B guests in the CSV, provided they're already in the network. Use the Principal Name for the email address of a B2B guest.
Each file can contain a maximum of 20,000 email addresses.
-
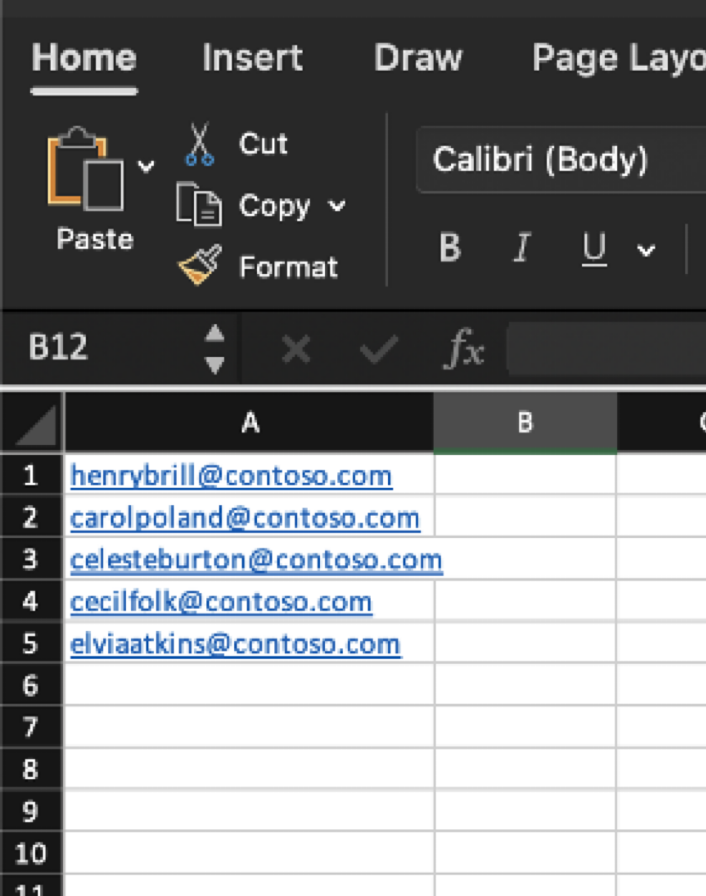
In Microsoft Excel or a spreadsheet app, create a workbook.
-
Starting on row 1, column A, enter an email address. This is the UPN from Azure Active Directory.
-
Continue adding one email address per row (up to 20,000 max), leaving all other columns empty.
Make sure that the file has no added notes, names, special or characters, or the import process will fail. -
When you’re done, select File > Save as > File Format and select CSV UTF-8 format.
Important: The default file format for Microsoft Excel, Excel Workbook (.xlsx) by default, will fail to import.
-
In Viva Engage, open the Members panel on the right and select Import from CSV.
-
Browse to select the CSV file.
The import process can take up to 24 hours to complete.
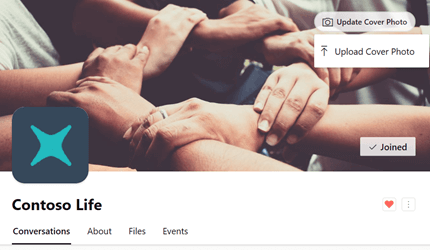
Your cover photo illustrates your community's identity and purpose, or it can publicize a community event. Use a simple, recognizable image that reads well on mobile devices. Community admins can upload a photo for their community on the web or in the mobile app. Cover images must be 20 MB or less, 1360 x 550 pixels, and use PNG, JPEG, or non-animated GIF format.
For the community icon or logo, use a square image. Uploaded images resize to 85 x 85 pixels.
-
In the community header, select Upload Cover Photo.
-
From the file list, select an image to upload.
-
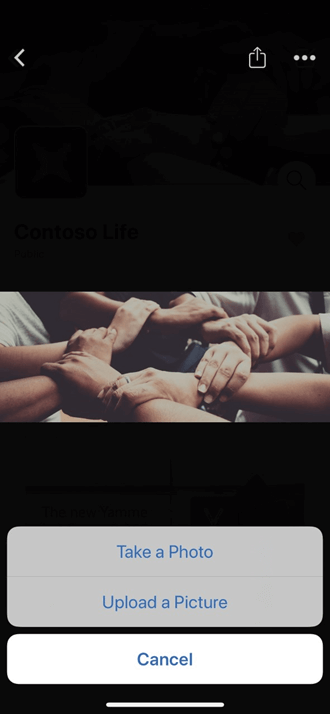
In the community header, select the cover photo.
-
In the top-right corner, select the options icon (...).
-
From the file list, select Take a Photo or Upload a Picture.
As community admin, you can assign more community admins. Communities can have up to 100 admins.
Viva Engage verified admin can also assign community admins. A Viva Engage network admin can assign community admins for a public community. To assign a community admin for a private community, they must first belong to that community.
-
In the Members tile, select the number next to the word Members to open up the member panel.
-
Search for a person by name or email.
-
Select the options icon (...) next to the person’s name, and then select Make admin.
Admins have a star next to their icon that shows up under Members. You can also see the community admins from the About Page members pane.
If you're the community admin for a private community, you'll get a notification in Viva Engage each time someone requests membership in your community.
-
To receive an email notification for each request, go to your email notification preferences and select Someone requests to join a private community I administer. For steps, see Enable or disable email and phone notifications.
Learn more


Potrebujete ďalšiu pomoc?
Chcete ďalšie možnosti?
Explore subscription benefits, browse training courses, learn how to secure your device, and more.


Communities help you ask and answer questions, give feedback, and hear from experts with rich knowledge.


