Multi-language posts for global communication
Viva Engage supports manual multi-language post creation. This feature enables communicators to curate messages in multiple languages, to ensure clarity, cultural relevance, and inclusivity across diverse audiences. Post with any of Engage's supported languages through the Home feed, Communities or Storylines. You can use up to 10 language translations for a single discussion post. For example, if a Canadian leader is fluent in both English and Canadian French, they can comprehensively author in both languages with the same features for each.
Multi-language posting is available to all Viva Engage Premium license holders. Any Viva Engage user can switch between languages of the published post.
Communicators can use different image and video assets for each translation.
After you publish the message, readers can view it in their preferred language.
Here's a quick summary of how to use multi-language posting:
-
Start a new post on Viva Engage.
-
Add more languages by using the Add Translation tool in the post authoring window.
-
Curate and compose the content for each chosen translation.
-
Upload your video, GIF or image attachments for each translation.
-
Publish your post. Your readers automatically see the translated version that matches their default language setting.
Translate Engage content
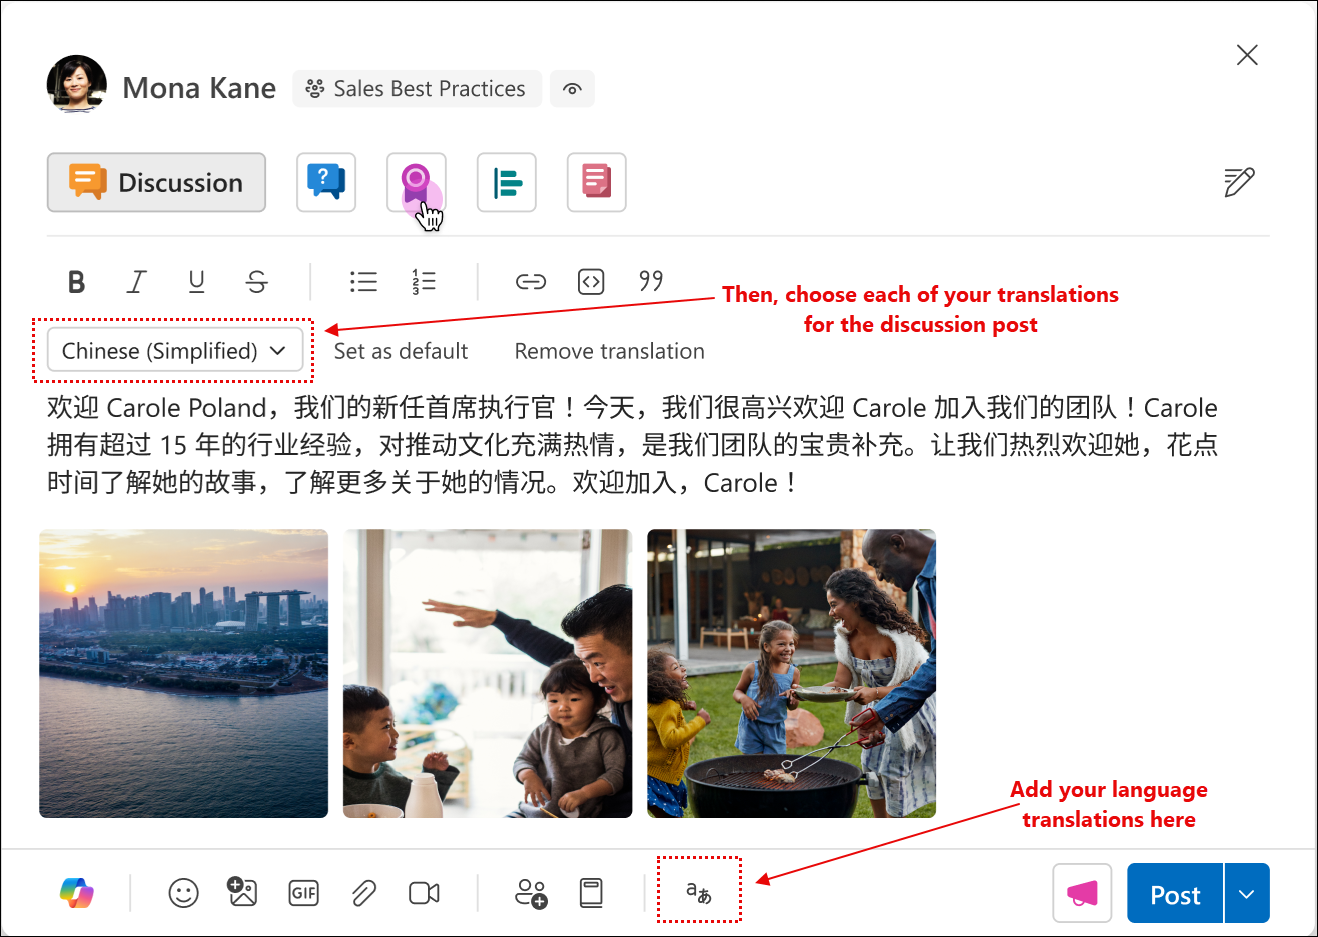
Each translation represents one version of your post, in a different language. The following example shows a translation to Simplified Chinese.
Engage automatically sets its default language as the language for the user's locale.
Note: Change your Engage default language at any time. Select Settings and choose General > Language. Checking the default language setting also shows you the complete list of supported languages.
Take the following steps to create post translations for publication:
-
Create a new post in your chosen community or storyline.
-
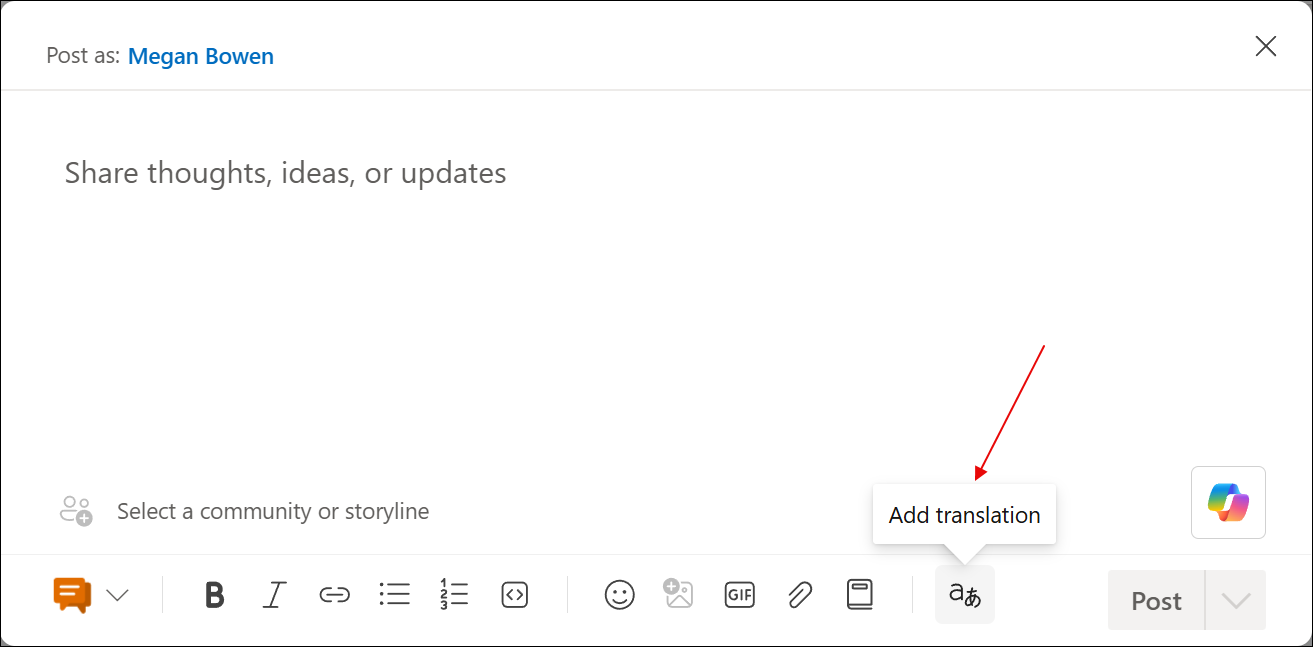
To add a translation language for the new post, select the Add translation tool.
-
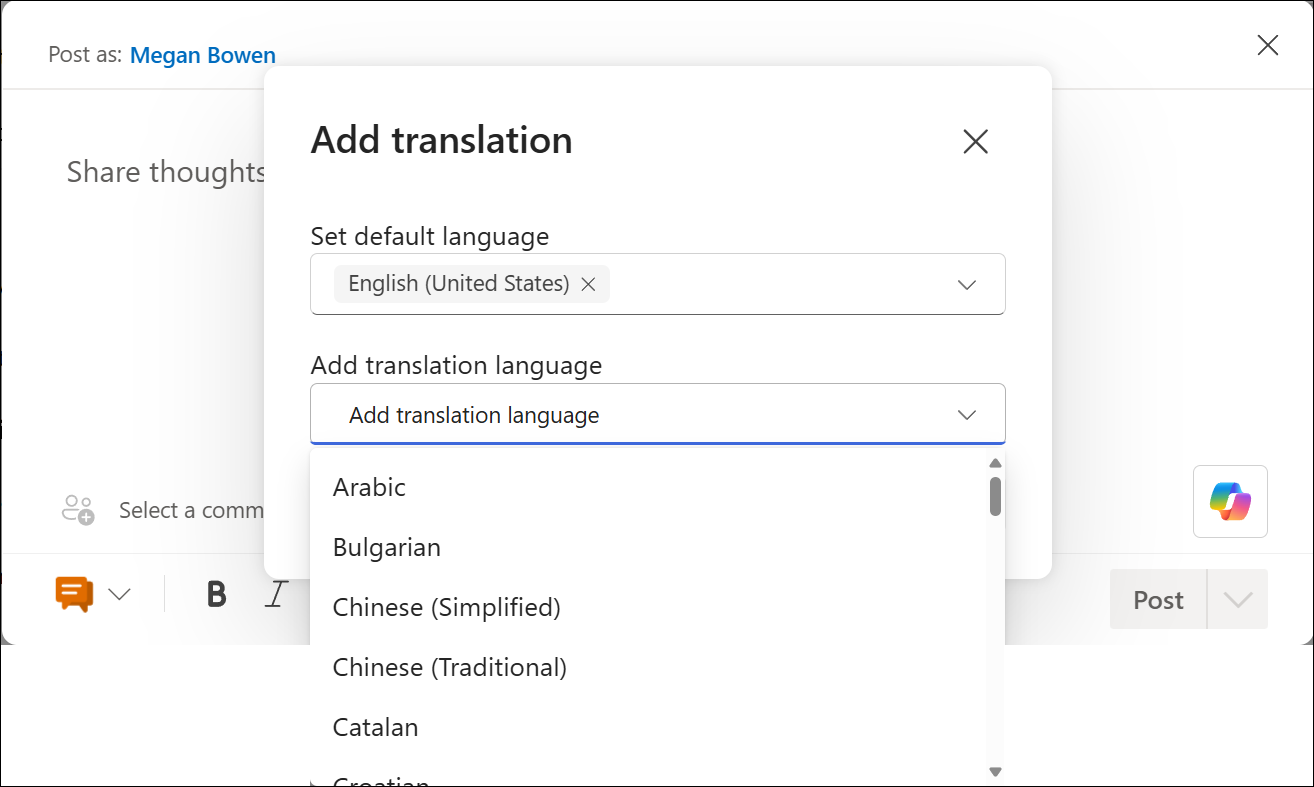
If necessary, adjust the default language.
-
Select the Add translation language dropdown. Choose from any supported language to add to your list for the discussion post.
-
Select Add to add the chosen language to the post as a translation.
-
To add more translation languages, select Add translation again. Continue selecting languages as needed. Select up to 10 for your post.
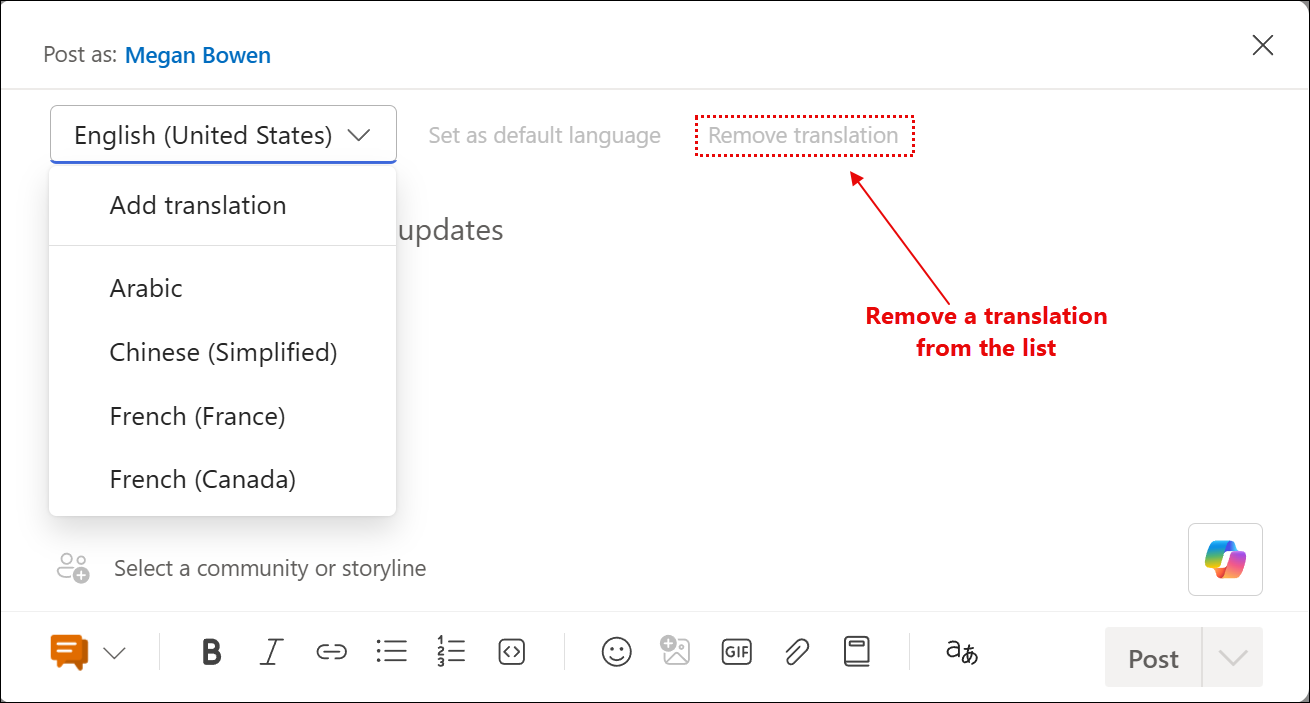
The complete list of translations appears in the dropdown on the top left.
If necessary, select a translation from the list and choose Remove translation.
-
Select a translation language in the post and compose your content.
-
When you're finished, select Post to publish.
End User translation usage
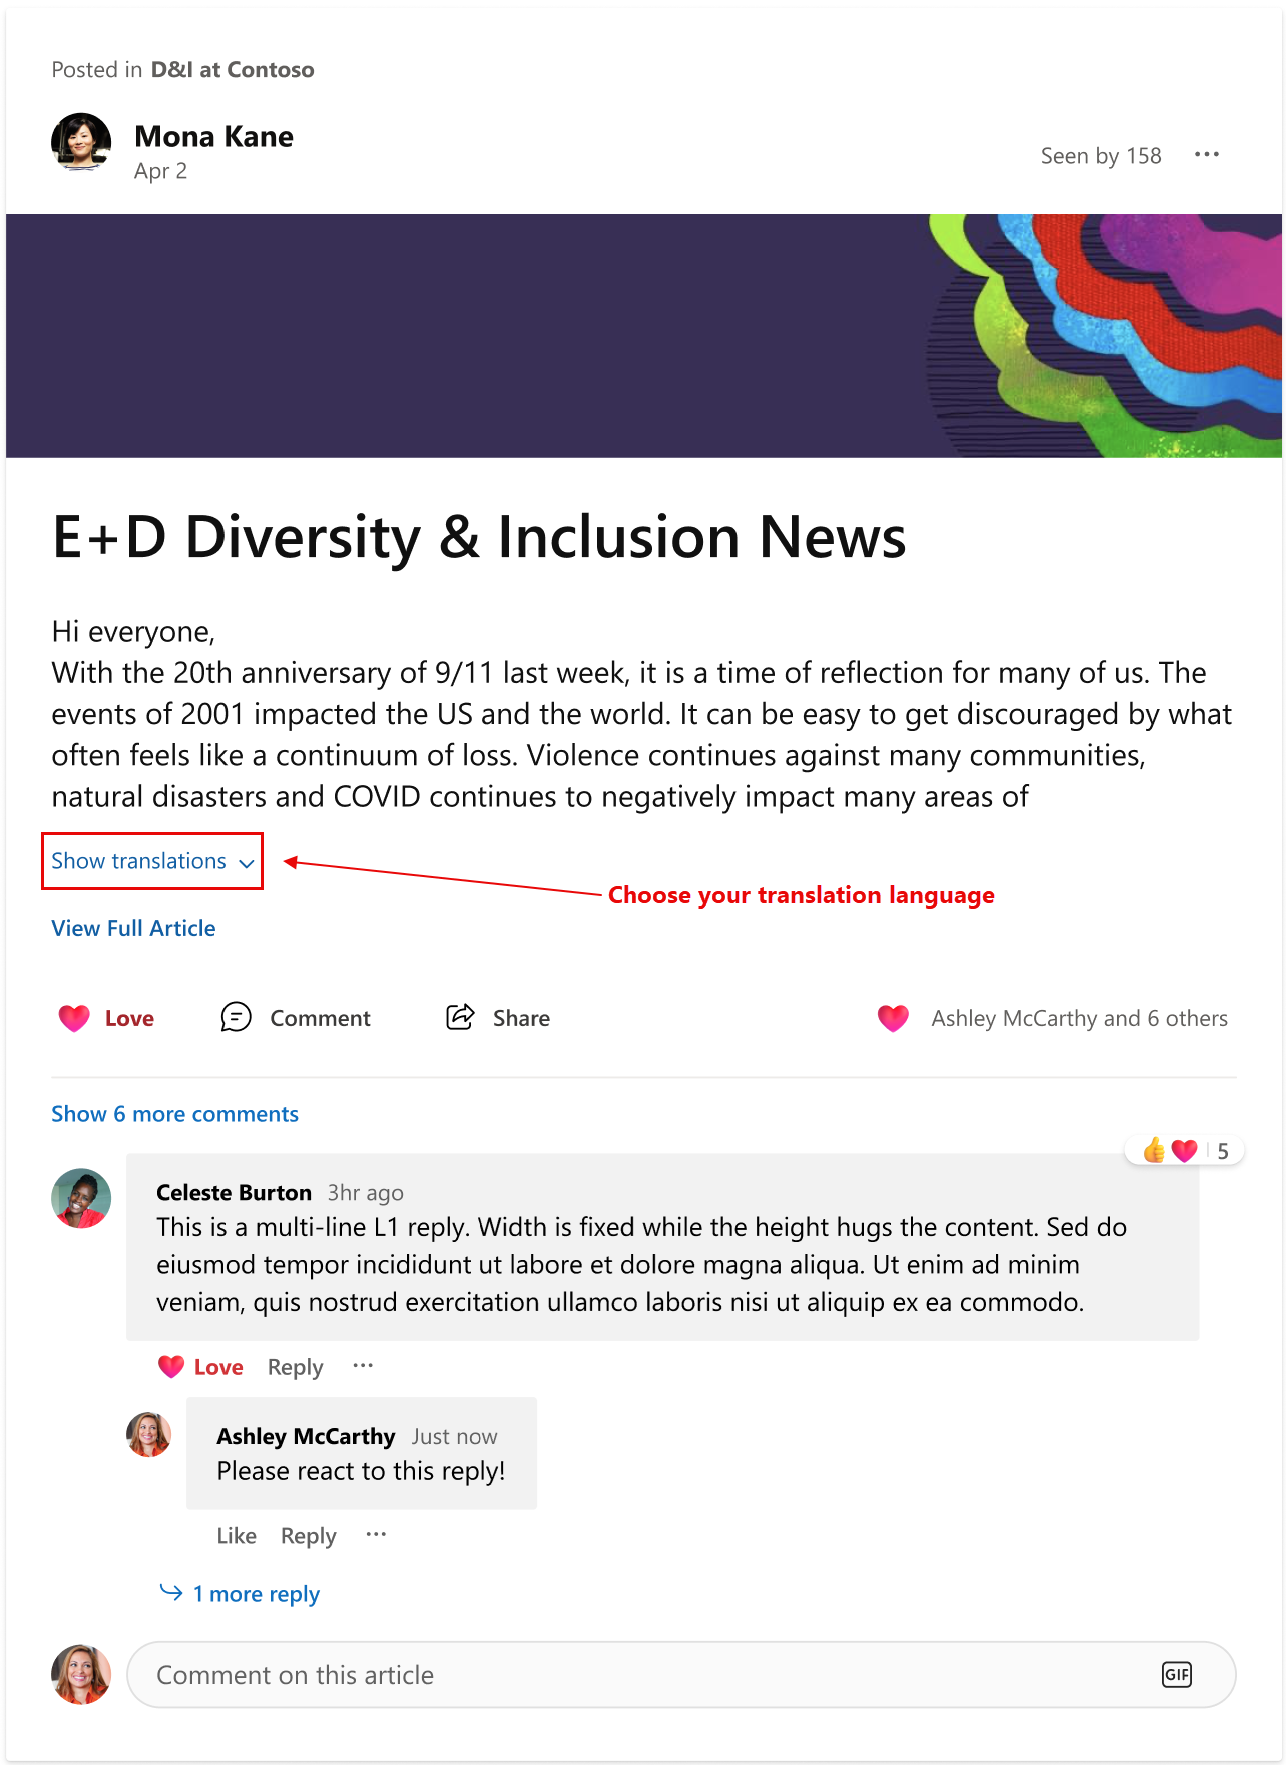
Readers of Engage posts can switch to view a translation that differs from their default language. Select the Show translations link in the Engage post. The translations originate from the creator of the Engage post.

