Create a community in Viva Engage
Applies To
Anyone can create a community in Microsoft Viva Engage. When you create a community, you automatically become its community administrator.
After you create the community, you can add members and customize the community appearance. You can also pre-populate the community with some content.
A Viva Engage announcement is any message type that a community administrator can send to all community members. It has special emphasis within the feed and generates a notification for all community members. An announcement might be a good choice for a welcome post after you have added your community members.
Create a new community
-
In Engage, select the
-
Select Community from the
Note: If this button doesn't appear, your admin applied a group creation policy that gives permissions to specific users to create communities and other entities in Engage.
-
In the Community creation dialog, complete these fields and then select Create.
Community name
Enter a unique name that isn't already in use.
Choose a short name that follows the naming conventions of your organization. If your admin enforces a Microsoft 365 Groups Naming Policy, a prefix or suffix may be appended to the community name. If you want to use the name of a recently deleted community, you must either restore the group or permanently delete the community before you can re-use the name.
Description
Describe the community to others in 150 or fewer characters.
This description is visible to all network members for both private and public communities.
Members
Enter the names or email addresses of anyone you want to add to the community. You can add up to 19 members while creating a community (20 total including the community creator).
Note: The limits here apply only during community creation. After you create your community, you can add more members.
Who can view conversations and post messages
Public Access gives anyone on your network the ability to view content posted to this community and join this community.
Private Access gives only approved members of this community the ability to view the content and a community admin must approve people who request to join this community.
Classification or Sensitivity
A default classification or sensitivity label is selected under the section. To change it, click Edit, and select the classification or sensitivity label from the drop-down list. These sections will only appear if they have been configured for your organization.
Communication Configurations
Choose the default publisher for your community and decide if people should be allowed to move conversations from other communities into this one.
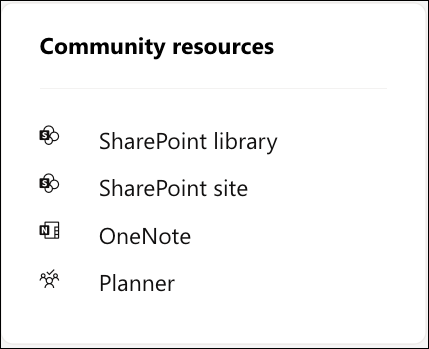
Each new Microsoft 365-connected community gets resources, which appear on the right of the community page.
Community resources include: a SharePoint document library, SharePoint site, OneNote notebook, a plan in Microsoft Planner, and a group email account (listed in the Global Address Book).
Learn how to Manage Viva Engage community resources.
Learn more
Populate your community with questions and answers


