
Use the Manage Users tool in PowerShare to create, update, and manage user accounts. This tool helps you control access and assign the right permissions for each role.
Access the Manage Users tool
Sign in to your PowerShare account.
From the Home screen, select Admin.
Select Manage Users.
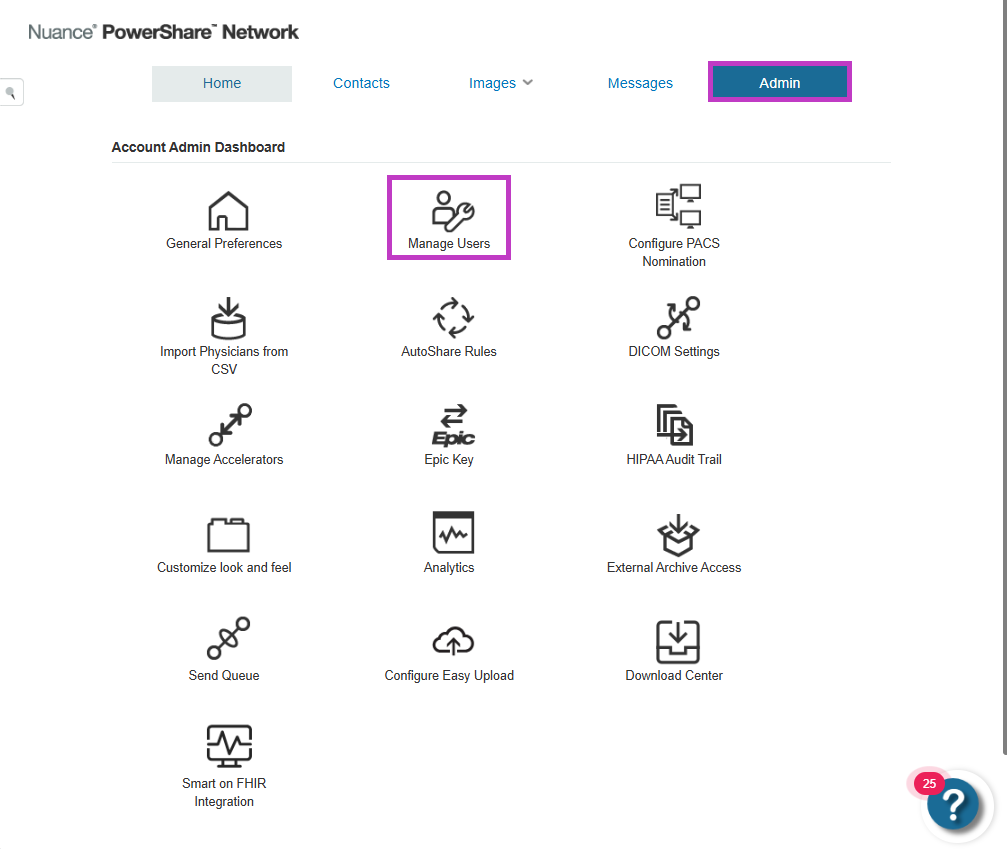
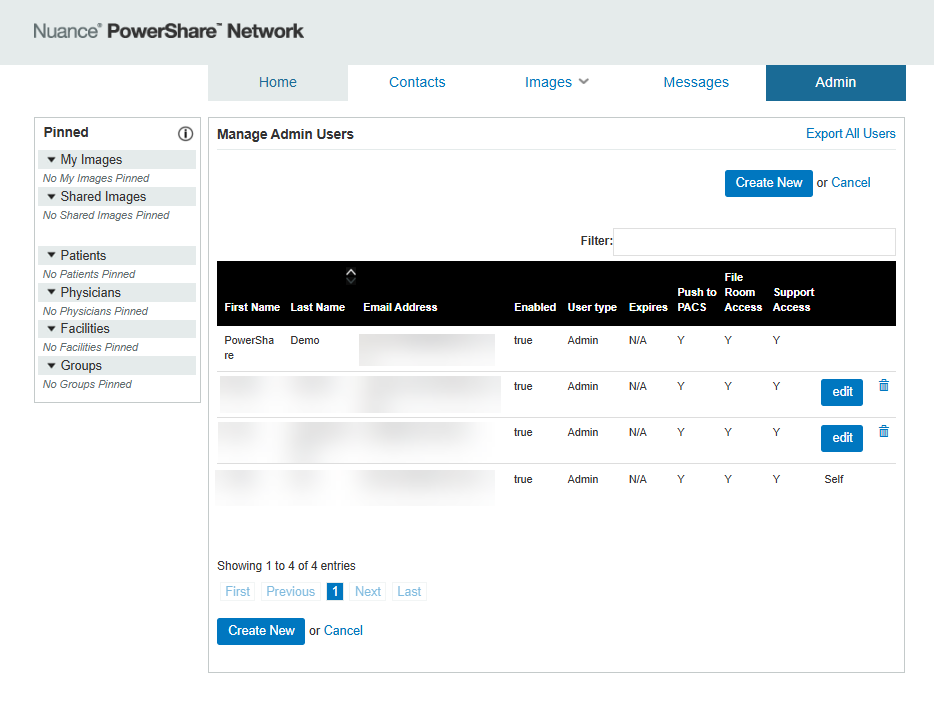
The Manage Users tool displays all users and their account details.
Your administrator permissions determine access to this tool.
Understand user types
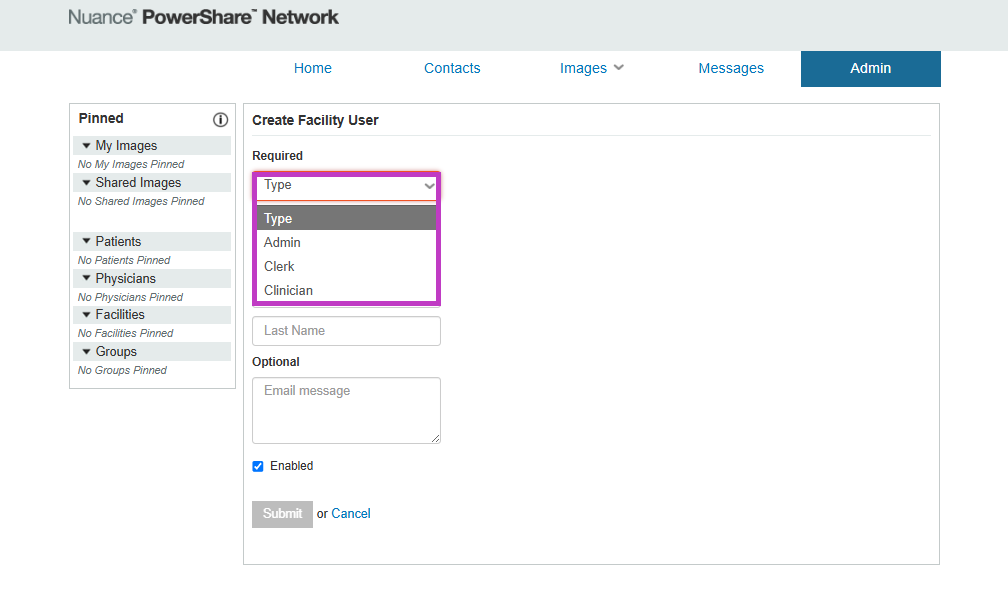
PowerShare includes several user types. Choose the right role based on what you want each user to do.
Owner Admin – Full access to all admin functions; only one per account
Admin – Full access except creating other admin users
Clerk – Can manage images but can't access admin functions
Clinician – Similar to Clerk, without access to admin pages
Stat/Temp – Limited access to upload and view images for a set time period
Add a new user
Follow these steps to create a new user account.
Create the user
Open the Manage Users tool.
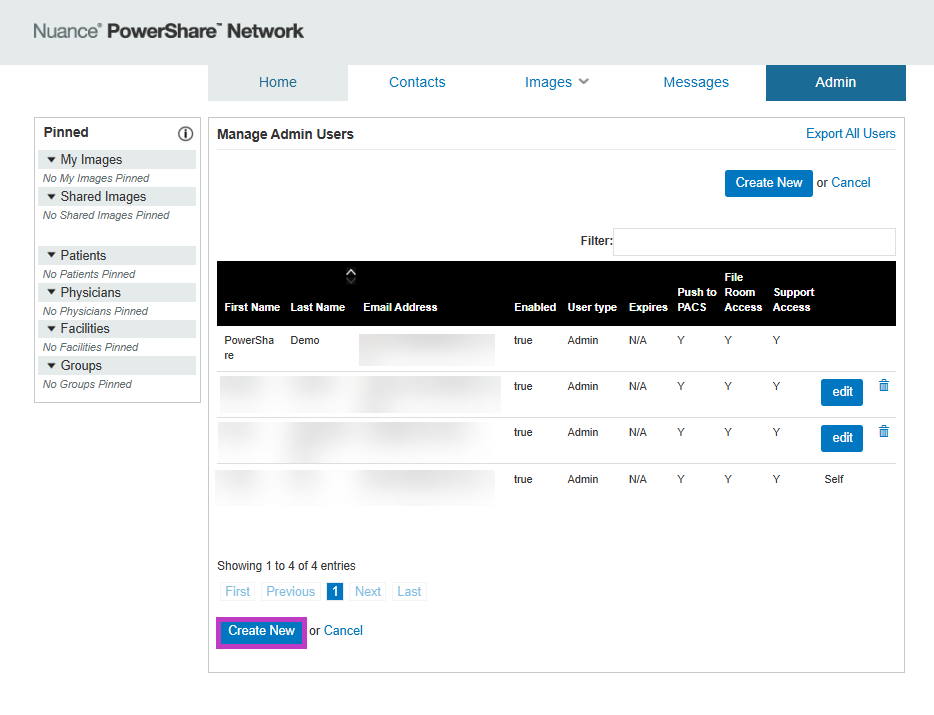
Select Create New.
Choose a user Type from the list. Available roles depend on your user level.
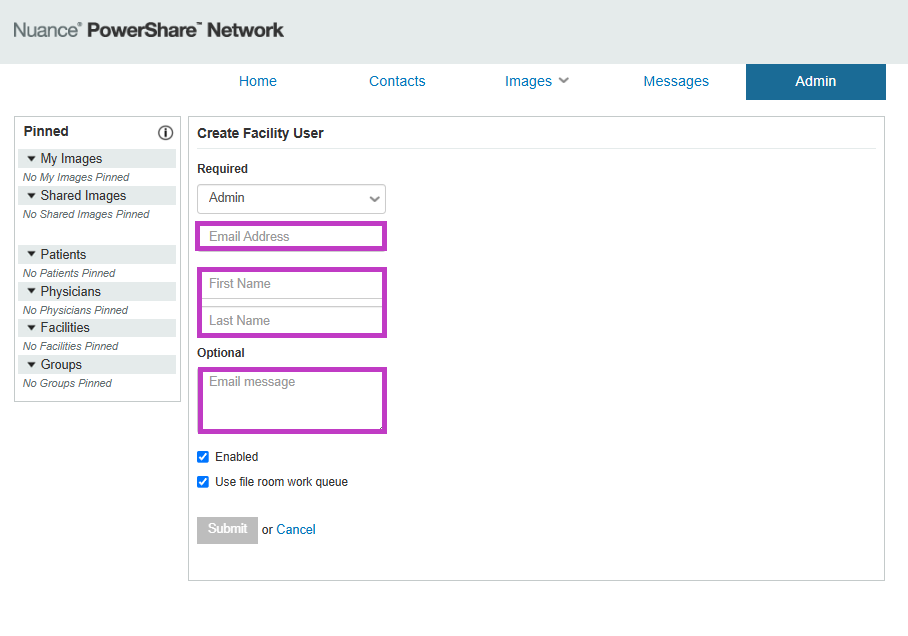
Enter user details
Enter the users:
Email address
First name
Last name
(Optional) Add a message for the user.
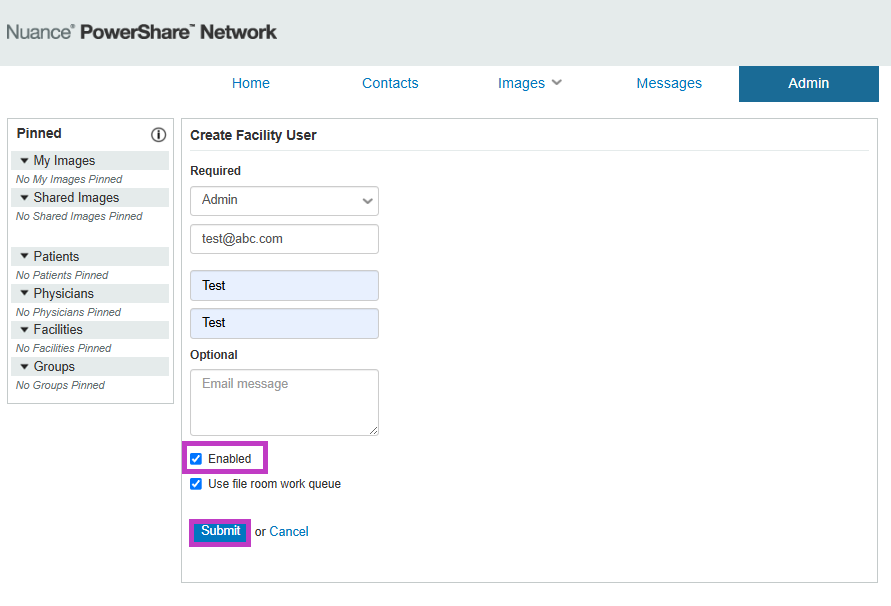
Send account setup email
Leave Enabled selected to send a setup email immediately.
Select Submit to create the account. The user receives an email with instructions to complete setup.
Delay sending the email (optional)
Clear Enabled if you don't want to send the email right away.
Enable it later and select Submit to send the setup email.
Set user privileges
Control what each user can do by assigning privileges.
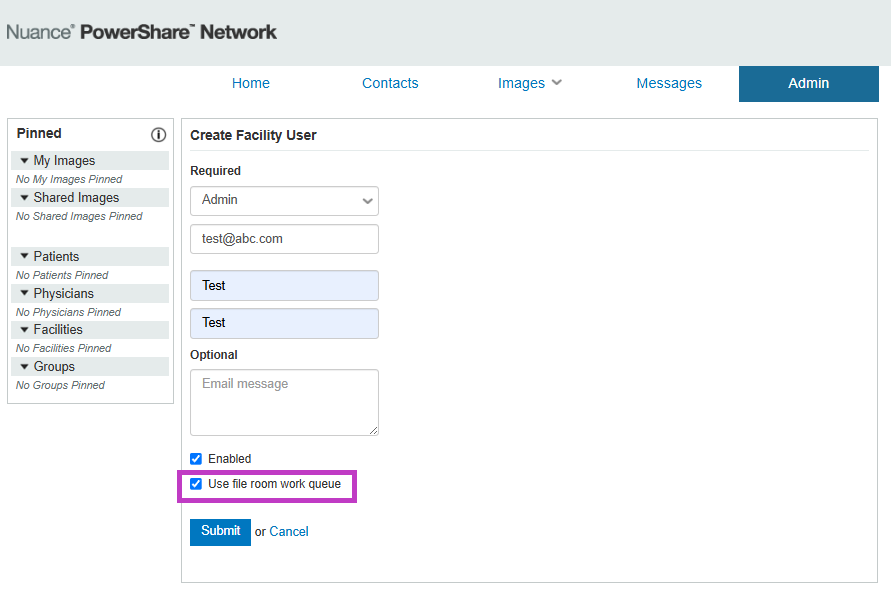
Admin privileges
Use File Room Work Queue – Access and manage requests and PACS queues.
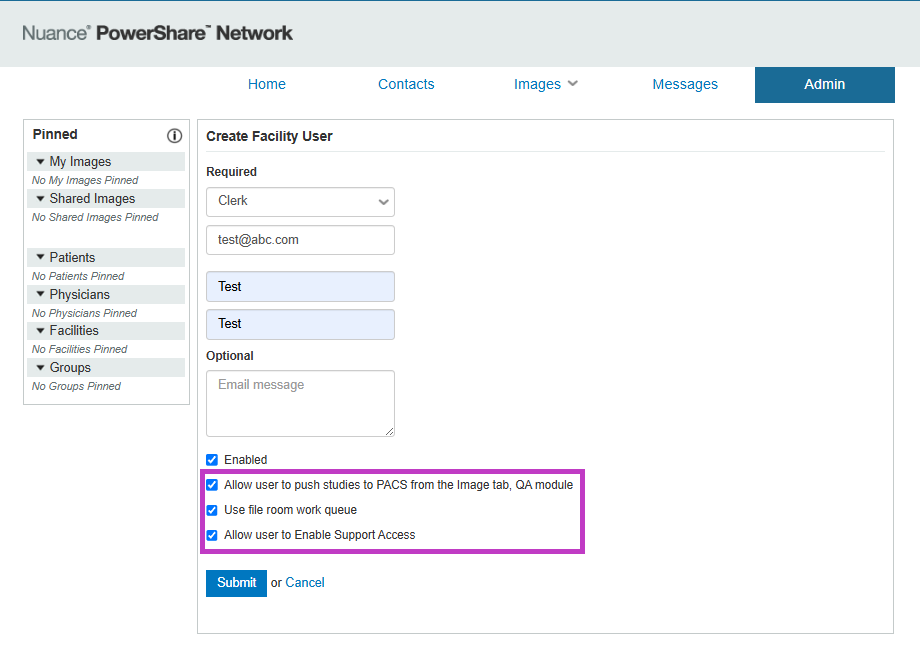
Clerk privileges
Allow clerk to push studies to PACS – Enable direct PACS push from the Images tab.
Use File Room Work Queue – Access work queues if required.
To remove privileges, clear the corresponding checkboxes.
Manage existing users
Use the Manage Users tool to maintain user accounts.
View all users and their roles.
Edit user details or privileges.
Enable or disable accounts as needed.
The user list shows all current users and their account setup details.
What happens next
New users receive an email to complete account setup.
Users can sign in and start using PowerShare based on their assigned role.
If your organization uses Single Sign-On (SSO), account setup might follow a different process.
Tip
- Assign roles carefully to match each user’s responsibilities.
- Limit admin roles to users who manage the system.
- Use temporary roles (Stat/Temp) for short-term access.
Next up: Enable support access in PowerShare Image Sharing
Grant temporary support access to help troubleshoot issues while maintaining security controls. Let's go.