
Create a PowerShare account to securely access, view, and share your medical images.
Before you begin
You need a QR code or registration link provided by your imaging centre.
Use a smartphone or web browser to complete registration.
Create your account
Step 1: Scan the QR code
Use your smartphone camera or a QR code scanner to scan the QR code provided by your imaging centre.
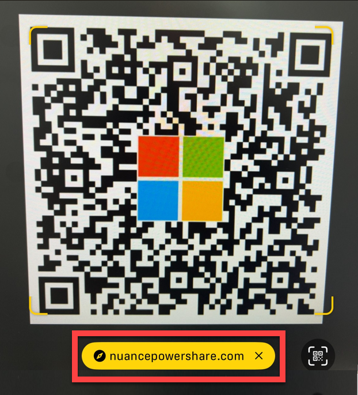
Step 2: Open the registration link
Tap the link that appears after scanning the QR code. This action opens the PowerShare registration page in your browser.
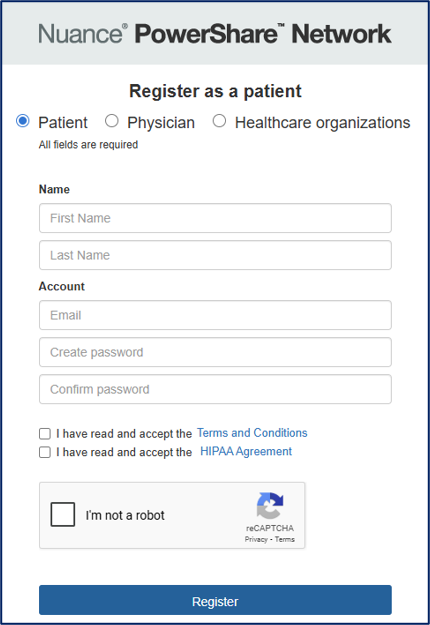
Step 3: Enter your details
On the registration page:
Make sure Patient is selected as the account type.
Enter the required details:
First and last name
Email address
Password and confirm password
Select the checkboxes to accept:
Terms and Conditions
HIPAA Agreement
Complete the CAPTCHA.
Select Register.
Verify your account
After registration:
A confirmation message appears on the screen.
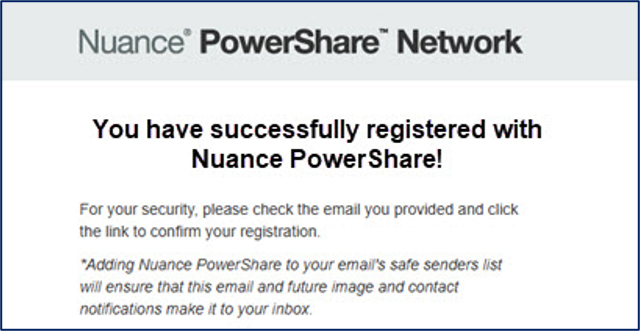
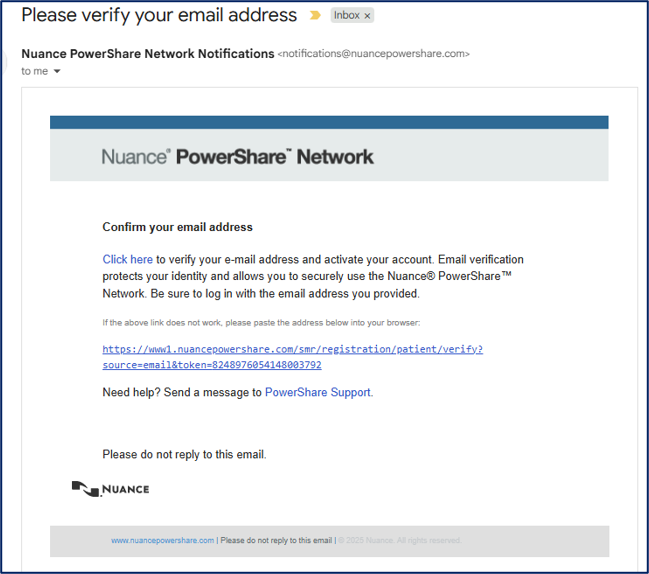
You receive a confirmation email.
Open the email and select the verification link to activate your account.
Tip
If you don't see the email, check your Junk or Spam folder.
Sign in to your account
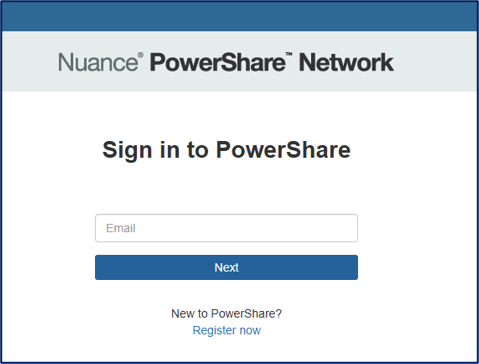
Go to the PowerShare sign-in page.
Enter your email address and select Next.
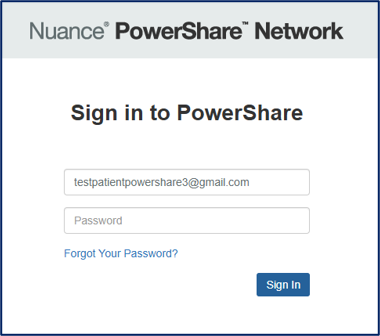
Enter your password and select Sign in.
What you can do after signing in
After you sign in, you can:
View and download your medical images.
Share images with your care team.
Manage your account settings.
Connect with imaging facilities.
Need help?
Select Forgot your password on the sign-in page to reset your password.
Use the Resource Center in the portal for guided help.

Important
PowerShare isn't intended to replace professional medical advice. Always follow guidance from your healthcare provider.
Next up: Spoke and Hub features and functions in PowerShare Imaging Network
Learn about Spoke and Hub capabilities to manage image exchange and connectivity across your network. Let's go