
Upload your medical images to PowerShare so you can access, manage, and share them securely with your care team.
Before you begin
Sign in to your PowerShare account.
Make sure your images are saved on your computer, CD, or external drive.
Upload your images
Follow these steps to upload images to your account or send them to a connected facility.
Start the upload
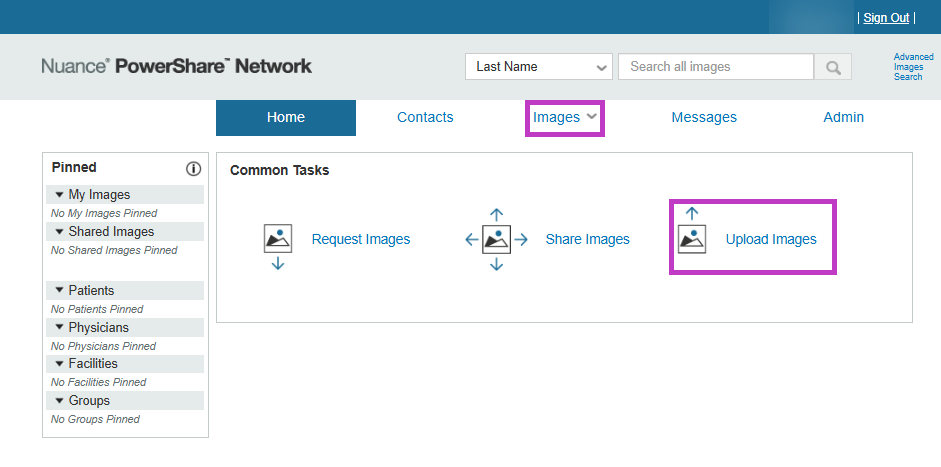
Go to the Images tab.
Select Upload Images.
Choose where to upload
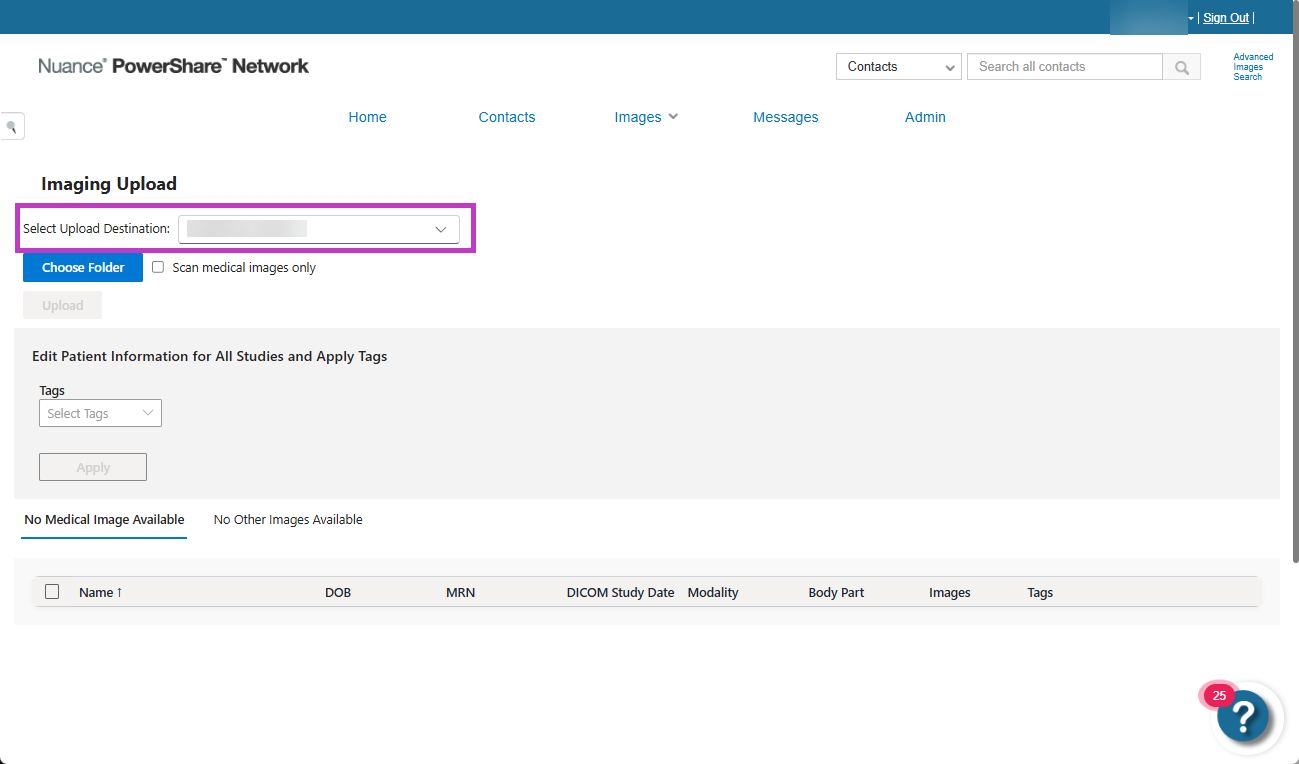
Select an Upload Destination:
Select your name to upload to your account.
Select a facility to send images directly to them. If the facility isn't listed, contact them to request access.
Select and upload files
Select Choose Folder and locate the folder or drive with your images.
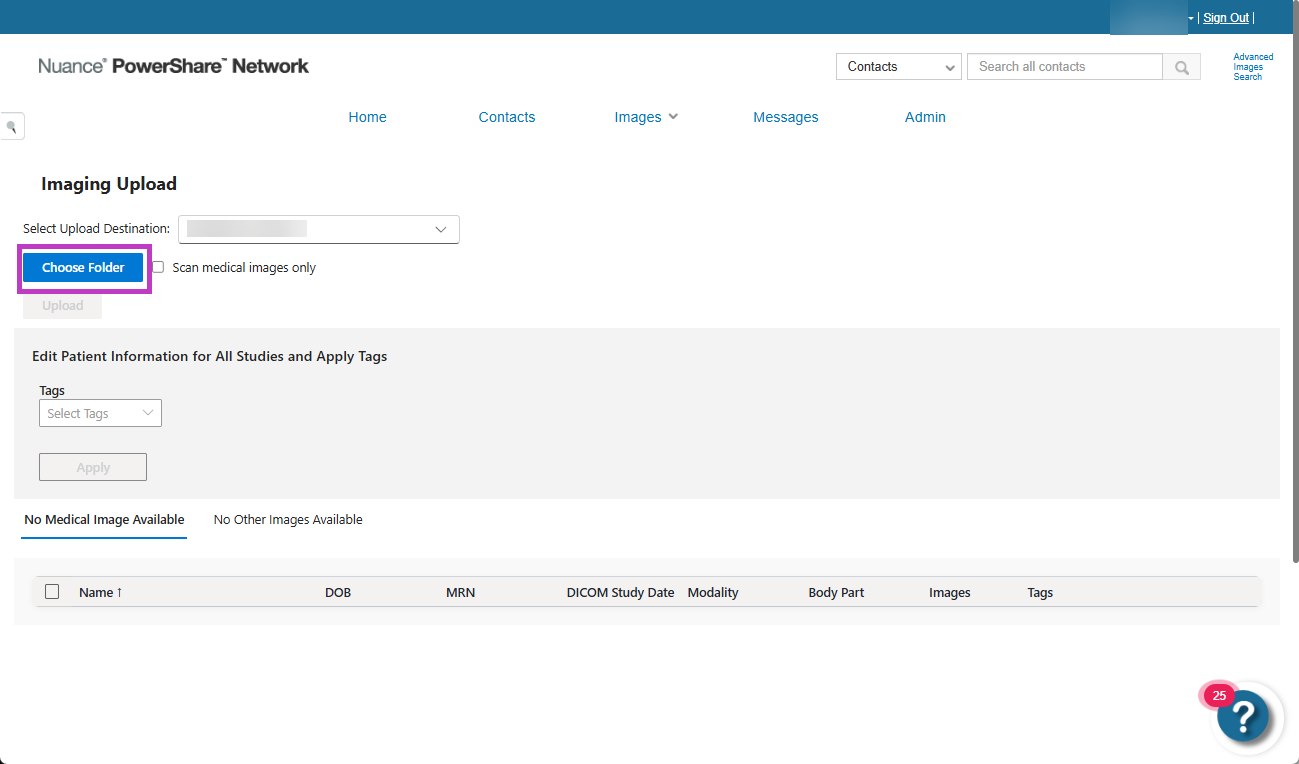
Select the image files.
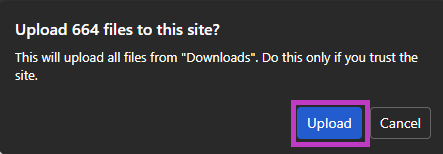
Select Upload to start the process.
Complete the upload
Monitor the progress indicator and wait for Transfer Complete.
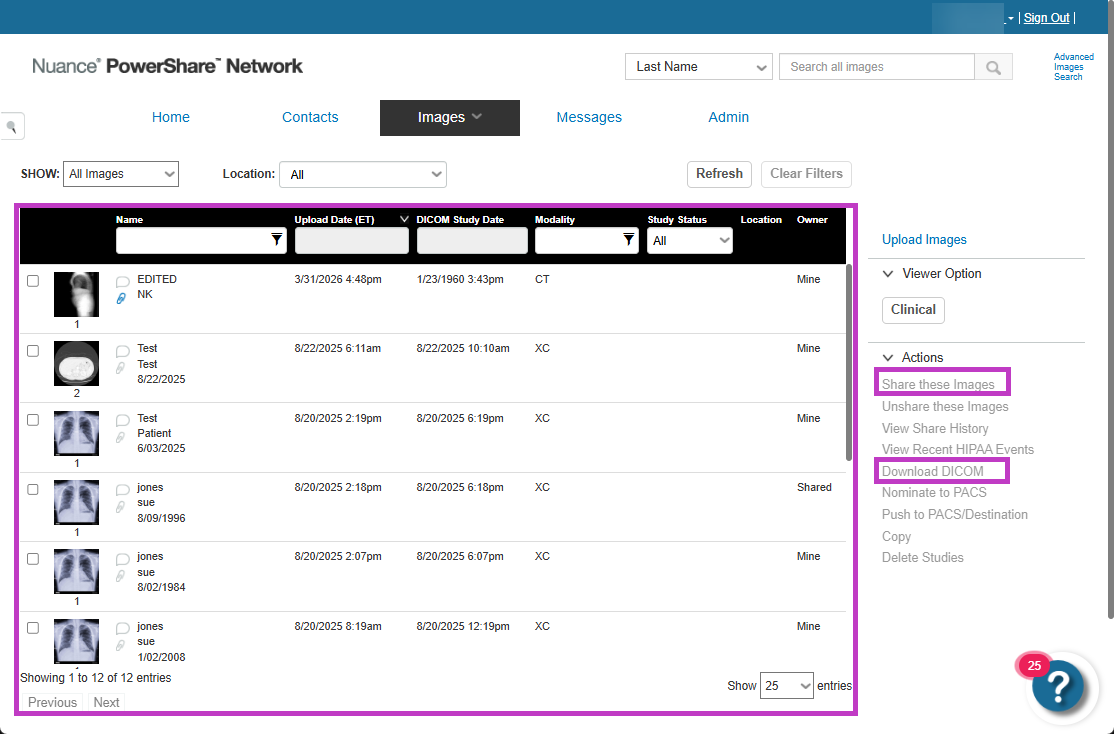
Confirm the images appear in the Images tab.
To upload more images, select Upload Another, or select Done to finish.
Supported image types
You can upload:
DICOM images (standard medical imaging format).
Other image formats such as JPEG, PNG, or GIF (if supported).
You can access these options through the PowerShare uploader tool.
Tip
- Insert your CD or connect your external drive before starting the upload.
- Don't close the upload window until the process is complete.
- You can select multiple files or folders to upload at once.
After you upload
When your upload finishes, you can:
View your images in the Images tab.
Share images with your care team.
Download images for local use.
Next up: Share images in PowerShare Image Sharing
Share imaging studies with contacts and organizations to support timely collaboration and care. Let's go