
Configure image request settings in PowerShare to control who can send you requests and how requests are handled in your account.
Configure incoming image requests
You can enable or manage incoming image requests based on the type of contact. PowerShare enables you to control who can request images from you, such as facilities, providers, or patients.
Update request settings
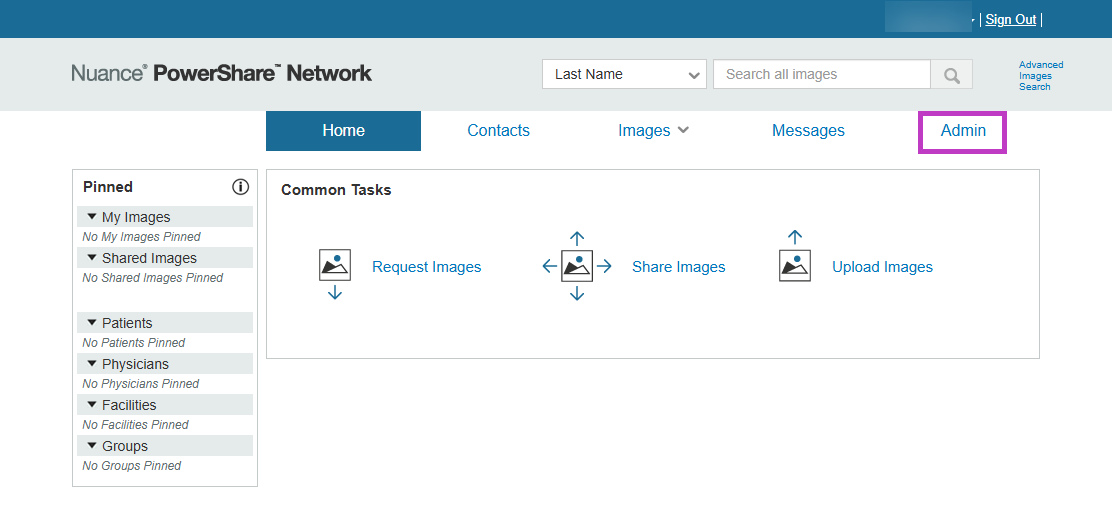
Go to Admin.
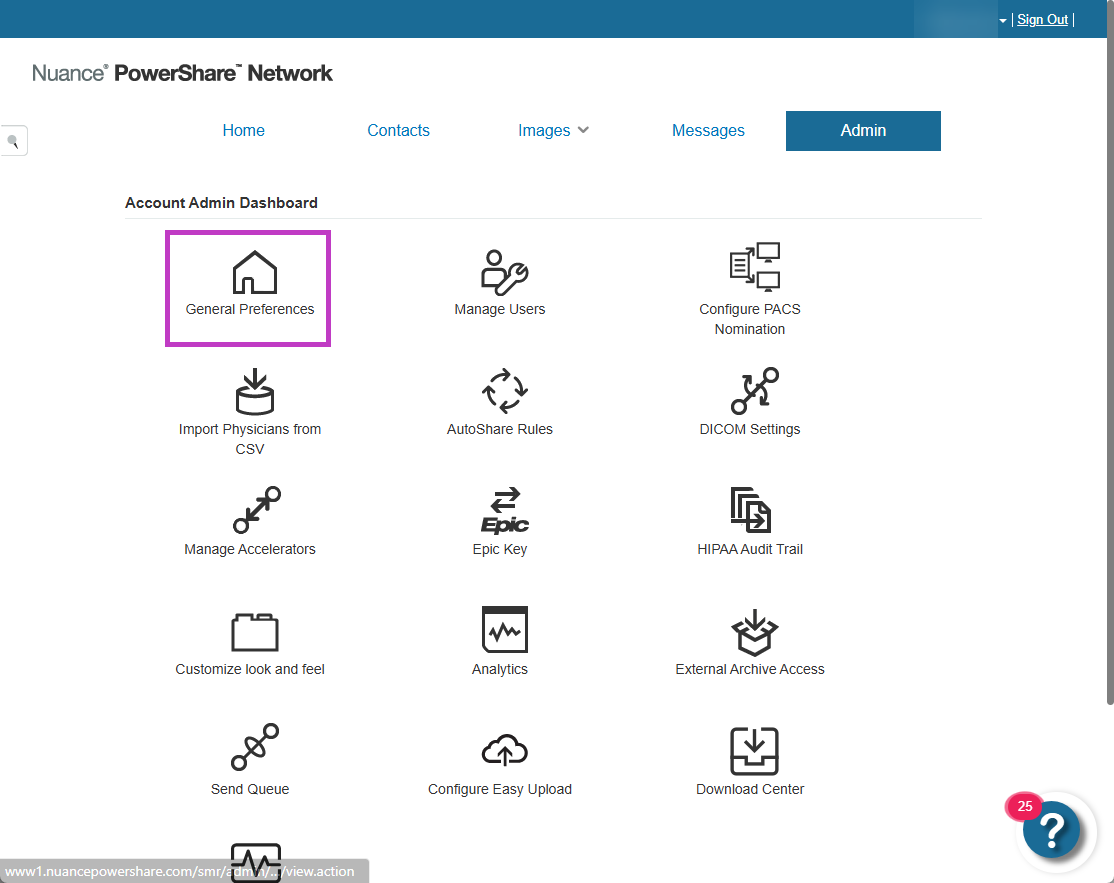
Select General Preferences.
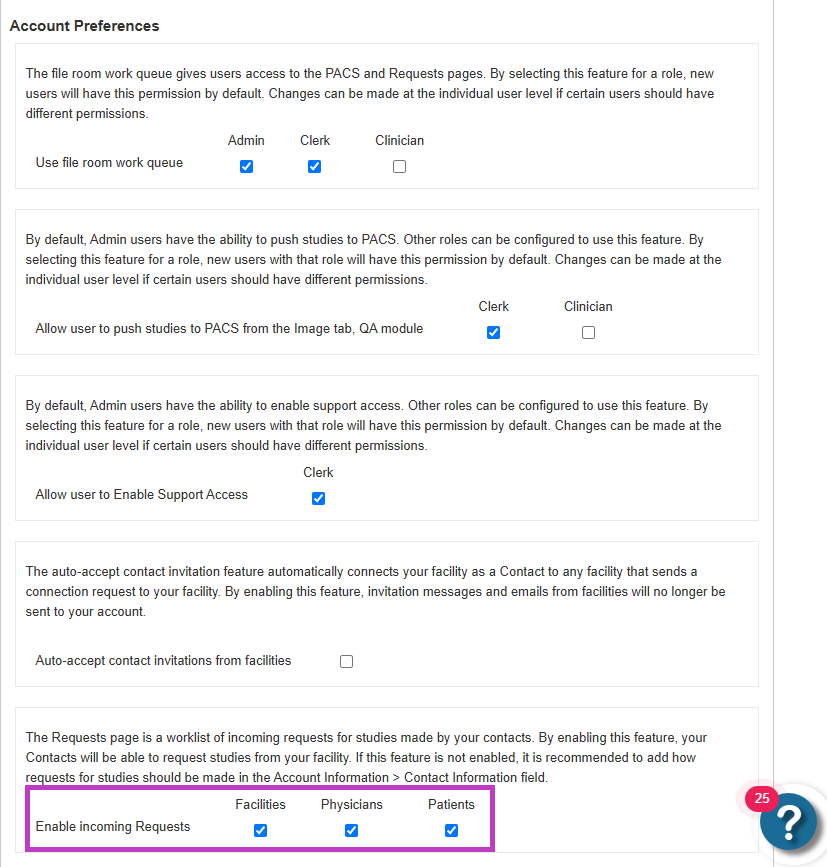
Select Account Preferences.
Enable Incoming Requests.
Select the account types that can send requests:
Facilities
Physicians
Patients
Select Save.
Control how requests are handled
If you disable incoming requests, contacts can't send requests to you.
If you don't accept requests from any contact type, you can provide alternative instructions in your account contact information.
Understand request eligibility
You can only request images from contacts in your network.
You must send requests to contacts who accept requests.
If a contact doesn't accept requests, you see a message or the option is unavailable.
Configure request details during submission
When you create an image request, you can configure key details to help the receiving facility process it.
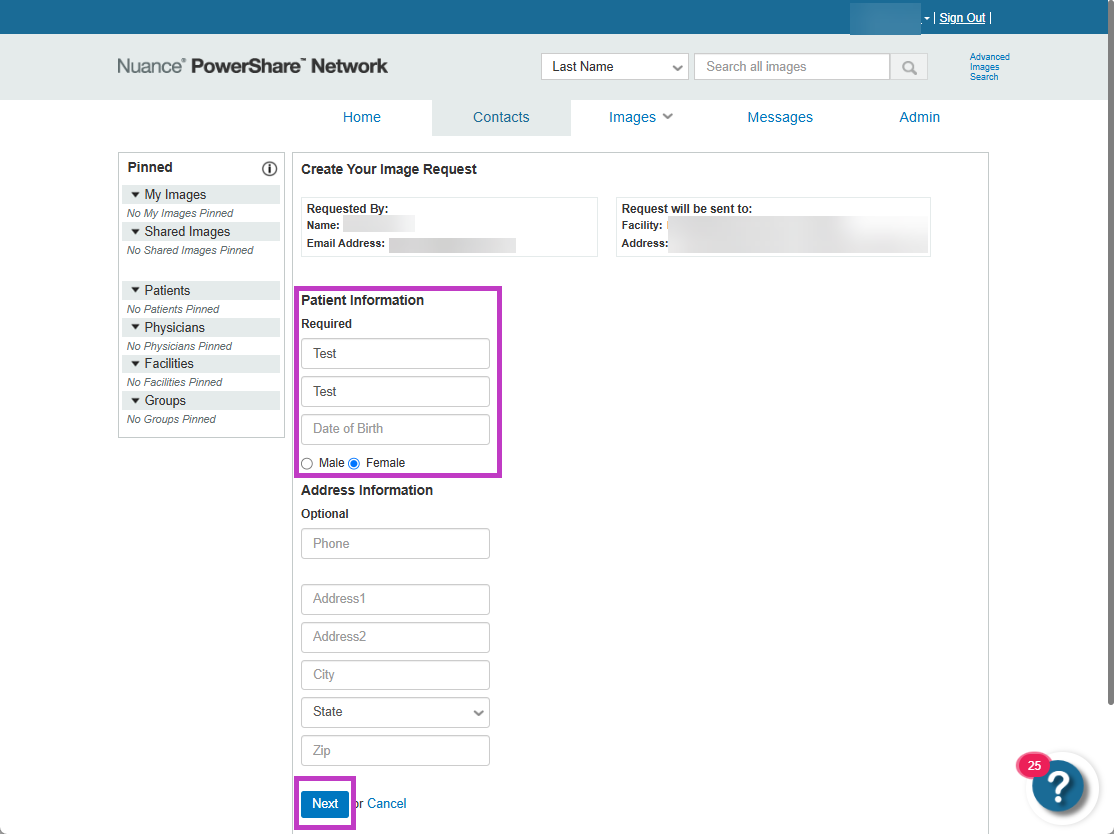
Provide patient information
Enter required patient details in the request form.
Select Next to continue.
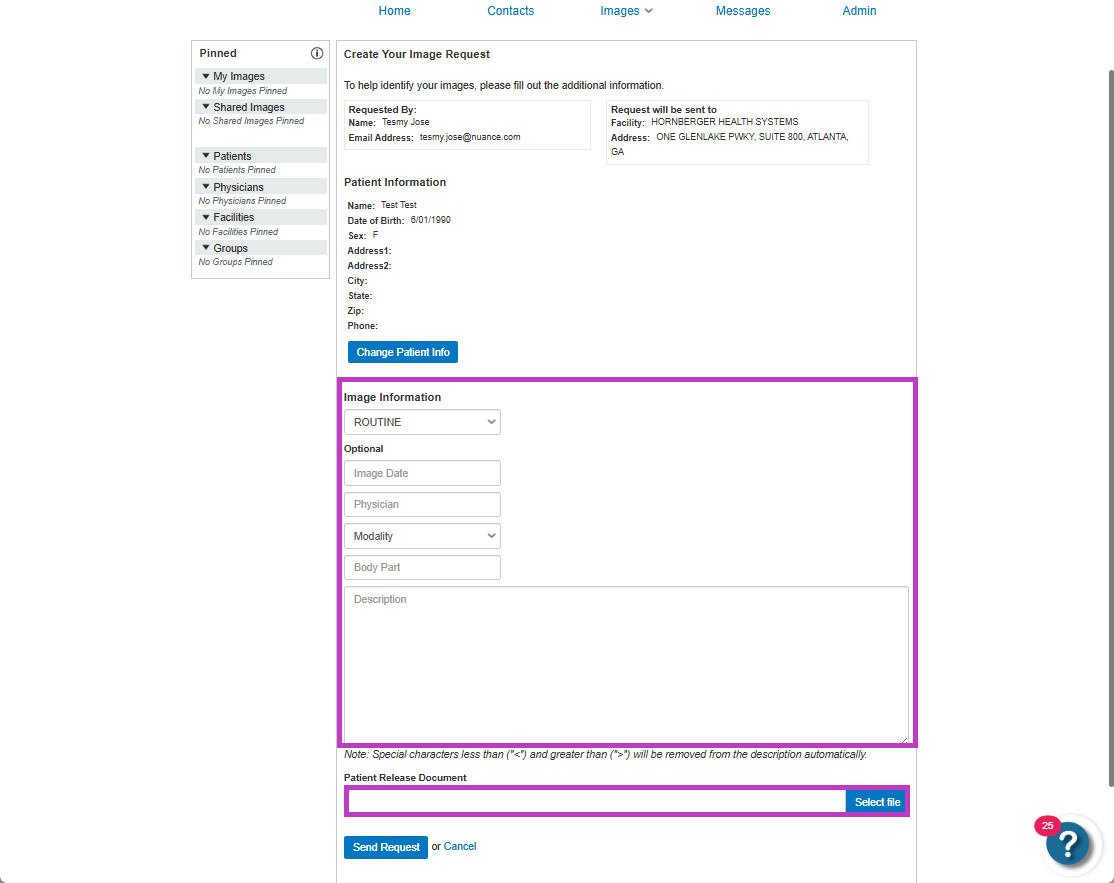
Set image request details
- Choose a request type:
ROUTINE (default)
STAT
URGENT
Select a Location, if the receiving facility requires it.
Use optional fields to help identify the study.
Add additional information
Use the Description field to:
Provide instructions
Add your contact details for follow-up
Attach supporting documents
Select Select file to upload a patient release document, if needed.
Send and track requests
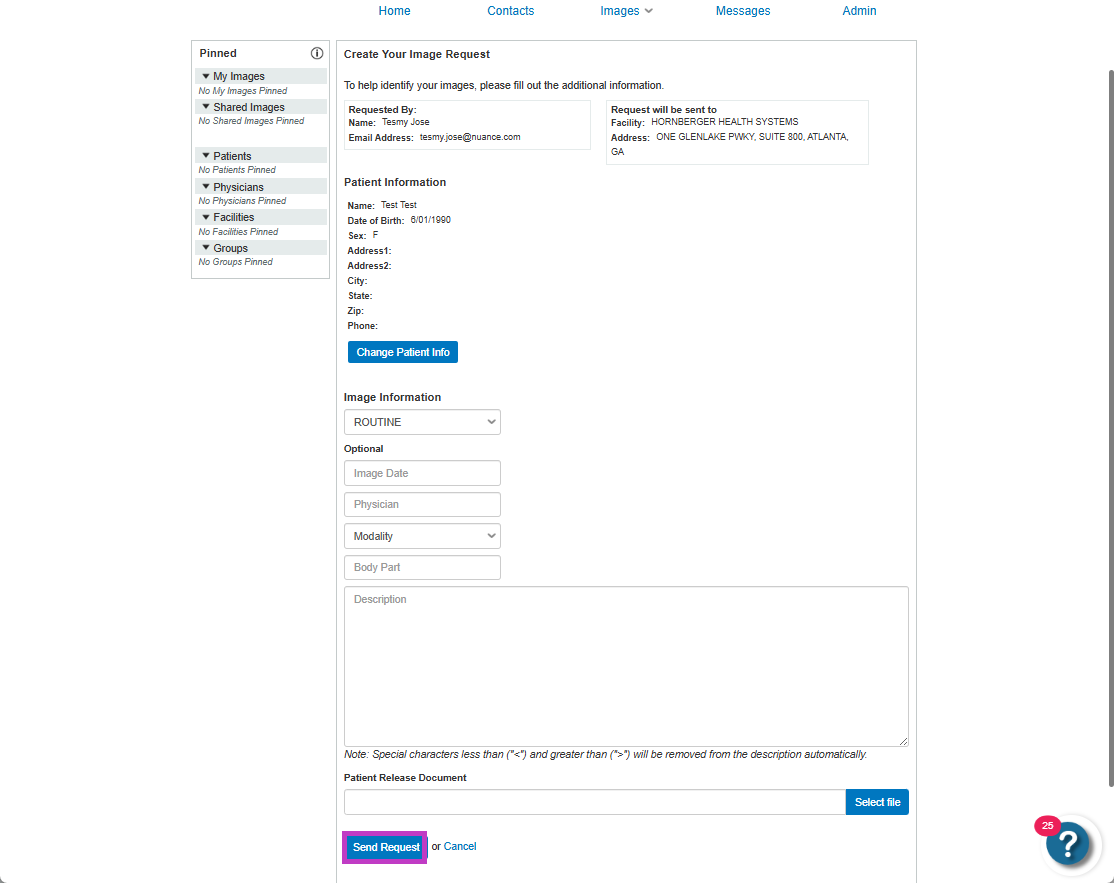
Select Send Request to submit the request.
A confirmation message appears after submission.
What happens next
The contact receives:
An internal PowerShare message
An email notification (if enabled)
A request in their request queue
You receive a notification when the request is processed.
Next up: Fulfil an image request in PowerShare Image Sharing
Respond to image requests and share the required studies quickly and securely.Let's go