
Use Manual Upload to send studies from external media or locally stored files directly to a PowerShare Hub. You don’t need to import the studies into PACS first.
Before you begin
Make sure that:
Your facility is connected to the receiving PowerShare contact.
The receiving PowerShare Hub permits manual uploads.
You can access the storage location containing the imaging files.
Upload the study
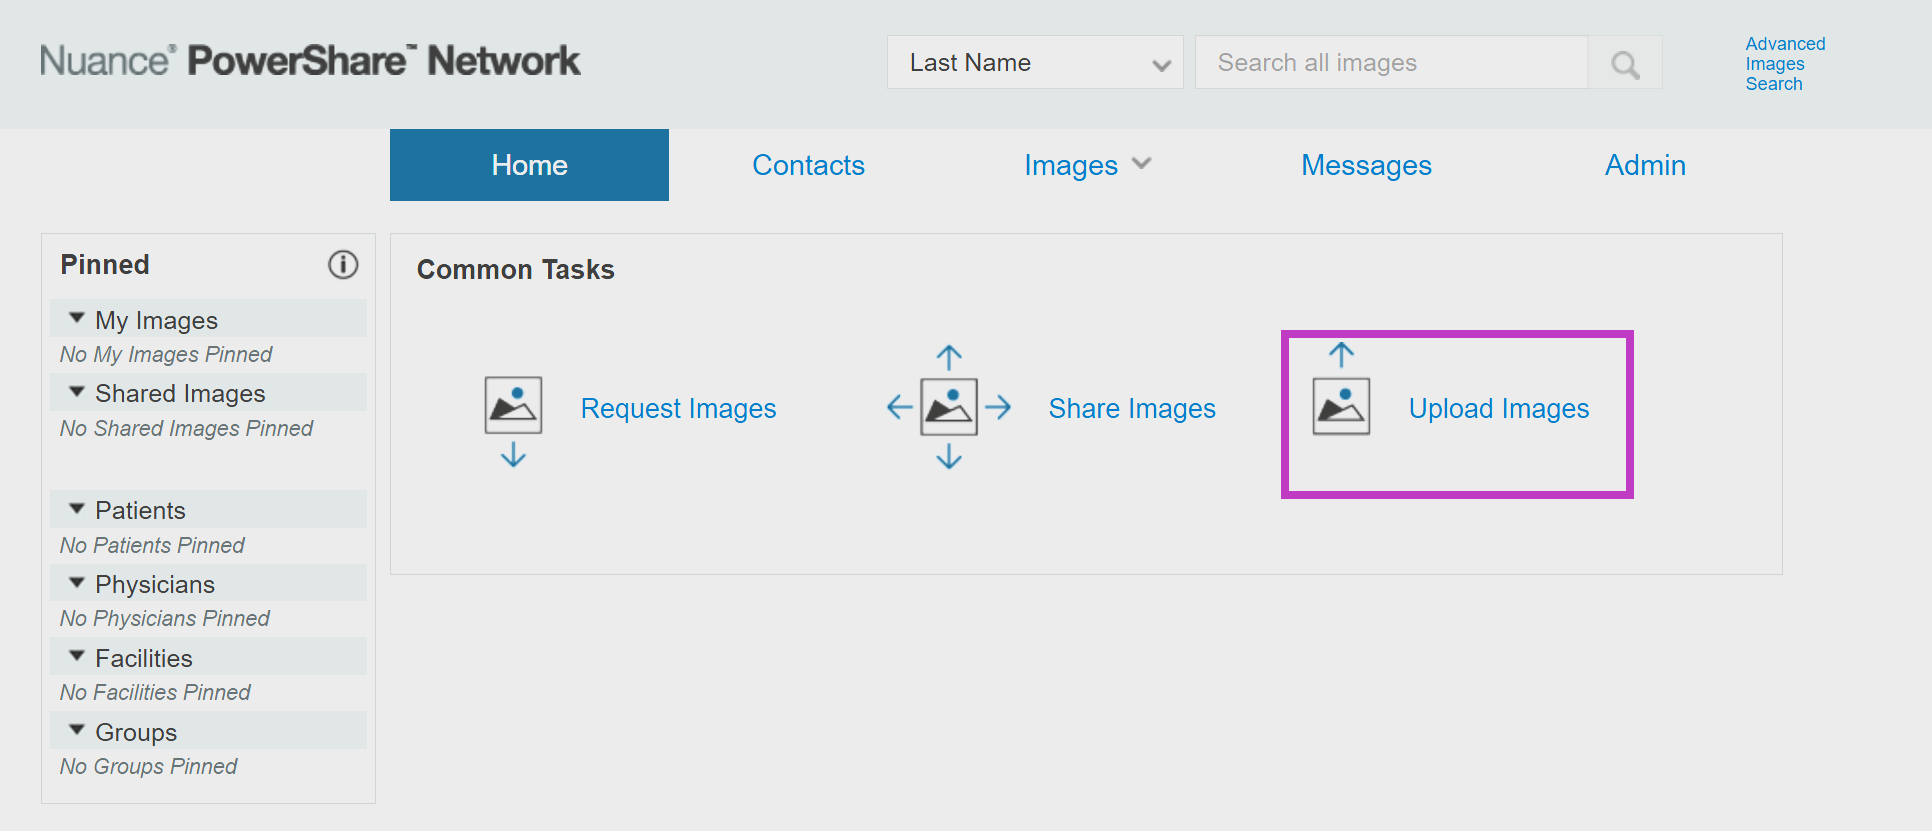
Sign in to PowerShare, and then select Upload Images.
Review Select Upload Destination. Your PowerShare facility is selected by default.
To use another destination, open the destination list and select the receiving PowerShare contact.
Insert or connect the storage device containing the files. If the files are stored on your computer, continue to the next step.
Select Choose Folder, and then select the folder containing the imaging files.
Choose whether to enable Scan Medical Images Only:
When enabled, PowerShare searches for DICOM image files only.
When disabled, non-DICOM image files can also be included.
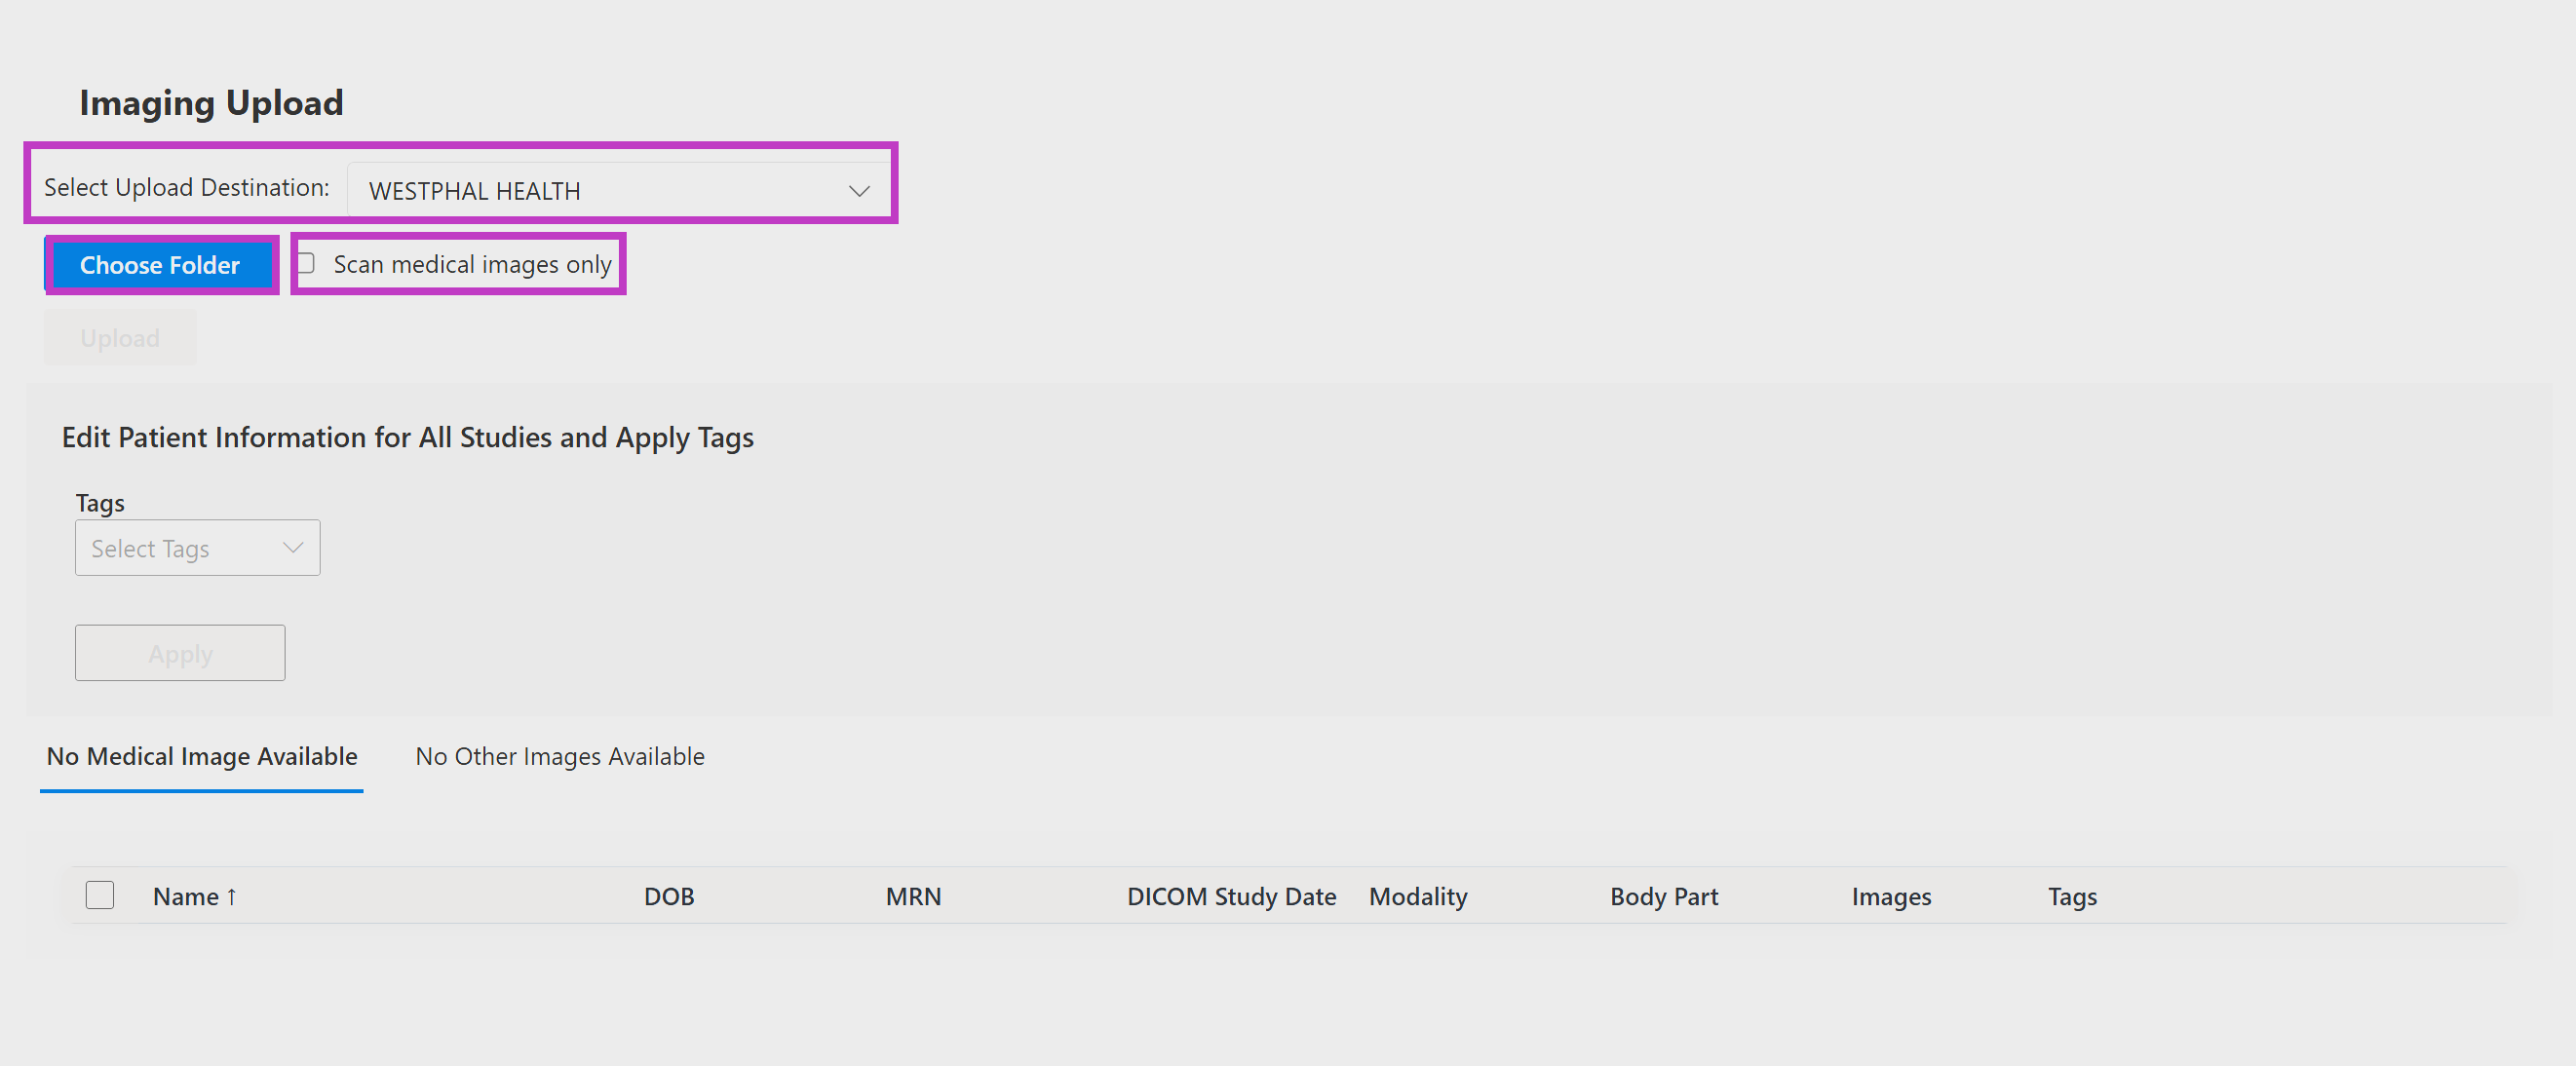
Review the discovered files. If required, update the available DICOM header information and select the appropriate tag.
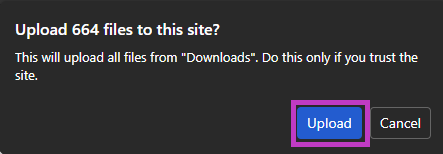
Confirm the study and destination, and then select Upload.
Note
Only connected PowerShare contacts that permit manual uploads appear in the destination list. If a contact doesn’t appear, confirm the connection and upload permissions with the receiving facility.
Important
If the destination facility uses tags to route or process studies, select the correct tag before uploading.
Next up: Other outbound workflows in PowerShare Image Sharing
Learn how automated PowerShare workflows send imaging studies directly from PACS to connected destinations. Let's go