
Request images in PowerShare when you need studies from a connected facility or provider. PowerShare enables you to request images securely and receive them directly in your account.
Before you begin
Sign in to your PowerShare account.
Add the facility or provider to your Contacts.
Confirm the contact can send images to you.
Request images
Follow these steps to request images from a contact.
Start a request
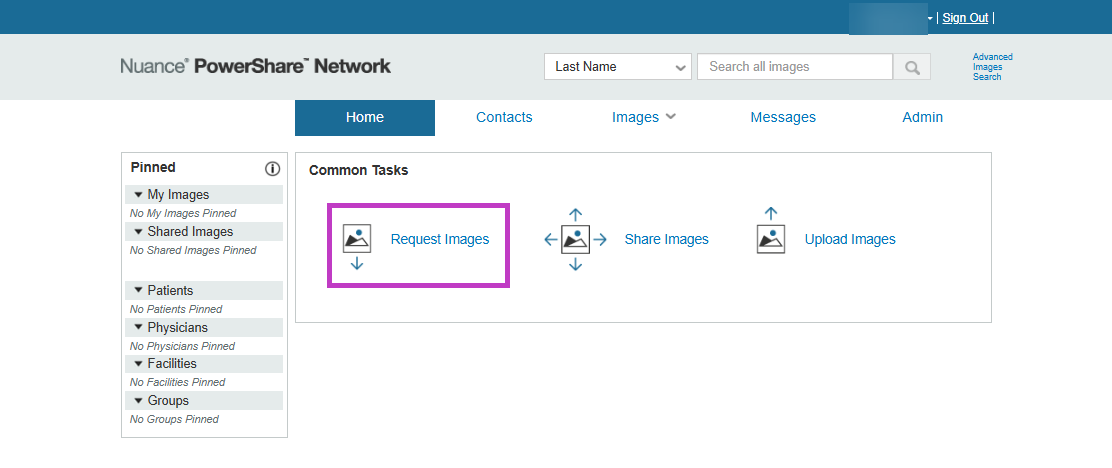
Go to the Home page or Contacts tab.
Select Request Images. You can request images from any connected facility or provider in your network.
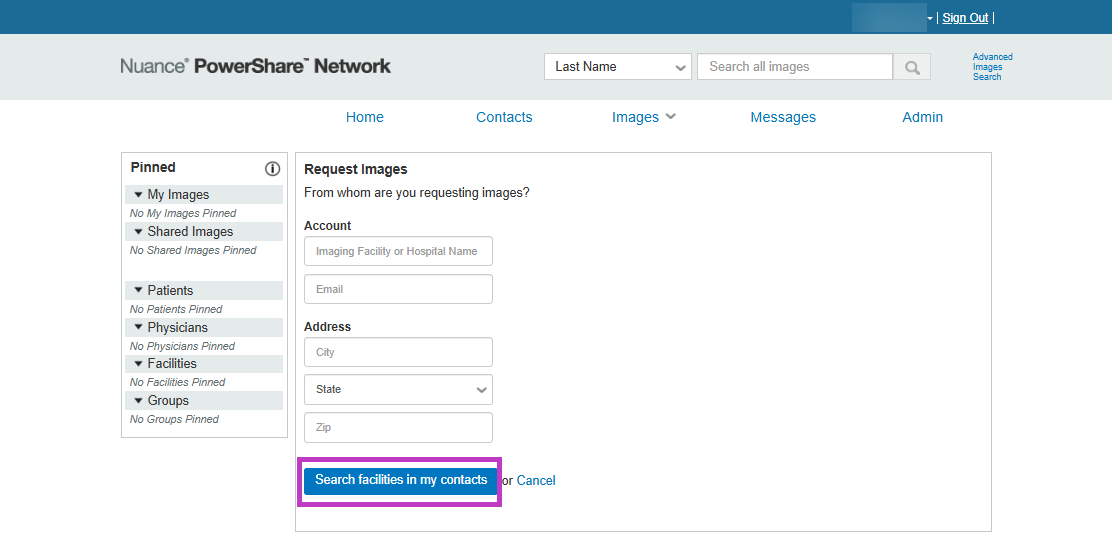
Select a contact
Choose the facility or provider you want to request images from.

If the contact isn't listed, add them to your contacts before continuing.
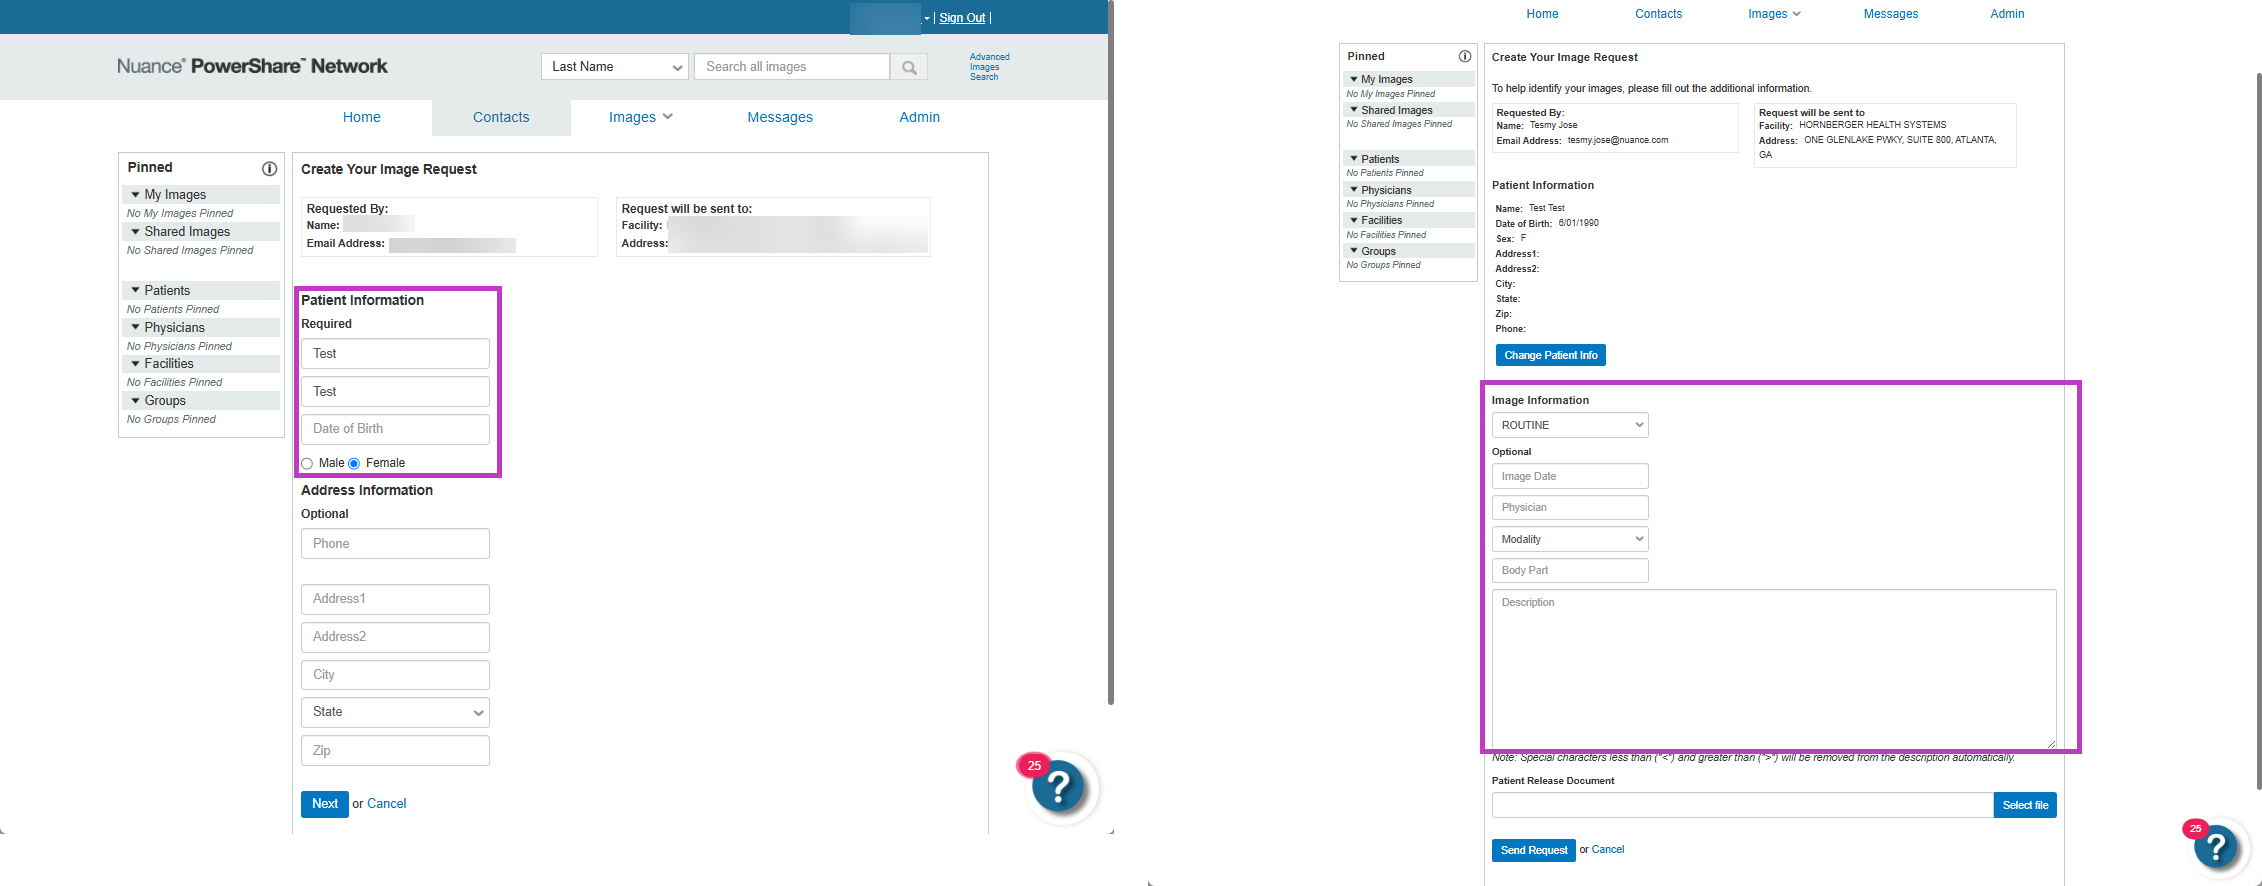
Enter request details
Provide the required information, such as:
Patient details
Study or exam information
Date range or specific criteria
Add any notes or additional details to help the contact identify the images.
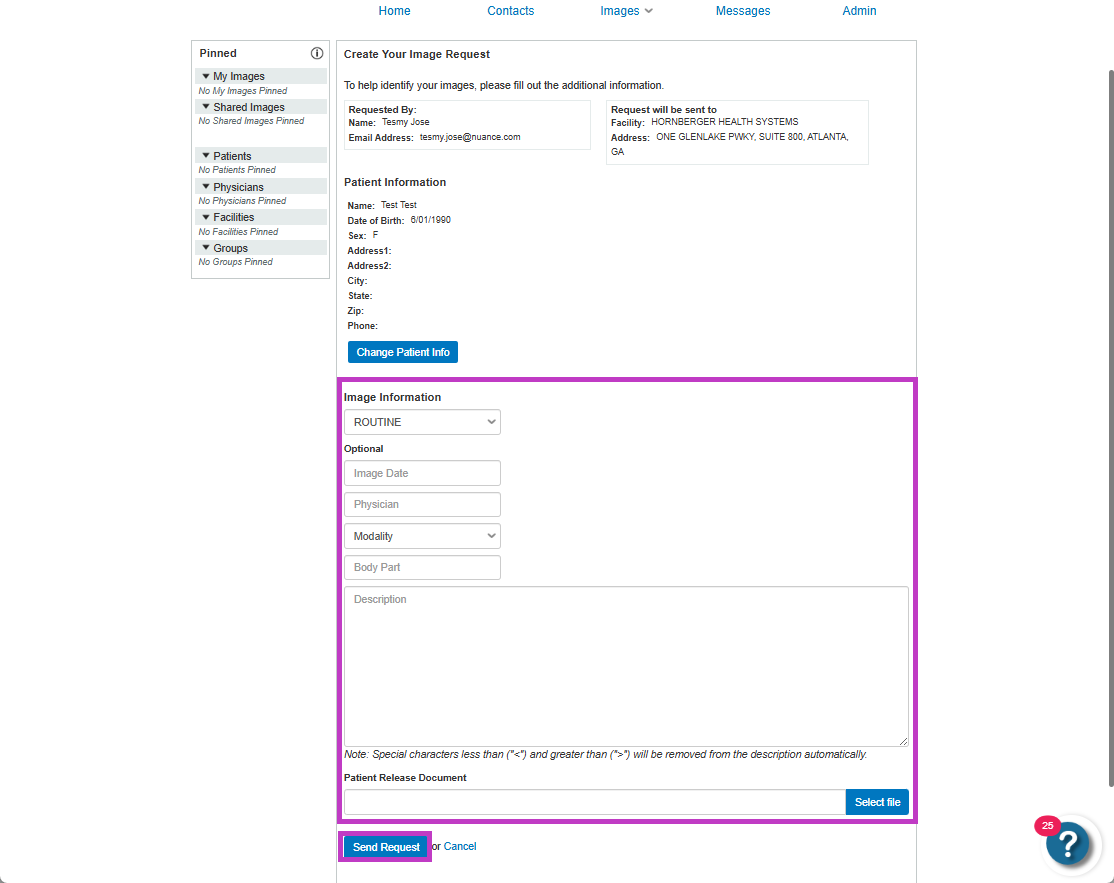
Send the request
Review your request details.
Select Send Request. The contact receives your request and can fulfill it through PowerShare.
What happens next
The contact receives your request and processes it.
Once fulfilled, the images are sent to your PowerShare account.
You receive a notification when images are available.
Images appear in the Images tab after the request is complete.
Track your requests
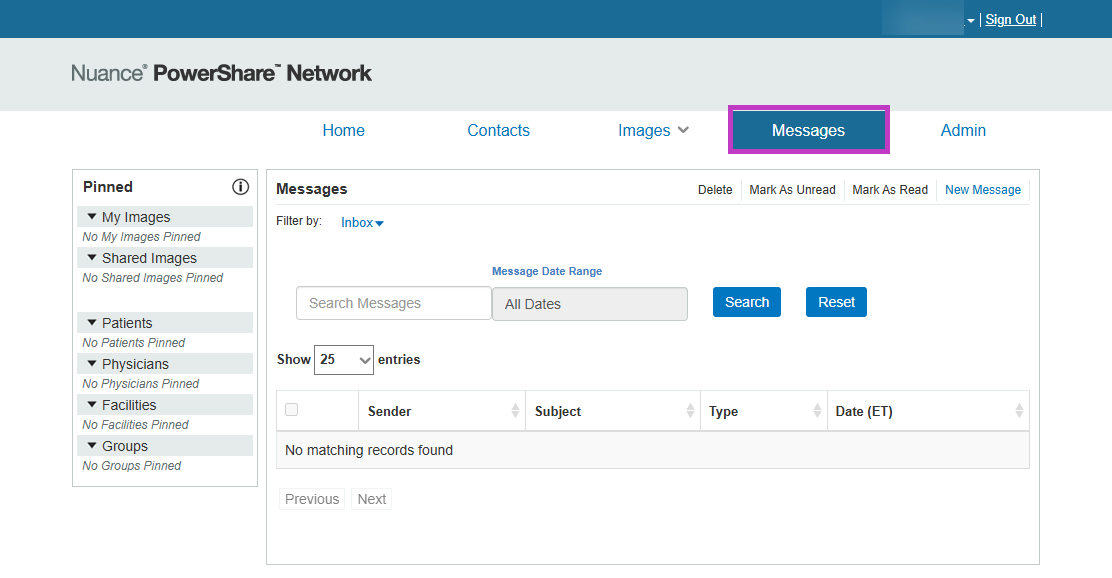
Check Messages for updates or notifications.
Review any responses or status updates from the contact.
Tip
- Provide accurate patient and study details to avoid delays.
- Add clear notes to help the contact locate the correct images.
- Make sure your contact connection is active.
Next up: Configure image requests in PowerShare Image Sharing
Configure request settings to support efficient and consistent image exchange workflows. Let's go