
Sessions are the building blocks of your clinical documentation in Dragon Copilot. You can create and manage your sessions to keep your patient encounters organized.
Use the session list
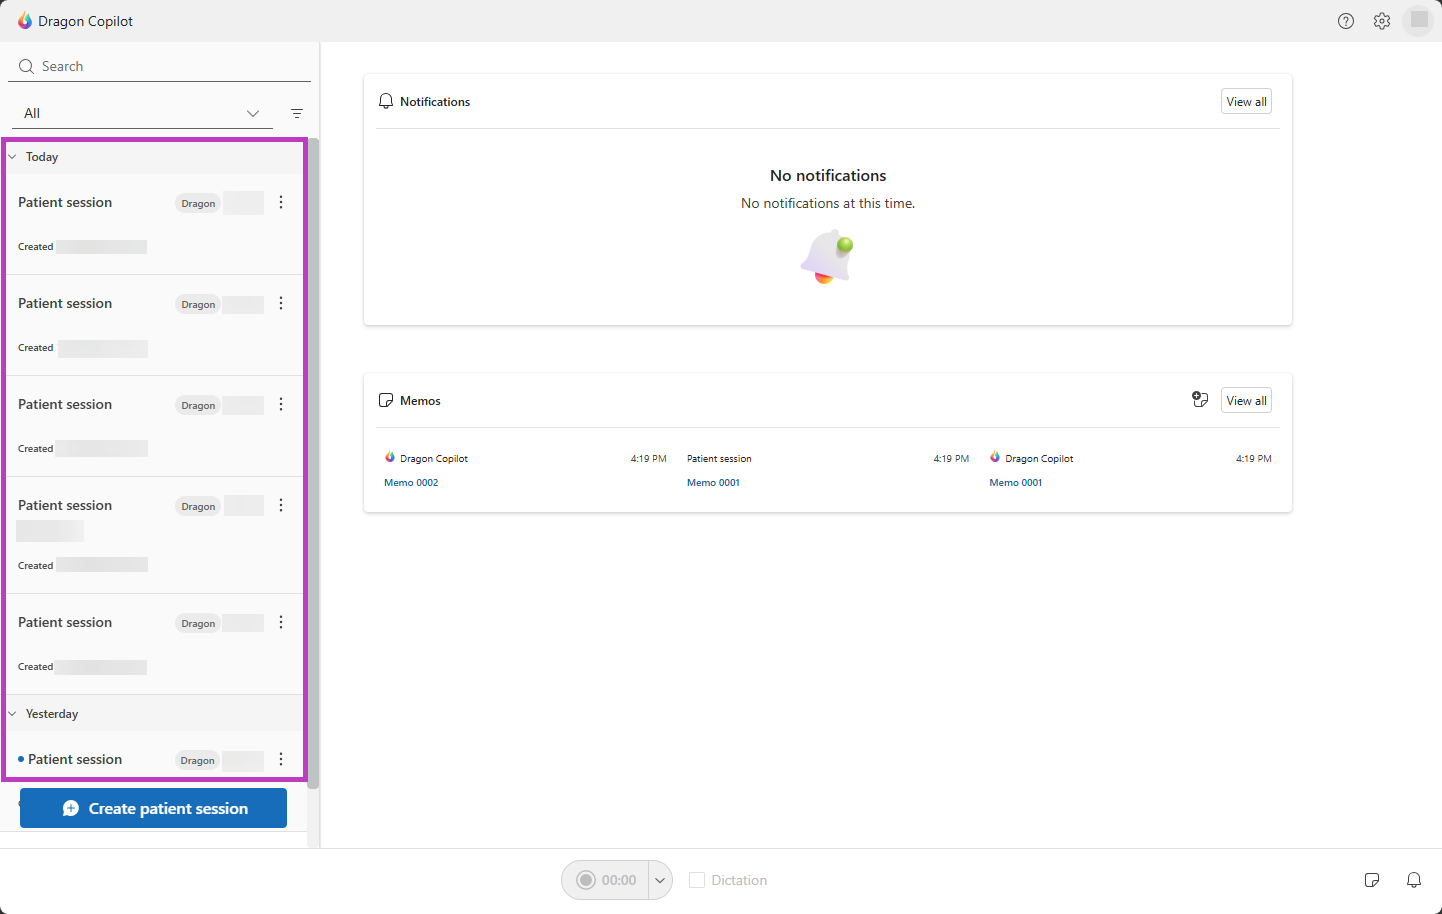
The session list panel appears when you launch Dragon Copilot and helps you find and organize information for your patient encounters.
Note
- You may access individual sessions for 30 days from their creation date. After 30 days they are no longer available in the application.
- If enabled by your administrator, your session list will also contain any Dragon Copilot sessions you initiated in your EHR.
Session list options
Sort and filter options:
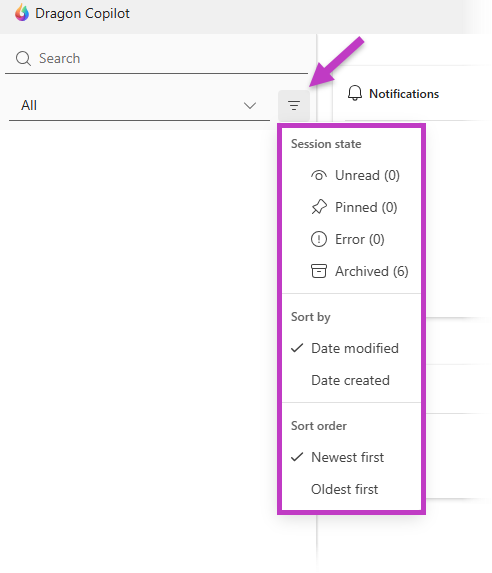
Sort and filter the session list to make it easier to find the sessions you want.
- Sort by date or order.
- Filter by session state.
Rename the session:
In the patient session, place your cursor in the session name to rename the session. The name automatically saves.
Use any naming convention that will help you organize your notes, such as:
- Examination room number.
- Appointment time.
- Patient's last name.
Session actions menu:
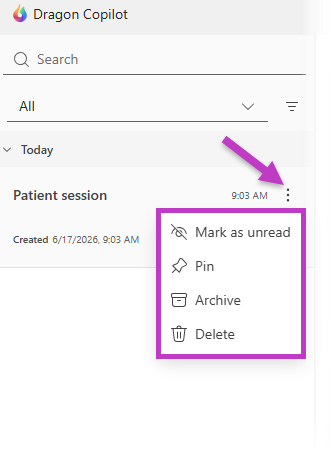
The menu beside each session  allows you to mark the session as read or unread, pin, archive, or delete the session.
Create a new session
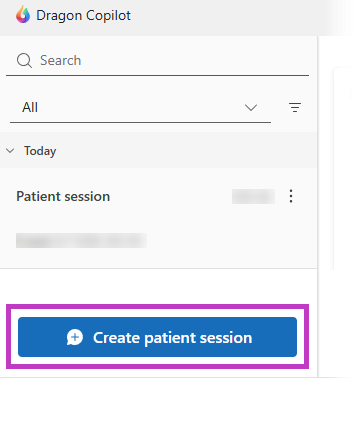
Select Create patient session to create the placeholder where you document your patient encounter. You can create sessions at any time, giving you the flexibility to organize your entire day from the start, or create the session at the time of the encounter.
Tip
In compact view, select the Create patient session icon  to create a new patient session.