
Welcome to Dragon Copilot. This quick start guide shows you how to sync your patient schedule, select a patient, record an encounter, review the generated documentation, and complete the note in Cerner.
Note
The features and functionality available to you might vary based on your organization’s configuration, regional settings, and whether you’re using the web, mobile, or desktop app.
First, sync your patient schedule
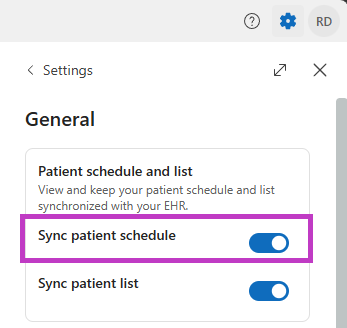
Turn on Sync patient schedule so Dragon Copilot can display your scheduled patients.
Open Dragon Copilot.
Go to Settings
 > General.
Under Patient schedule and list, turn on Sync patient schedule.
Note
If Schedule doesn’t appear after you turn on this setting, contact your local administrator.
Then, select a patient
After you sync your patient schedule, select the patient for the encounter.
With Dragon Copilot opened on the web or mobile app:
Select Schedule.
Confirm that the schedule is accurate.
Select the patient for the visit.
Confirm that the correct patient and encounter appear before you begin recording.
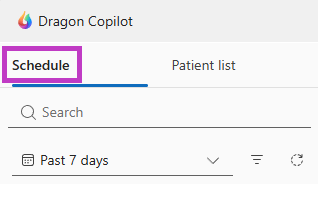
Selecting a patient from the Cerner-connected schedule associates the Dragon Copilot session with the patient encounter.
Get oriented in Dragon Copilot
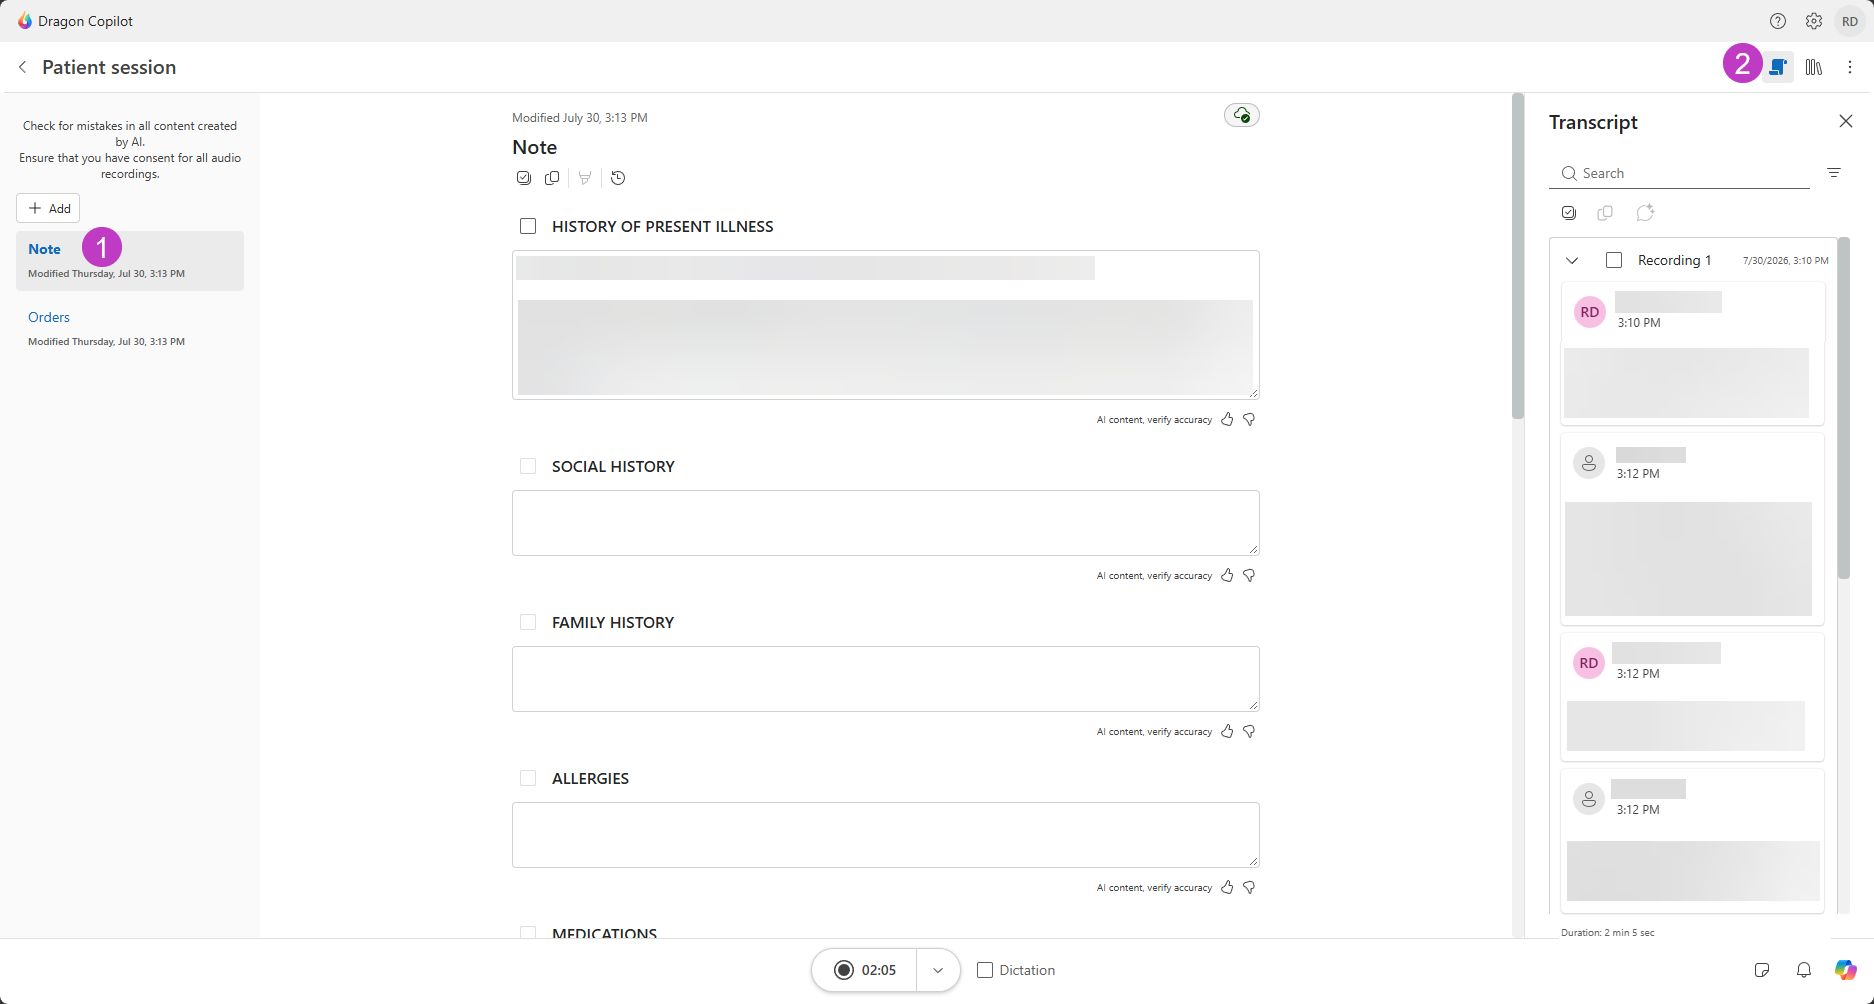
When you select a patient, Dragon Copilot opens the patient session. The patient session is where you record the encounter, review the note and transcript, and complete other patient-specific documentation tasks.
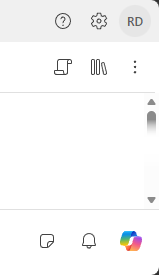
Depending on your environment and permissions, you might see the following options:
 Help: Access support and training resources.
-
Settings: Manage your Dragon Copilot preferences and settings.
 Notifications: View important updates and alerts.
 Memos: View and manage content that isn’t part of the patient’s clinical note.
 Transcript: Show or hide the transcript of the encounter.
 Library: Access prompts, templates, and other saved content.
 Copilot Chat: Ask questions and work with patient information by using natural language prompts.
Tip
The icons and options available to you might vary based on your device, your organization’s configuration, and the features available to you.
Record the patient encounter
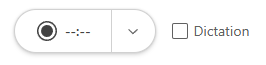
Before you begin, confirm that Dictation isn’t selected. When Dictation is off, the microphone captures the patient conversation as an ambient recording.
Confirm that you have permission to record according to your organization’s policies.
Select the microphone to begin recording.
Confirm that the recording has started.
Continue the patient visit naturally.
Select the microphone again to stop recording.
Tip
Position your device where it can clearly capture the conversation. Speak naturally and use verbal cues for information that Dragon Copilot can’t observe. Specify location and laterality and detail the exams you perform.
Review the note and transcript
After you stop recording, wait for Dragon Copilot to generate the note. Then:
Under Note, review the note for accuracy and completeness.
Select Transcript
to check the note against the conversation.Correct any errors in Dragon Copilot before you complete the note in Cerner.
Important
Review all AI-generated content for accuracy before using it in the patient record.
Complete the note in Cerner
After you review the generated content in Dragon Copilot:
Return to Cerner.
Select Refresh in the note workflow.
Confirm that the generated content appears for the correct patient and encounter.
Review and edit the note as needed.
Sign the note according to your organization’s policies.
Note
The patient session connects to the patient encounter in the EHR.
Set your specialty for more relevant notes
When you select a specialty, Dragon Copilot optimizes generated notes for your clinical specialty by default.
Go to Settings
> Profile.Select the specialty that best matches your clinical practice.
To learn more about available specialty options, see AI specialty enhancements.
Quick reference checklist for using Dragon Copilot in Cerner
Open Dragon Copilot (web or mobile).
Sync and review your Cerner schedule.
Select and verify the patient and encounter.
Confirm that the microphone is in ambient mode.
Record the encounter.
Review the note and transcript.
Return to Cerner and refresh the note workflow.
Confirm the correct patient and encounter.
Review, edit, and sign the note.
Ready to do more with Dragon?
Follow these links to learn more about Dragon Copilot:
What’s new in Dragon Copilot: See what’s available in the latest Dragon Copilot release.
Dictate with Dragon: Learn how to dictate, use voice commands, manage vocabulary, and edit your documentation.
Core Dragon Copilot workflow: Learn how to create ambient recordings, use Copilot Chat, create documents, and find what you need in Dragon Copilot.
Improve your note output: Adjust settings and use templates and prompts to refine AI-generated content.
Dragon Copilot learning library: Explore training and support articles for Dragon Copilot.
What can I say?: Find voice commands you can use with Dragon Copilot.